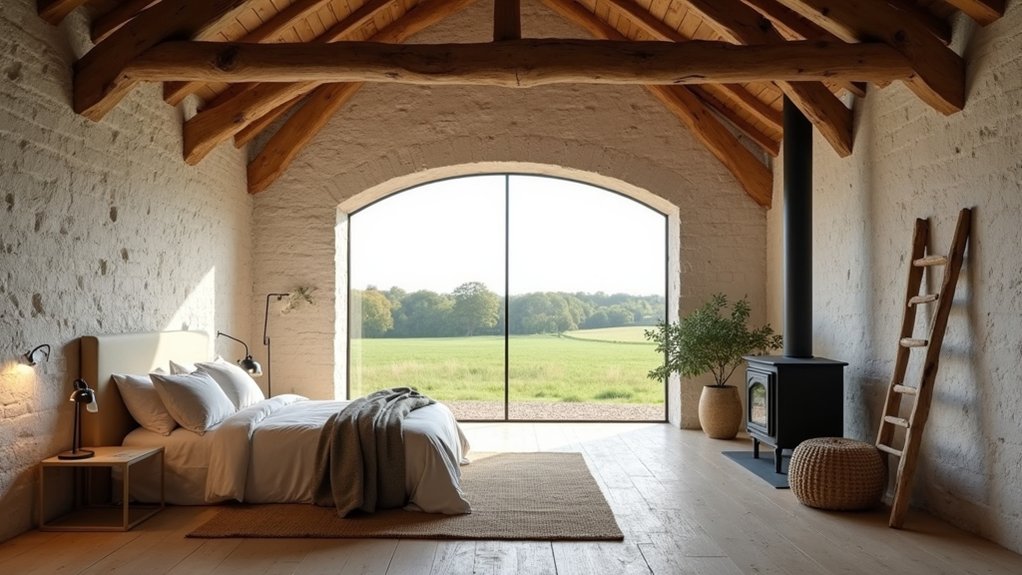

You’re taking on a “character-rich” shell that may need more attention than it first suggests. You’ll start by verifying structure, access, and head height, then map planning and Building Regs early so heritage details aren’t lost later. Keep the layout tight around daylight, cross-ventilation, and key views, and specify breathable insulation so timbers stay dry. Run services low-profile and hide storage in eaves. Next, you’ll need to decide where interventions can’t be avoided…
Check If Your Granary Loft Is Convertible
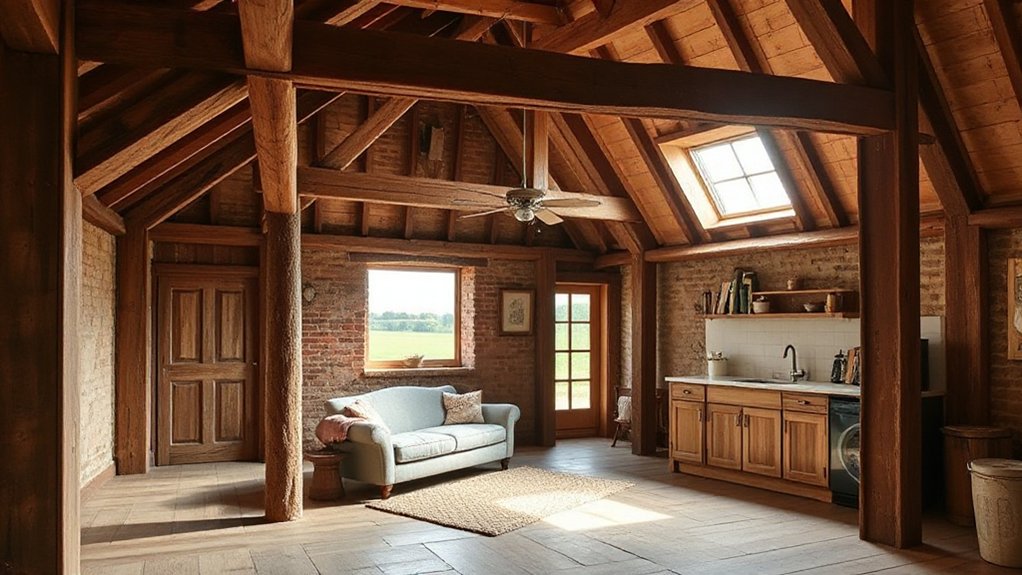
Before you sketch floor plans or pick finishes, you’ll need to confirm your granary loft can legally and structurally handle a residential conversion. Start with a measured survey: span, bay spacing, wall plumb, and floor deflection under load.
Many lofts were designed for grain, not people, so check joist sizing, bearing points, and any timber decay from historic moisture. Map existing openings and head heights; low eaves can limit usable area.
Review granary loft history to identify typical vulnerabilities—raised floors, ventilated cladding, and pest-damaged sills. Then benchmark your findings against regional building codes for minimum structural performance, fire separation, and thermal targets.
If benchmarks fail, you’ll need engineering solutions before design work begins.
Planning Permission and Building Regs for Conversion
Once your survey shows the loft can take residential loads, you need to lock down the consent route—full planning, prior approval (where applicable), or listed building consent—and align the design with Building Regulations from day one. Confirm the use class shift, access arrangements, and any agricultural-to-residential limits with your local authority.
If the granary sits in a conservation area, you’ll justify interventions under Historical preservation, documenting retained fabric and reversible details. Build your spec around Building code compliance: Part A structure, Part B fire strategy (protected stair, escape windows), Part E acoustics, Part F ventilation, Part L energy targets, and Part M access where feasible.
Trend-wise, regulators now expect airtightness evidence, robust thermal-bridge details, and certified products. Submit coordinated drawings, calculations, and a clear compliance matrix early.
Plan the Layout Around Daylight and Views
Although the granary’s shell sets hard limits, you can make the loft feel expansive by driving the plan from daylight paths and sightlines rather than room labels. Map where Natural lighting falls across the floorplate at morning, noon, and dusk, then position high-use zones inside those bands.
Put the kitchen-dining spine where light stays stable, and align circulation so you’re always walking toward scenic views, not dead walls. Keep partitions low or permeable—slatted screens, glazed internal panels, and open stair balustrades—to borrow light while preserving acoustics.
Locate storage, utility runs, and bathrooms in the darkest bay to protect prime frontage. Use built-in seating and desk niches at view points, and maintain clear sight corridors through the ridge line.
Choose Windows and Skylights for a Granary Loft
Because a granary loft usually has thick masonry or timber skins and limited original openings, you’ll get the biggest comfort and energy gains by treating windows and skylights as a calibrated daylight-and-ventilation system, not décor.
Prioritize high-performance glazing: low-e, warm-edge spacers, and the right solar heat-gain coefficient for your orientation.
Specify window frame materials that match exposure and maintenance goals—thermally broken aluminum for slim sightlines, fiberglass for stability, or treated wood for warmth, all with airtight install detailing.
Use skylight placement options to balance glare control and stack-effect ventilation: place operable units high on the leeward roof slope, add blinds for summer overheating, and align shafts to spread light deep into the plan.
Finish with insect screens and secure night-vent settings.
Preserve and Treat Original Beams and Timbers
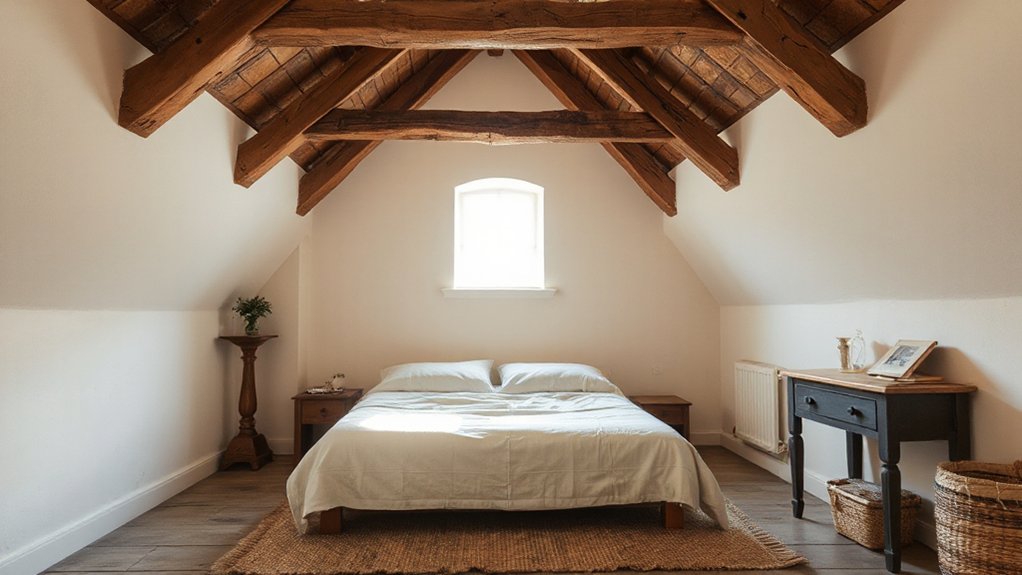
When you expose original beams and timbers in a granary loft, you’re not just keeping character—you’re locking in structural performance, indoor-air quality, and fire strategy in one move.
Start with a moisture meter and awl probe, then document checks, splits, and insect galleries so you can target repairs, not over-sand history.
Vacuum with HEPA, then dry-brush; skip aggressive blasting that opens grain and sheds fibers.
For timber preservation, treat active beetle risk with borate gel or paste, applied to end grain and joints where uptake is best.
Consolidate punky areas with low-viscosity epoxy, and sister only where loads demand it.
Finish original beams with breathable, low-VOC hardwax oil, and add an intumescent clear coat where code requires.
Insulate the Granary Loft Without Trapping Moisture
You’ll keep the loft comfortable without mold risk by specifying vapor-open insulation—wood fiber, mineral wool, or dense-pack cellulose—that buffers humidity instead of sealing it in.
You’ll pair that with a smart air-sealing strategy at the primary boundary (taped membranes, gasketed service penetrations, and airtight attic hatches) so warm, moist air can’t convect into cold cavities.
You’ll then maintain clear ventilation and drying paths with a continuous vent channel, ridge/soffit flow or a balanced HRV/ERV, and drainage-plane detailing that lets assemblies dry to at least one side.
Vapor-Open Insulation Choices
Although a granary loft feels dry most days, its roof and wall assemblies still see seasonal moisture drive, so your insulation package has to let vapor migrate and dry rather than sealing it in. You’ll get reliable moisture control by choosing vapor open insulation with predictable permeance and stable R-value in mixed-humidity swings.
Dense-pack cellulose buffers humidity, redistributes incidental wetting, and fits irregular bays common in retrofits.
Mineral wool batts or boards stay hydrophobic, keep performance when damp, and resist pests; pair them with a ventilated rainscreen or roof vent space where feasible.
Wood fiber boards, now trending in low-carbon builds, add capillary-active drying and thermal mass.
Favor variable-perm interior vapor retarders over poly, so assemblies can dry inward when needed.
Avoid closed-cell spray foam where drying paths are limited.
Smart Air Sealing Strategy
Because air leakage moves far more moisture than vapor diffusion, your granary loft needs an air-sealing plan that’s continuous, inspectable, and compatible with vapor-open drying.
Start at the primary boundary (often the roofline) and connect every junction: ridge to eave, rafters to gable, and wall-to-roof interfaces. Use durable sealing techniques: taped smart membranes, liquid-applied flashing at irregular joints, and gasketed service cavities to keep wiring penetrations out of the air barrier.
Back up big gaps with backer rod or wood blocking before you tape or sealant them, so movement won’t crack the seal. Pay special attention to hatch frames, chimney chases, and knot holes—small leaks add up.
Verify with a blower-door test and smoke tracing during rough-in.
Ventilation And Drying Paths
Where does incidental moisture go once the loft’s new insulation and air barrier go in? You’ll prevent rot only if you design explicit drying paths.
Keep the roof assembly vented: continuous soffit-to-ridge channels, baffles at every rafter bay, and a clear 1–2 inch airspace above insulation.
If you’re using spray foam at the deck, switch strategy and create a conditioned, unvented roof with a verified vapor profile and interior humidity targets.
For moisture control, favor variable-perm smart membranes on the warm side so the assembly can dry inward seasonally.
Preserve some natural ventilation at gable vents or cupolas, but don’t rely on it alone; pair it with balanced mechanical ventilation and a dehumidifier setpoint.
Detail drainage planes and flashing so bulk water never enters.
Route Heating, Plumbing, and Electrics Discreetly
To keep the granary loft’s structure and patina visually intact, you’ll want to route heating lines, plumbing runs, and electrical circuits through zones that already read as “service” rather than “feature.” Use existing chases (old grain ducts, redundant joist bays, stair voids), build shallow skirting or bench-concealment where you need new pathways, and prioritize low-profile systems—like slimline manifolds for underfloor heating, PEX in protective conduit, and flat cable or surface-rated micro-trunking that can be stained or limewashed to match timber.
You’ll keep access points deliberate: locate isolation valves behind removable panels, mount a compact consumer unit near the stair, and label every circuit. Use acoustic clips and grommets to stop pipe chatter, and specify WRAS-approved plumbing fixtures with short, well-braced tails to reduce movement.
Include RCD/AFDD protection where required.
Build Storage Into Eaves and Awkward Corners
You’ll reclaim low-slope roof space with bespoke eaves cupboards, scribing carcasses tight to rafters and finishing with push-latch, handleless fronts for a clean loft line.
In tight corners, you’ll spec corner-fit pullout drawers on full-extension runners so no volume gets stranded behind angled studs.
You can also integrate hidden storage bench seats with lift-up lids and soft-close hinges, keeping gear out of sight while preserving the calm, pared-back countryside aesthetic.
Bespoke Eaves Cupboards
Although the loft’s sloping rafters and kinked junctions can read as dead space, bespoke eaves cupboards turn those awkward zones into high-efficiency storage with a clean, built-in finish. You’ll start by templating the pitch and knee-wall height, then specify carcasses in moisture-resistant birch ply with lipping for crisp edges.
Keep depths to usable reach, and align door rails to rafter lines so the joinery reads intentional, not improvised. Use push-to-open catches or low-profile pulls to prevent snagging on tight clearances, and add soft-close hinges rated for frequent cycles.
You can integrate vent slots and service access panels to protect insulation performance. Finish with matte lacquer or limewashed oak to match current quiet-luxury countryside palettes.
Corner-Fit Pullout Drawers
When eaves meet in a tight corner, corner-fit pullout drawers let you reclaim that wedge of volume without sacrificing access or a clean elevation. You’ll template the angle, then build a trapezoidal carcass that sits flush to rafters while keeping a consistent reveal line on the face.
Mount full-extension, soft-close slides on a subframe so the runners stay parallel, even as the sides taper. Use 12–15 mm birch ply or FSC-certified poplar core for Sustainable materials, edge-banded for durability.
Fit shallow fronts to prevent drawer-top collisions, and add anti-rack guides if you’re going wide. Finish with Vintage hardware—small brass cup pulls or forged iron tabs—to echo granary character without visual bulk.
Seal with low-VOC lacquer.
Hidden Storage Bench Seats
To tame low eaves and dead-corner geometry without cluttering the loft’s sightlines, build hidden storage bench seats that follow the roof pitch and lock into the knee-wall framing.
Frame a 2×2 ledger to studs, then screw a plywood box to it, keeping a 1/4-inch reveal for seasonal movement. Use a hinged lid with soft-close stays, or spec full-extension tray slides if you want lift-free access.
Ventilate with a slotted toe-kick so stored linens don’t trap moisture. Cap the seat with 3/4-inch hardwood, eased edges, and a wipeable finish.
Add a tight cushion upholstered in Vintage textiles, then stitch welt in Rustic color palettes to echo barn beams. Conceal pulls with finger grooves; you’ll keep lines clean and modern.
Finish and Style the Space for Slow Living
Once the structure’s sound and the services are dialed in, you can shift from construction decisions to finish specs that support slow living without feeling rustic-cliché. Specify breathable, low-VOC clay paint or limewash to manage humidity, and oil-finish floorboards for repairability. Use natural materials—wool, linen, leather, oiled oak—so textures do the work instead of busy patterns.
Keep rustic decor edited: one forged-iron rail, a reclaimed beam shelf, matte-ceramic tableware. Dial lighting to 2200–2700K with dim-to-warm LEDs, then add task spots over the bench seats and a low-glare pendant at the table.
Choose a compact woodstove or high-efficiency electric panel as a visual anchor, and layer acoustic felt behind slatted panels to soften the loft’s echo.
Conclusion
When you convert your granary loft, you’re balancing heritage fabric with high-performance detailing. You’ll protect existing timbers, specify vapour-open insulation to avoid interstitial condensation, and thread MEP runs through zones that won’t visually compete with the frame. You’ll also prioritise daylighting with carefully placed rooflights to sharpen views and airflow. Significantly, UK homes account for roughly 20% of national greenhouse-gas emissions, so your low-carbon upgrades can materially cut operational impact while preserving rustic calm.