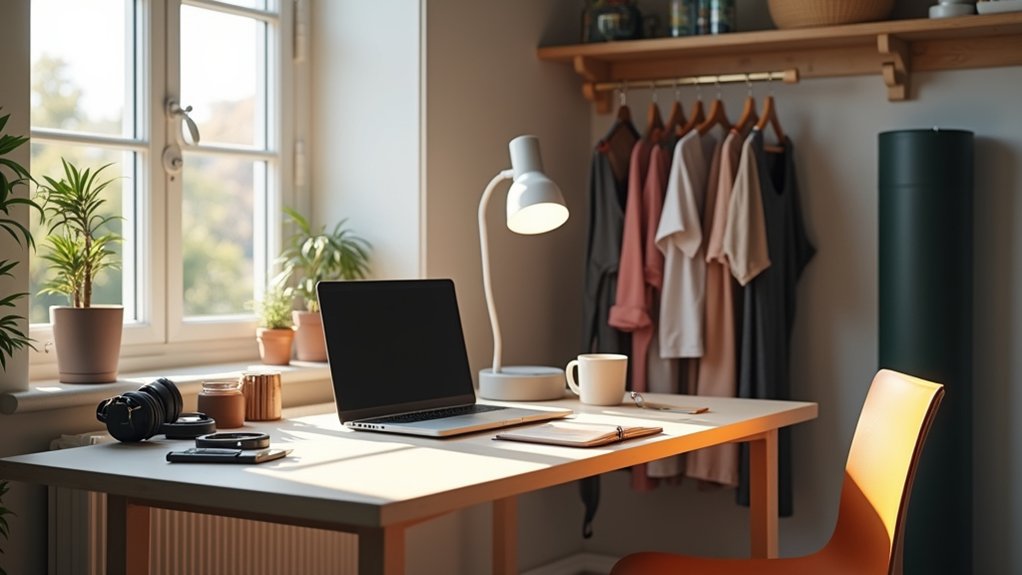

You move into a 380-square-foot studio and, within a week, your desk doubles as a nightstand while your coat pile becomes “storage.” You don’t fix that with more stuff—you fix it with zones, a bed-first layout, clear sightlines, and vertical storage that hides clutter. You use mirrors to push light, choose furniture that folds or stacks, and add privacy without blocking flow. The key decision you make first determines whether the space feels calm or cramped…
Measure Your Studio and Plan Daily Zones
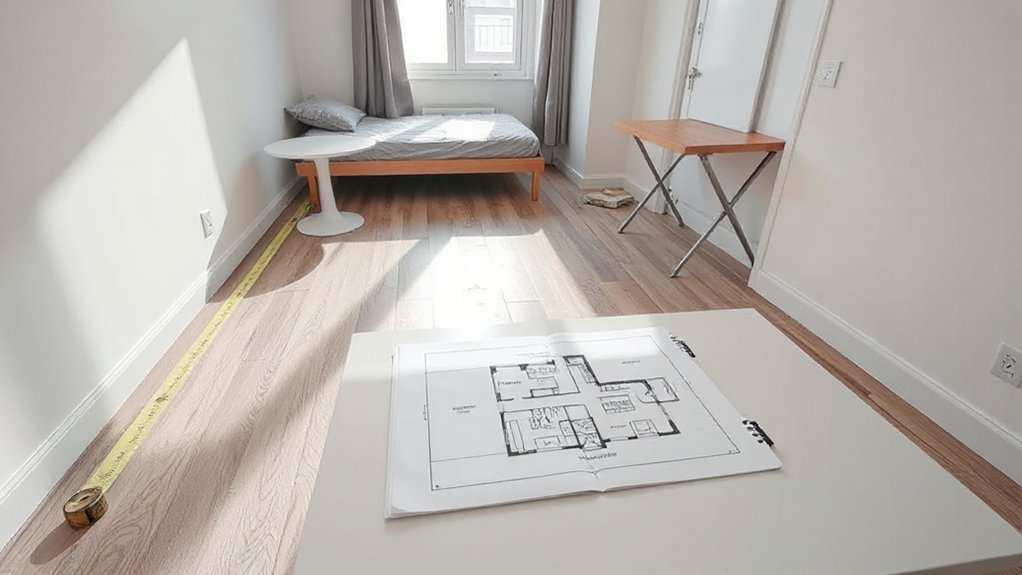
Before you buy another storage bin or shuffle furniture again, measure your studio—walls, windows, doors, outlets, and any awkward radiators or ledges—so every inch has a job. Sketch a quick scale map on paper or a notes app, then mark swing paths, heater clearance, and window access for ventilation.
Next, assign daily zones: entry drop, cooking, work, workout, recharge, and laundry/cleaning. Track where you actually move: bags land, shoes pile, cords charge. Place tasks near their utilities—outlets for tech, sink for prep, light for reading—to cut clutter miles.
Use painter’s tape to mock footprints and test door clearance. Let artistic inspiration guide a micro-gallery wall or color block, but let budget planning decide what you’ll DIY, thrift, or delay.
Choose a Studio Layout Template (Bed First)
Start with the bed—it’s your biggest piece and the easiest way to lock in a layout template that feels intentional. Place it to anchor a clear sleep zone.
Then sketch your main circulation path so you’re not weaving around furniture.
From there, assign storage to the edges (under-bed, wall units, slim wardrobes) to keep the center open and the studio looking clean and current.
Anchor The Bed Zone
Because the bed eats the biggest footprint in a studio, you’ll get the cleanest layout fastest by anchoring it first—then letting everything else orbit around that decision. Place it where it feels calm, not like a hallway: against the longest uninterrupted wall, or in a corner to create a defined “room” without adding walls.
Lock in bed comfort with a supportive mattress, breathable bedding, and a headboard or wall-mounted cushion that doubles as a backrest.
Keep sleeping essentials tight and intentional: one streamlined nightstand (or floating shelf), a dimmable sconce, and a compact charging setup so cords don’t sprawl.
Add a low-profile rug under two-thirds of the bed to visually anchor the zone and soften sound without bulk.
Map Circulation And Storage
With the bed anchored, you can now protect the two things that make a studio feel bigger: clean circulation and smart storage. Sketch a simple floor plan and draw one main path from door to window; keep it 30–36 inches wide.
Place your dresser or console parallel to that route, never across it, and let furniture “float” only if it preserves the lane.
Next, map storage by height: stash rarely used items up high with ceiling storage like overhead shelves or a hung rack above the closet line. Use under-bed bins for linens and off-season clothes.
Add hooks behind doors, and a slim cart beside the fridge.
Finally, use portable dividers to define zones without blocking light—folding screens, open shelving, or curtains on tracks.
Use Light, Mirrors, and Sightlines to Feel Bigger
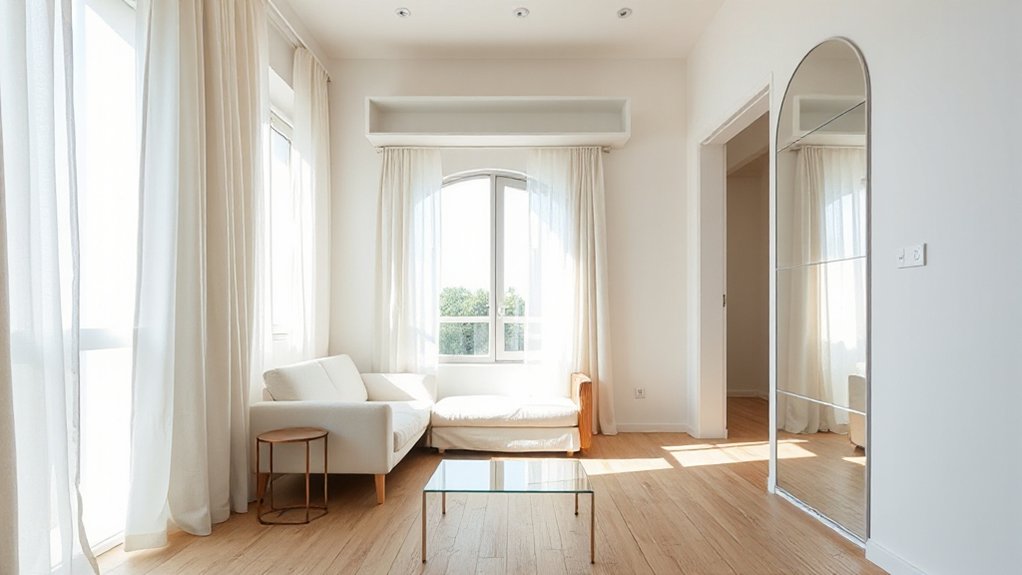
You can make a studio feel bigger fast by maximizing natural light, using mirrors strategically, and protecting clear sightlines.
Keep windows unobstructed with sheer panels, light-filtering shades, and low-profile furniture that doesn’t block daylight.
Place a large mirror opposite or adjacent to a window and maintain a clean visual corridor from the entry to the far wall so the space reads longer and brighter.
Maximize Natural Light
Three quick shifts can make a studio feel instantly larger: pull in more natural light, bounce it around, and keep your sightlines clean.
Start by stripping back heavy window treatments; swap to ceiling-mounted sheers, solar shades, or top-down bottom-up blinds that preserve privacy without killing daylight. Hang rods wider than the frame so glass stays exposed when curtains are open. Keep sills clear—no tall plants, stacked books, or bulky lamps—so light reaches deeper.
If you own, consider a compact skylight installation in a kitchen or bath to add vertical daylight where walls can’t. Choose pale, low-sheen paint, and use light-toned rugs and bedding to amplify brightness.
Finally, avoid blocking windows with storage or desks.
Mirrors And Clear Sightlines
Although square footage stays the same, mirrors and clean sightlines can make a studio read larger by stretching light, depth, and visual flow. Start with mirror placement: hang one large mirror opposite your brightest window to bounce daylight deeper into the room.
If you can’t go big, group two or three identical mirrors in a tight grid for a modern, gallery-like effect. Skip reflecting clutter—aim mirrors toward art, plants, or a tidy vignette.
For sightline optimization, keep the longest view clear from your entry to your window. Use low-profile furniture, leggy pieces, and open shelving only where it doesn’t block that corridor.
Route cords, hide bins, and align rugs to “pull” the eye forward. Add a slim console or floating desk to preserve floor continuity and keep pathways frictionless.
Choose Multipurpose Furniture That Earns Its Space
In a studio, every square foot has to pull double duty, so pick multipurpose pieces that solve at least two problems at once—sleep, storage, seating, or work. Start with a sofa bed or daybed that looks tailored by day and sleeps like a real mattress at night.
Choose a lift-top coffee table that converts into a laptop-height desk, then tucks back into lounge mode for guests.
Go for nesting stools that slide under a console, acting as extra dining seats without visual bulk. A drop-leaf bistro table keeps your footprint slim, yet opens for hosting.
Favor Convertible furniture with clean lines, thin arms, and raised legs to keep the room feeling airy.
Finish with multi use decor like an ottoman that doubles as a tray table when you’re entertaining.
Add Hidden and Vertical Studio Storage (No Clutter)
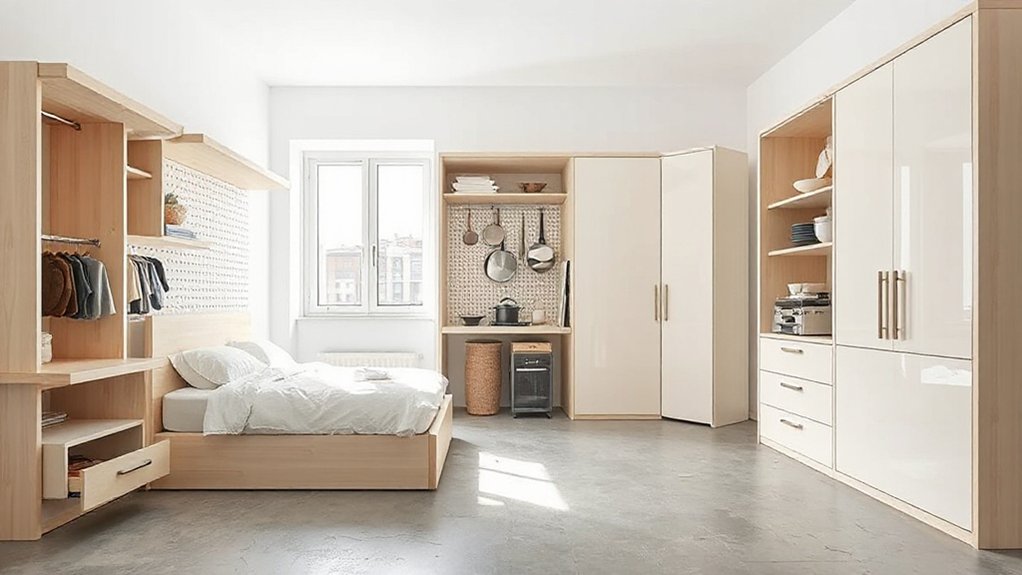
When your studio can’t grow outward, you’ve got to build storage up and tuck it out of sight. Start with vertical shelving that hits the ceiling: slim uprights over your desk, above the entry, and around the bed. Keep sightlines clean by matching shelf color to your walls and using uniform bins.
Next, add hidden compartments everywhere. Slide a rolling drawer under the sofa, stash seasonal gear in under-bed boxes, and choose an ottoman with lift-top storage for cables and tools. Mount a mirror cabinet to hide grooming basics, and use a headboard with a shallow ledge for nightly items.
Add hooks inside closet doors, plus a rail for bags. Label once, then reset weekly.
Set Up a Tiny Studio Kitchen That Stays Organized
How do you make a tiny studio kitchen feel bigger and stay clean all week? Start by zoning: prep, cook, wash, stash.
Keep Cooking essentials in one grab-and-go caddy: knife, board, tongs, salt, oil. Store backups elsewhere so counters stay clear.
Use a slim rail or magnetic strip for tools, and hang a foldable drying rack that disappears after use.
Dial in Small appliance placement: park the toaster and kettle on a tray you can slide into a cabinet, and keep one “daily driver” out.
Put your microwave on a sturdy shelf to free counter inches.
Add stackable bins for snacks, and label lids.
End each night with a 3-minute reset: wipe, empty sink, reload caddy.
Create Privacy Without Blocking Light or Flow
A tidy micro-kitchen buys you visual calm, but you’ll still want real privacy for sleep, calls, and guests without turning your studio into a cave. Start with lightweight privacy screens: a slatted wood divider, open shelving with backing, or a ceiling-mounted ripplefold curtain that stacks tight. Keep the partition 12–18 inches off the window wall so daylight still washes the room.
Use a rug and a narrow console behind the screen to signal “bed zone” without blocking circulation. For calls and late-night noise, add soundproof barriers where they matter most: a door draft stopper, adhesive weatherstripping, and thick felt pads behind the headboard.
Choose pieces on casters so you can reconfigure fast for workouts, dinner, or hosting.
Keep It Cozy: Decor That Works in a Studio
Even if your studio runs tight on square footage, the right decor can make it feel warmer, calmer, and intentionally “done” without adding clutter. Start with cozy textiles that multitask: a washable throw on the sofa-bed, a low-pile rug to define the lounge zone, and linen curtains that soften light while keeping airiness.
Stick to warm color palettes—cream, camel, terracotta, and muted olive—so everything reads cohesive from every angle. Add vertical warmth with a slim wall sconce or plug-in pendant, skipping bulky lamps.
Choose one statement art piece, then echo it with two small accents (a ceramic tray, a textured pillow) to avoid visual noise. Finally, use a single scent and a small plant for a lived-in finish.
Conclusion
You’ve mapped your zones, anchored the bed, and stretched the room with light, mirrors, and clean sightlines. You’re choosing multipurpose pieces, stacking vertical storage, and hiding clutter so every inch earns rent. Your kitchen stays streamlined, and privacy comes from airy dividers, not heavy walls. Finish with warm lighting, layered textiles, and a few intentional accents. When it’s tuned right, your studio works like a Swiss Army knife—compact, calm, and ready for anything.