
Like Odysseus lashing himself to the mast, you start by naming what you won’t risk: a kicked-in door, a silent leak, a late-night fire. You set a budget, pick a platform that plays well with what you already own, then begin with a modest hub and a few sensors. You map doors, windows, and hallways with careful placement, and lock down your Wi‑Fi and logins. Next, you choose what watches—and what calls for help…
Set Your Home Security Goals and Budget
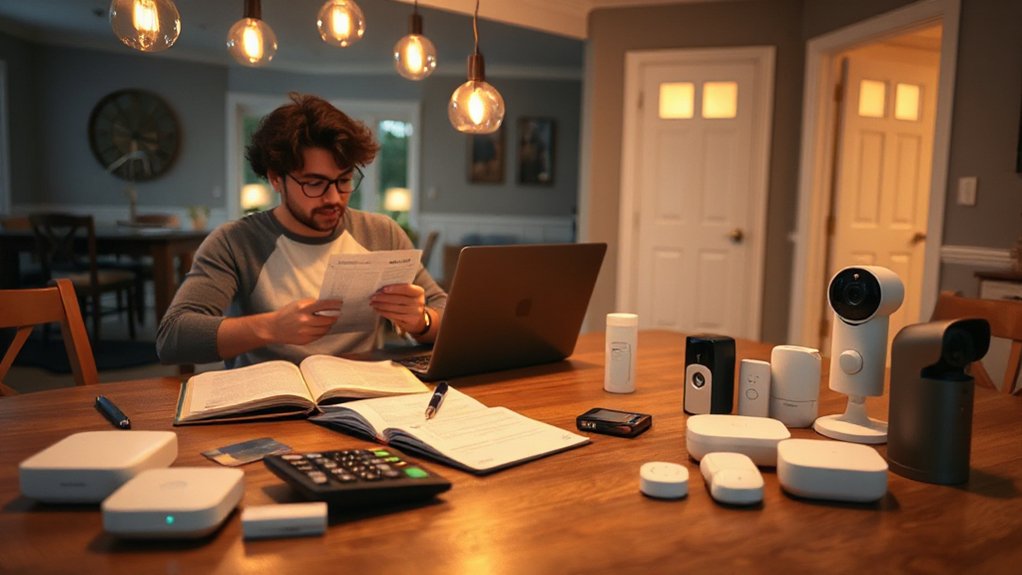
Before you buy a single camera or sensor, decide what you’re actually protecting and what you’re willing to spend. Walk your space like a designer with a checklist: entry doors, first-floor windows, garage access, dark side yards, and the hallway that funnels movement.
Rank risks—package theft, break-ins, fire, water leaks—then match coverage to priorities, not hype.
Set a clean budget in tiers: essentials now, upgrades later. Reserve money for reliable power, mounts, and a small battery backup, because failure points ruin the look and the plan.
Tie choices to Home automation only when it reduces friction: auto-lock at night, lights on at arrival, alerts when you’re away.
Include Emergency preparedness: siren, notifications, and a simple response routine.
Choose a Platform (Alexa, Google, HomeKit, Hubs)
Once you’ve set priorities and a clean budget, pick the platform that will quietly run the show: Alexa, Google Home, Apple HomeKit, or a dedicated hub. Treat it like your control room—one app, one set of rules, fewer visual distractions.
If you want effortless voice assistant compatibility, match the platform to the speakers you already trust. Alexa feels broad and flexible; Google excels at natural commands and context; HomeKit stays polished, private, and consistent across Apple devices.
Prefer a cleaner, low-clutter setup? A hub can hide complexity, keep automations local, and reduce Wi‑Fi chatter.
Check Smart home integration before you buy anything: supported brands, sensor types, and whether routines trigger fast. Also note how alerts surface—lock screen, watch, or tablet wall display.
Start With a Basic Kit (Tiers for Any Budget)
With your platform picked, you can keep the rest of the system tidy by starting with a small, purpose-built kit instead of a cart full of mismatched gadgets. Choose a starter bundle with a hub, two entry sensors, and a motion sensor—clean lines, minimal cabling, and quick Wireless connectivity.
On a tight budget, grab a hub + sensors kit and add one keypad later; you’ll still get dependable alerts and Smart home integration.
Mid-tier, step up to a kit with a louder siren, extra sensors, and a compact keypad that tucks near the door without visual clutter.
Premium, look for better build materials, longer battery life, and optional cellular backup for a seamless, no-drama setup.
Keep additions symmetrical: pair sensors per doorway, hide hubs in open shelving, and label everything.
Pick Cameras: Placement, Storage, and Subscriptions
Where should cameras go so they protect your home without turning it into a studio set? Start with sightlines: a doorbell view at face height, an exterior corner covering the driveway, and one discreet indoor angle on main circulation—not bedrooms. Mount high enough to deter tampering, but low enough to catch faces, not just hats. Hide wires in paintable raceways and match housings to trim for a clean look.
Next, choose Camera resolution that fits your space. 2K helps identify details at distance; 1080p suits tight entryways. Decide how you’ll keep footage: microSD offers privacy and no fees, but risks loss if stolen. Cloud storage adds off-site safety; check retention days, download limits, and per-camera subscription costs.
Add Sensors: Entry Points, Motion, Smoke, Water
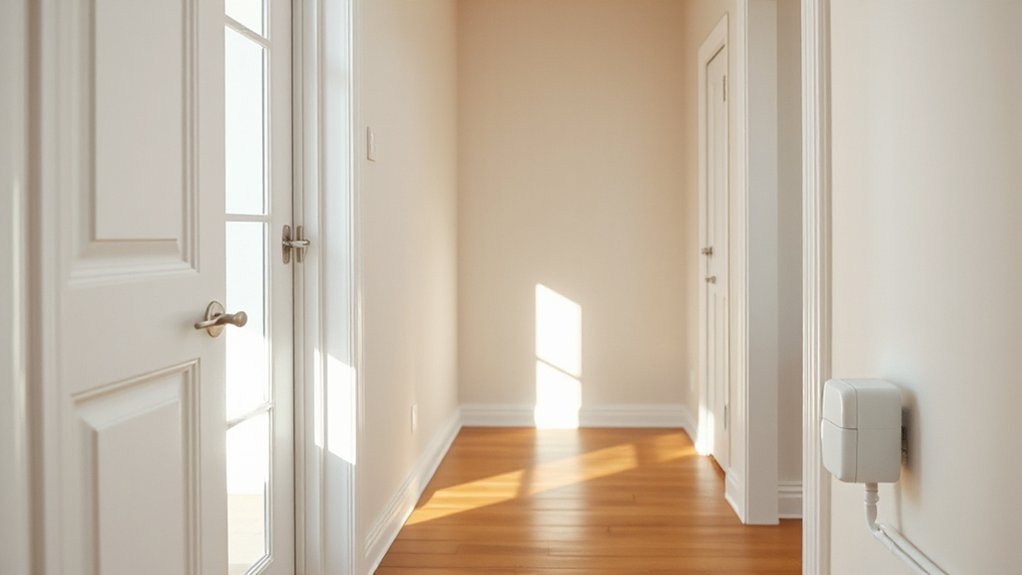
Although cameras handle the “what,” sensors handle the “when”—quietly adding trigger points that don’t clutter your walls or your headspace.
Start with entry sensors on doors and ground-floor windows; align magnets cleanly, keep gaps tight, and hide them on the hinge side for a calmer look. Prioritize sensor placement where you naturally pass: a hallway corner or stair landing.
Angle motion sensors away from HVAC vents and direct sun to cut false alerts, and set pet-friendly sensitivity if needed.
Add smoke and CO sensors near bedrooms and on each level, then place water sensors under sinks, behind toilets, and by the washer or water heater.
Tighten device integration in one app so alerts stack neatly, not noisily.
Decide on Smart Locks vs. Video Doorbells
If you want your front entry to feel secure without looking like a gadget showroom, decide whether you need controlled access (a smart lock) or better awareness (a video doorbell).
Smart lock advantages show up in clean lines and fewer add-ons: you keep your existing hardware style, skip key clutter, and manage codes for guests, cleaners, or kids. Look for a low-profile keypad, quiet motor, and a finish that matches your handle set.
Video doorbell features lean into visibility without bulk. Choose a slim unit, a lens that handles backlight, and discreet night vision. Prioritize fast alerts, package zone options, and two-way audio that doesn’t sound tinny.
If you rent, pick models with minimal drilling and removable mounts.
Place Devices for Full Coverage (Room-by-Room Map)
Sketch a room-by-room map and start at your entry points and perimeter—doors, ground-floor windows, garage—so each sensor and camera forms a clean, continuous boundary.
Next, cover high-traffic interior zones like hallways, stairs, and the path from entry to living spaces, keeping placements tidy and symmetrical for reliable triggers.
Then hunt blind spots and check sightlines at corners, behind furniture, and near glass, adjusting angles and heights until there’s nowhere to slip through unseen.
Entry Points And Perimeter
When you map your entry points and perimeter room by room, you turn scattered devices into a clean, continuous layer of coverage. Start with every exterior door: add a slim contact sensor, align it flush, and hide the magnet edge for a tidy line.
At doorframes, mount a compact camera high enough to avoid glare yet low enough for faces, then angle it to see the threshold, not the whole room.
For ground-floor windows, use low-profile sensors and place glass-break sensors where curtains won’t block them.
Extend to garages, side gates, and patio sliders with weather-rated sensors.
Plan Security system integration so alerts unify, not overlap.
Prioritize Privacy protection by masking neighbor sightlines and disabling audio outdoors.
Keep cables concealed and finishes matched.
High-Traffic Interior Zones
Where do people naturally funnel once they’re inside? Map those interior corridors first: foyer to hallway, hallway to living room, living room to kitchen. Place one motion sensor at each passage, mounted high and centered so it disappears into trim lines.
Add a compact indoor camera on a bookshelf or console, aligned with your room’s symmetry and cable-managed behind décor. In open-plan spaces, anchor devices near the main seating path, not the TV wall, to keep your layout calm.
Pair sensors with Smart lighting so movement triggers subtle, even illumination instead of harsh glare. Use Voice automation to arm “Home” or “Night” modes from the hallway without touching anything.
In bedrooms, keep coverage minimal: a door sensor plus bedside control, no clutter.
Blind Spots And Sightlines
High-traffic sensors catch movement, but blind spots still hide in corners, behind open doors, and along long, flat walls.
Walk each room like a camera: stand at entrances, then trace your sightlines to the farthest window and the darkest recess.
Mount motion sensors high in a corner, angled to skim across the room, not straight at furniture.
Keep lenses clear of plants, pendant lights, and shelving edges that create shadowy wedges.
For hallways, aim coverage down the length; for living rooms, split zones with a second sensor if the sofa blocks view.
Place a door sensor on the frame’s tight side, and a camera where it sees faces, not just backs.
Sketch it. Adjust until gaps vanish.
Choose DIY or Professional Monitoring (Real Costs)
Now you’ve mapped coverage, you’ve got to choose: DIY alerts you manage, or professional monitoring that calls for you—and charges monthly.
Compare real totals, not sticker prices: equipment, subscriptions, cloud storage, cellular backup, plus hidden fees, contracts, and cancellation terms.
Then weigh the quiet value of peace of mind against what you’re willing to handle at 2 a.m.
DIY Vs Monitored Costs
How much will your smart home security system really cost once you move past the glossy kit price—DIY vs professional monitoring? DIY looks lean: you buy sensors, a hub, maybe a camera, then you self-monitor with app alerts. Your ongoing spend stays low, and you can prioritize Energy efficiency—automations that dim lights, lock doors, and idle HVAC when you arm the system.
With Appliance integration, you can pair sirens with smart plugs to cut power to risky devices on command.
Professional monitoring shifts costs from hardware to service. You’ll often choose fewer, higher-grade sensors, plus a cellular backup, because reliability matters when you’re not watching. You pay monthly, but you also buy faster response, verified events, and calmer nights.
Hidden Fees And Contracts
Even if the kit price fits your budget, the real bill can swell once hidden fees and contract terms show up. With professional monitoring, watch for activation charges, cellular backup add-ons, extra sensors, and “free” equipment that’s repaid through higher monthly rates. Ask for an itemized quote, not a teaser price.
Read the cancellation window, auto-renew language, and early-termination penalties; a low promo can lock you in for 24–36 months. Check whether price hikes are allowed mid-contract. Also confirm who owns the hardware after you cancel.
If you go DIY, you dodge long commitments, but you might still pay cloud storage, app features, batteries, and replacement parts. Put every fee on one clean spreadsheet before you buy.
Value Of Peace Of Mind
While it’s easy to compare gear and monthly rates, the real decision comes down to what helps you sleep—DIY alerts you manage yourself, or professional monitoring that responds when you can’t. DIY feels clean: one-time sensor costs, app pings, and your routine. But you also pay in attention—missed calls, dead batteries, travel gaps.
Professional monitoring adds a monthly bill, yet it buys coverage when you’re in a meeting, asleep, or offline; response and dispatch are the real costs. Price it like insurance: what’s one avoided loss worth?
Whichever path you choose, demand Wireless encryption, tighten device permissions, and prioritize User privacy. Peace of mind looks like fewer notifications—and a system you trust.
Secure Your Network and Accounts (Wi‑Fi, MFA, VLAN)
If you lock down your network and accounts first, your cameras and sensors stop being easy targets and start acting like true security gear. Start at the router: enable WPA3, strong passphrases, and Network encryption end‑to‑end. Change default admin logins, turn off WPS, and keep firmware on auto‑update.
Next, add MFA to every smart‑home, email, and cloud account. Use a password manager, unique passwords, and recovery codes stored offline.
Then segment your layout with a VLAN: put IoT devices on their own network, keep phones and laptops separate, and block device‑to‑device chatter unless needed.
Finally, verify Cloud backups and audit permissions—only the accounts you trust should see your feeds.
Conclusion
You started wanting “just a camera,” and now you’ve mapped doors, windows, and budgets like a tiny architect of peace. You chose a platform, plugged in a hub, then calmly added eyes, ears, and sensors—fire, water, motion—because nothing says relaxation like planning for chaos. You weighed locks versus doorbells, DIY versus pros, and paid attention to placement. Finally, you locked down Wi‑Fi, MFA, and segmentation—so your smart home won’t be the easiest target.