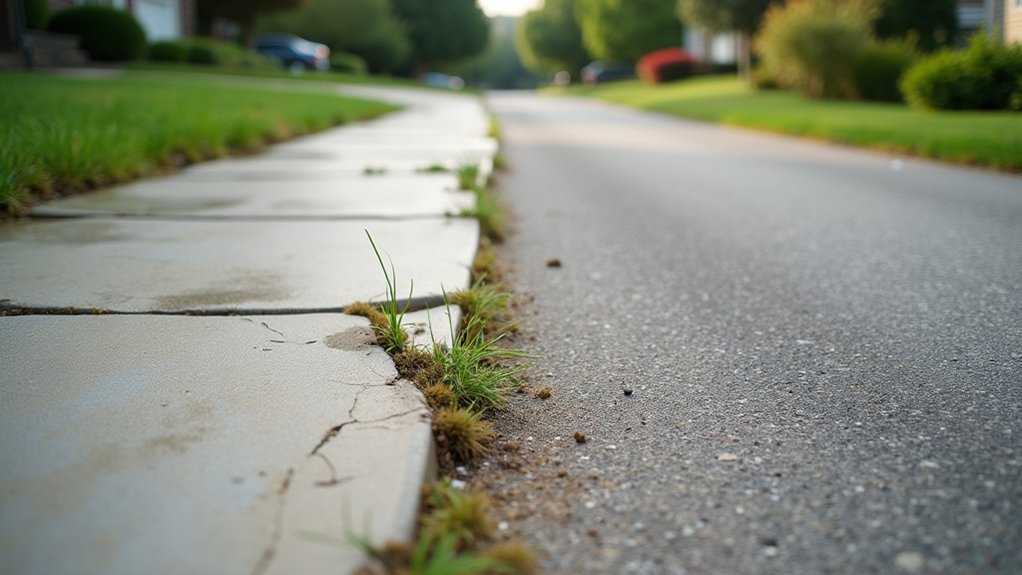

You might not know that most “ugly” driveways aren’t failing because of age—they’re failing because water keeps getting trapped under the surface. You see cracks, crumbling edges, oil stains, and low spots, but the real issue is usually drainage plus sun and traffic stress. If you clean it the right way and fix water flow before you patch or seal, your repairs actually last. The key is spotting which problems are cosmetic and which are structural—because one wrong move can lock in damage.
Inspect Your Driveway: Damage, Stains, Drainage
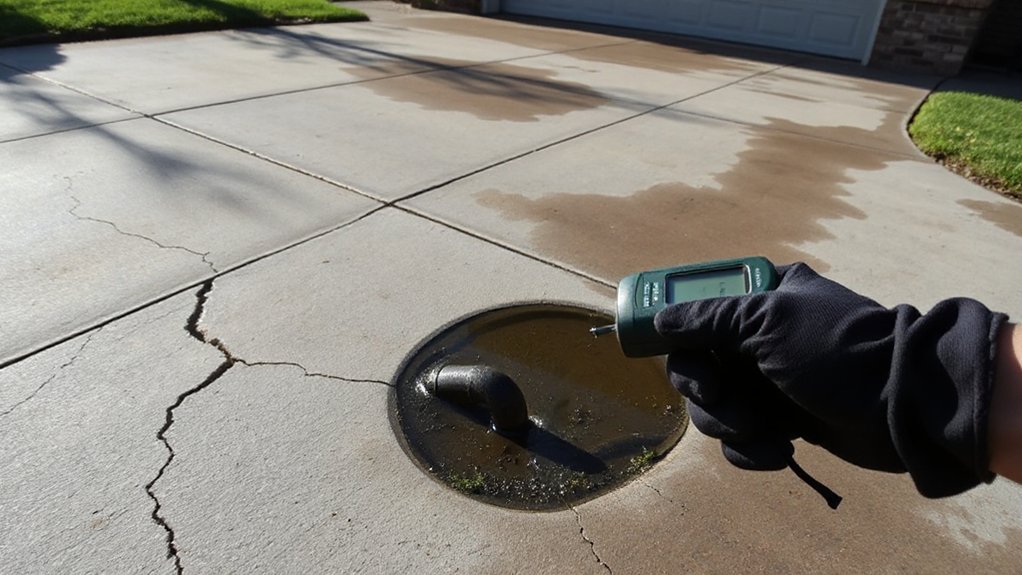
Before you spend money on resurfacing or replacements, take a hard look at what’s actually making your driveway look rough: cracks and crumbling edges, oil and rust stains, and water that pools or flows toward your garage. Walk it slowly and mark defects with chalk so you can prioritize.
Probe crumbling corners with a screwdriver; if aggregate falls away, you’ll need patching, not just sealing.
Treat stains like a curb-appeal audit: degrease oil spots, use an oxalic-based cleaner for rust, then rinse thoroughly.
For drainage, run a hose and watch the path; note low spots, clogged joints, and gaps near the apron.
Keep nearby beds tidy—garden maintenance prevents soil washout.
Add driveway lighting to reveal texture, stains, and puddles at night.
What’s Causing the Problem (Water, Sun, Traffic)?
You’re usually dealing with three culprits: water, sun/heat, and daily traffic.
You’ll spot water damage through pooling, soft spots, and spreading cracks, while UV and heat fade color and dry out binders, making surfaces brittle.
Then look at traffic wear patterns—tire tracks, rutting, and edge crumble—to pinpoint what’s stressing your driveway most so you can choose the right fix.
Water Damage Warning Signs
Although a driveway can look “fine” from the street, water damage often shows up early in subtle ways—pitting, hairline cracks that widen after rain, dark stains that don’t dry out, and low spots where puddles linger for hours.
Check edges near downspouts, sprinklers, and garage doors; you’ll often see crumbling joints, algae slicks, or a wavy surface where the base is softening. If water runs toward your slab instead of away, freeze-thaw cycles can pry cracks open and pop small chunks loose.
You can also spot trouble where your landscaping design traps runoff against borders or where lighting fixtures and wiring channels create tiny depressions. Mark puddle zones, inspect after storms, and plan grading, drains, and sealing before the damage spreads.
Sun And Heat Effects
When your driveway bakes in full sun day after day, heat doesn’t just fade the color—it accelerates wear from the top down. UV rays break down binders in asphalt and dry out concrete, leaving the surface chalky, brittle, and more prone to micro-cracking.
These heat effects also expand and contract the slab, widening tiny gaps that quickly become visible seams and rough patches.
You can curb sun damage by applying a quality sealer on a schedule that matches your material and climate, not a one-size-fits-all timeline. Improve resilience with light-colored, UV-resistant coatings where appropriate, and keep the surface clean so heat isn’t amplified by dark stains.
If cracking starts, seal it early to block further breakdown and keep your curb appeal sharp year-round.
Traffic Wear Patterns
Heat and UV can weaken a driveway’s surface, but traffic usually turns that weakness into the wear you actually see. Repeated tire paths grind off sealer, polish aggregate, and deepen ruts where the base compacts.
If you always park in the same spot, you’ll get dark oil shadows and shiny “tracks” that make driveway aesthetics look uneven and dated. Heavy deliveries accelerate cracking, especially at edges where support is thin.
Fix it by rotating parking positions, cleaning spills fast, and resealing on schedule. If ruts or alligator cracks have formed, you’ll need patching and base correction—not just a cosmetic coat.
Consider widening tight turns, adding edge restraints, and improving landscape integration with borders that protect margins from rollover damage. These changes keep wear predictable and the surface looking intentional.
Clean It Right: Pressure Wash, Degrease, Kill Weeds
Before you think about stains, sealers, or resurfacing, get the basics right by giving your driveway a thorough, targeted clean. Start with a pressure wash using a wide fan tip to lift grime without etching concrete; keep the wand moving and work in consistent passes.
Treat oil spots with a concrete-safe degreaser, scrub with a stiff brush, and rinse hot if you can.
Don’t ignore the edges: pull weeds, then spot-treat cracks with a non-staining herbicide or boiling water, and re-sweep debris.
Once it’s clean, you’ll see where traffic wear ends and cosmetic issues begin, helping your landscaping design read intentional.
Finish by revitalizing lighting options so the now-clean surface looks crisp after dark, too.
Fix Drainage First: Slopes, Downspouts, Channels
Before you resurface anything, you’ve gotta fix drainage so water stops staining, cracking, and washing out your driveway. Check that the driveway slope sheds water away from your house.
Then redirect downspouts so they don’t dump runoff onto the slab. If puddles still form, install a low-profile drainage channel to capture flow and move it where it belongs.
Check Proper Driveway Slope
If rainwater consistently pools on your driveway or creeps toward your garage, your slope is the first thing to check because even a great surface can’t outperform bad drainage. You want a consistent pitch that carries water away from the house, not into low spots.
Use a 4-foot level or straight board and measure drop; even small variations can trap water and stain the surface. Mark problem areas, then regrade the base, add a tapered overlay, or lift settled sections to restore a smooth fall.
As you correct slope, keep finishes in mind: decorative borders should follow the new grade, and recessed lighting options must sit above water paths so they don’t become puddle magnets.
Finish by rechecking flow after a hard rinse test.
Redirect Downspout Discharge
When your downspouts dump roof runoff straight onto the driveway, they overwhelm the surface, carve out stains, and turn minor dips into chronic puddles. Your quickest fix is to redirect that discharge so water leaves the concrete or asphalt fast and predictably.
Start with gutter maintenance: clear clogs, reseat loose elbows, and confirm each downspout actually carries flow.
Then add a downspout extension and aim it toward a safe, lower area of your yard, at least several feet from the drive and foundation. If you’ve got tight space, use a hinged extender or a buried solid-line pipe to a daylight outlet.
Set splash blocks where water hits soil to prevent erosion. This simple rainwater management step reduces freeze-thaw damage and algae streaks.
Install Drainage Channels
Still getting puddles after you’ve handled slope and downspouts? Install a linear drainage channel where water naturally collects—typically at the garage threshold, along the apron, or at the low point near the street.
Choose a polymer concrete or PVC trench drain with a load-rated grate, then set it in concrete so it won’t shift under tires. Pitch the channel 1/8 inch per foot toward a solid outlet: a pop-up emitter, dry well, or approved storm connection.
Keep grates flush with the surface to prevent trip hazards and plow snags. Finish cleanly with landscape edging to define the run and protect surrounding mulch.
Add low-profile garden lighting nearby so the grate line looks intentional after dark too.
Driveway Crack Repair: Concrete vs. Asphalt Fixes
Although all driveway cracks look like the same annoying blemish from the curb, concrete and asphalt don’t fail—or get fixed—the same way. On concrete, hairline cracks often come from shrinkage; you’ll get the cleanest result by routing and sealing with a flexible polyurethane or epoxy made for concrete.
For wider gaps, use a concrete crack filler that bonds, then smooth it flush to keep water out and prevent edge chipping.
Asphalt cracks usually signal aging binder and UV damage. You’ll want a rubberized crack sealant for small splits, then a quality sealer coat after repairs cure to restore a uniform, dark finish.
Stay on a yearly driveway maintenance rhythm, and you’ll lock in both durability and aesthetic improvement without overhauling the whole surface outright.
Level Low Spots: Patch, Regrade, Re-Lay Pavers
Cracks might grab your attention first, but low spots are the real curb-appeal killers because they hold water, collect grime, and telegraph that the base has shifted.
Start by diagnosing the dip: if it’s concrete or asphalt, you can patch small depressions with the right cold patch or resurfacing mix, then feather the edges so tires don’t catch.
If the settlement keeps returning, you’ll need to regrade—excavate, correct drainage, and rebuild the base with proper soil compaction in lifts.
For pavers, pull the sunken section, reset the bedding layer, and re-lay to match the surrounding slope.
Lock everything in with modern edging techniques so the fix stays crisp through freeze-thaw and traffic.
Refresh the Surface: Seal, Re-Sand, Re-Top by Type
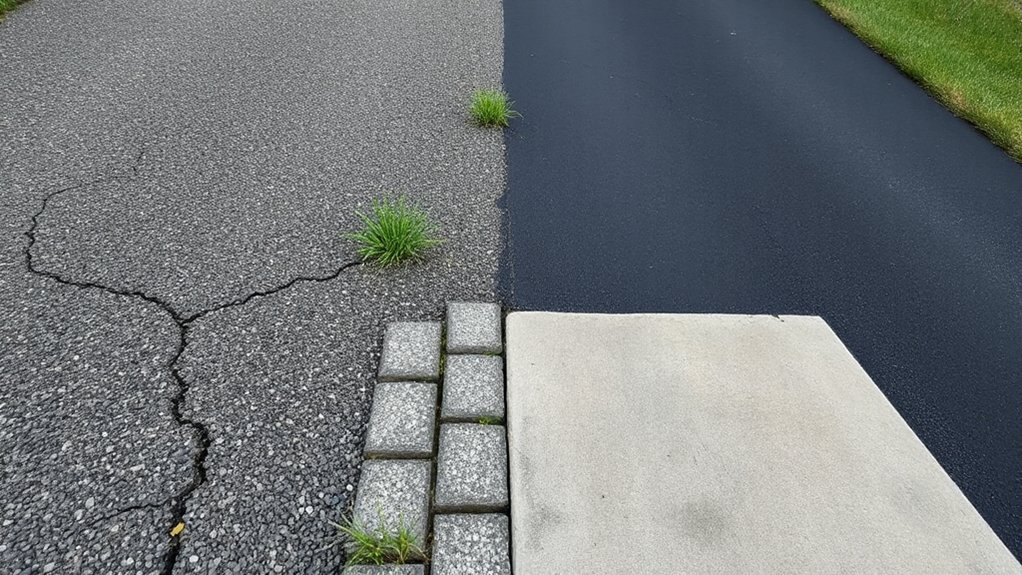
Once you’ve corrected the underlying grade and drainage, revitalizing the surface is the fastest way to make your driveway look intentional again—and it’s not a one-product-fits-all job.
For asphalt, clean, treat oil spots, then apply a quality sealer in thin coats for a uniform, satin finish.
For concrete, pressure-wash, patch hairline pits, and use a penetrating sealer; consider a tinted microtopping if you want a modern, monolithic look.
For pavers, re-sand joints with polymeric sand, mist to set, and add a matte paver sealer to deepen color and block weeds.
Tie it into garden landscaping with crisp edging, and upgrade outdoor lighting to wash the renewed surface for instant curb appeal at night.
When to Repair vs. Replace (Cost and Warning Signs)
If your driveway still looks rough after a surface refresh, you’re probably at the decision point: repair what’s failing now or replace the whole thing before small defects turn into a full-blown mess.
Repair makes sense when cracks are hairline, settling is minor, and drainage still works. Budget for patching, crack fill, and spot leveling; it’s typically a fraction of replacement and preserves driveway aesthetics fast.
Replace when you see widespread alligator cracking, heaving, potholes returning, crumbling edges, or water pooling near the garage—those are base failures, not surface issues. Also replace if stains and mismatched patches create a “quilted” look that fights curb appeal.
A full redo lets you reset slope, widen where needed, and plan landscaping integration with borders, lighting, and clean transitions.
Conclusion
You’ve spotted the cracks, stains, and puddles—and now you know they’re not random. If you ignore them, water and traffic will keep widening every flaw until repair turns into replacement. Start with drainage, then clean hard, fill cracks with the right product for your surface, and level low spots before you seal or resurface. But here’s the suspense: the next heavy rain will reveal whether you fixed the real problem—or just hid it.