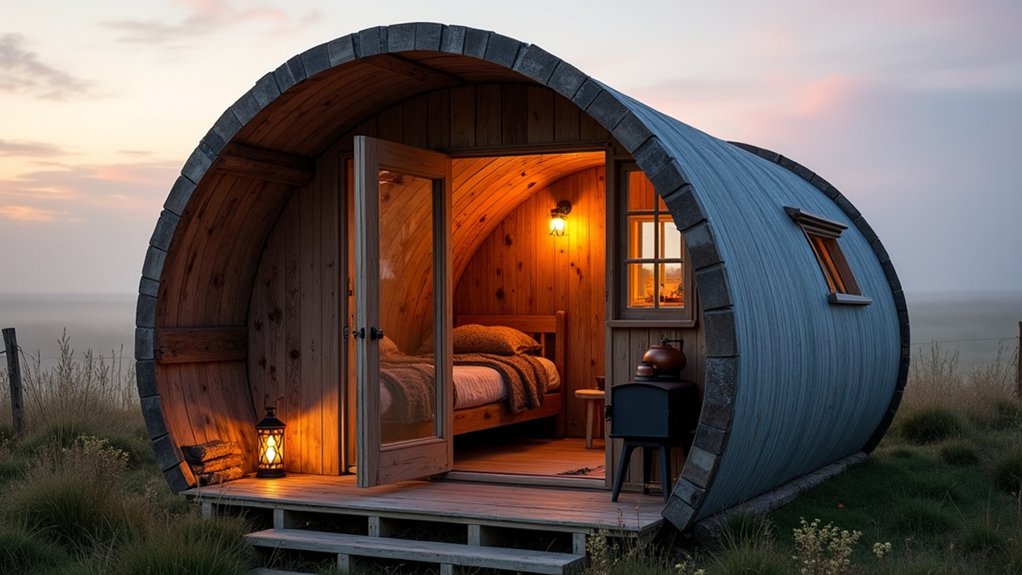

You start by deciding how you’ll actually use the hut—weekend hideaway, work pod, or guest space—because that choice drives every layout and budget call. You’ll check access, permits, and groundworks early, then plan a tight footprint around a bed nook, compact kitchen, and heat source. Insulation, ventilation, and low-glare lighting matter more than décor trends. Get those right, and the “cosy” part becomes effortless—if you avoid one common mistake that ruins the whole feel…
Decide How You’ll Use the Shepherd’s Hut
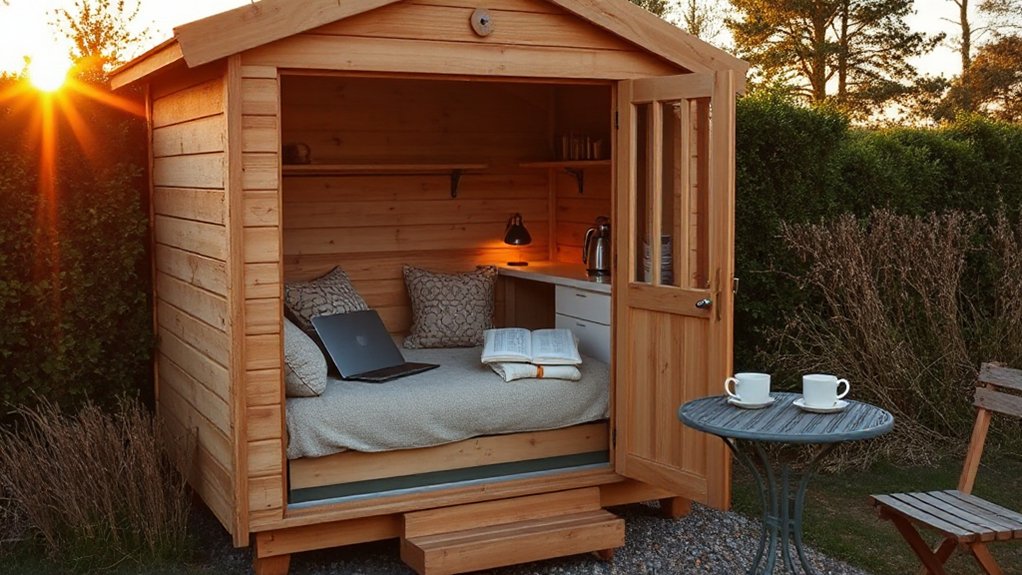
Before you pick finishes or furniture, get crystal-clear on how you’ll actually use the shepherd’s hut, because that choice drives everything from layout to insulation.
If it’s a weekend sleep pod, prioritize a full-width bed, dimmable reading lights, and just enough storage for duvets and boots.
If it’s a work studio, you’ll want a desk facing daylight, acoustic softening, and reliable heat for long sits.
For hosting, plan flexible seating, a fold-down table, and easy-clean surfaces.
Match Shepherd’s hut decor to the purpose: calm neutrals for rest, warm timber and brass for “cabin-chic,” or sleek black accents for a modern micro-luxe feel.
Coordinate outdoor landscaping with your routine—gravel paths, a small deck, and wind-sheltering planting.
Check Site Access, Permits, and Groundworks
Although a shepherd’s hut feels “small and simple,” you’ll save yourself major cost and hassle by treating the site like a proper mini-build: confirm vehicle access for delivery (gate width, turning circle, overhead branches, soft verges), check what your council classifies it as (mobile structure vs. accommodation) and whether you need planning permission, a site licence, or building regs sign-off.
Sort the groundworks early so it sits level, dry, and stable.
Map services runs (water, power, drainage) and locate any buried cables before you dig.
Choose a base that suits your ground: compacted hardcore with pads, screw piles, or concrete piers for wet sites.
Add French drains and a gravel skirt to stop splashback and rot.
Plan Site security from day one with lockable gates, motion lighting, and discreet storage.
Document permit requirements in writing and keep approved plans on site.
Set Your Shepherd’s Hut Budget (With Priorities)
Once you’ve confirmed access and groundworks, lock in a realistic hut budget by ranking what you won’t compromise on (weatherproof shell, safe electrics, proper insulation) versus what you can stage later (built-ins, décor, premium finishes).
Price the base hut, delivery, and crane/telehandler time, then add a 10–15% contingency for surprises like damp-proofing upgrades or timber price swings.
Use Budget prioritization to protect performance first: airtightness, ventilation, certified wiring, and durable cladding finishes that won’t need redoing.
Then apply design flexibility: choose modular shelving, removable wall panels, and click-fit flooring you can upgrade after a season of use.
Get itemised quotes, compare lead times, and schedule purchases around sales on appliances, lighting, and sustainable paints.
Track everything in a simple spreadsheet and keep decisions consistent.
Choose a Layout: Bed, Stove, Kitchen, Bath
Three layout decisions set the tone for everything that follows: where the bed sits, where the stove vents, and how the kitchen and bath share the remaining wall and floor space.
Put the bed in the quietest end, ideally under a window, and build drawers under it so you don’t waste a single inch.
Place the stove near the centerline so the flue runs straight up, and keep a clear circulation path past it.
Run a single “wet wall” for sink, shower, and compact water heater, then tuck a slide-door WC opposite to preserve elbow room.
Choose a slim galley kitchen with tall pantry storage.
Let Shepherd’s hut decoration stay calm inside; test Exterior paint options outside to signal style.
Insulate the Shepherd’s Hut (Walls, Floor, Roof)
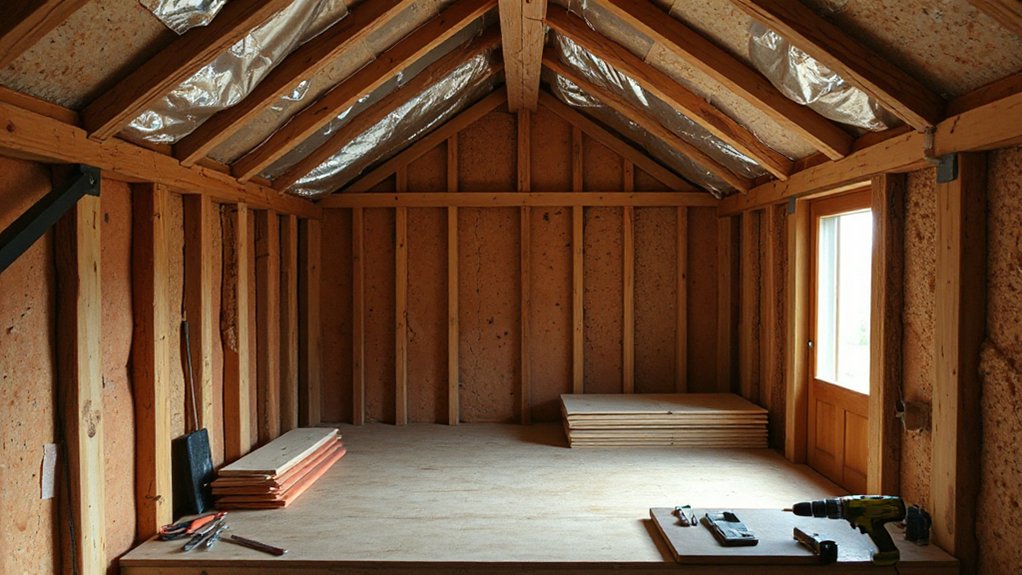
Once you’ve locked in the layout, you’ll make the hut truly cosy by insulating the walls and roof with slim, high‑performance boards or wool batts that fit tight between studs and rafters.
Next, you’ll insulate the floor with rigid foam or mineral wool and seal every edge so draughts can’t creep up from below.
Finally, you’ll add smart vapour control—taped membranes on the warm side and breathable layers where needed—so you stop condensation and keep the build dry.
Wall And Roof Insulation
How do you make a shepherd’s hut feel snug year‑round without losing its character? Start by respecting Shepherd’s hut architecture and its historical significance: keep curved ribs, tongue‑and‑groove lining, and window reveals visible, then insulate behind them.
For walls, fit breathable wood‑fibre or sheep’s‑wool batts between studs, tape joints, and add a smart airtightness layer to stop drafts without trapping moisture. Where space is tight, use thin aerogel blanket panels around door frames and corners.
For the roof, follow the barrel curve with flexible insulation, then add a continuous foil‑faced board layer to reduce thermal bridging. Seal around roof lights and stovepipe collars with high‑temp gaskets.
You’ll cut condensation risk and heat loss while keeping that authentic, cabin‑warm look.
Floor Insulation And Vapour Control
With the walls and barrel roof tightened up, you’ll feel any remaining heat loss underfoot, so the next upgrade is floor insulation paired with smart vapour control.
Lift the deck boards, check the chassis for rust, and fit rigid PIR between joists for high R‑value in minimal depth. Seal edges with foil tape and spray foam, then add a taped vapour control layer on the warm side to stop moist indoor air reaching cold steel.
Keep a small ventilation gap below the insulation, and avoid trapping water against metal. Refit boards with screws for future access, then add a durable, washable finish that suits Shepherd’s hut aesthetics.
From outside, you won’t change exterior design, but comfort upgrades make the retreat feel premium.
Add Windows, Vents, and Condensation Control
Although the timber cladding and insulation do most of the heavy lifting, you’ll only keep a shepherd’s hut truly cosy if you get daylight, airflow, and moisture control working together.
Start with smart Window placement: put a main pane on the sunniest elevation, keep sill heights low for seated views, and balance it with an opening window opposite for cross-breeze. Choose double-glazed units with trickle vents, or retro-fit slimline secondary glazing to cut drafts without losing character.
Fit a small roof vent or high-level louvre to purge warm, humid air after cooking and sleeping. Add condensation vents behind cupboards, under bench seating, and in closed storage bays so stagnant pockets don’t form.
Seal gaps, but don’t over-seal; you’re aiming for controlled, quiet breathing.
Plan Power: Mains, Solar, or Battery Setup
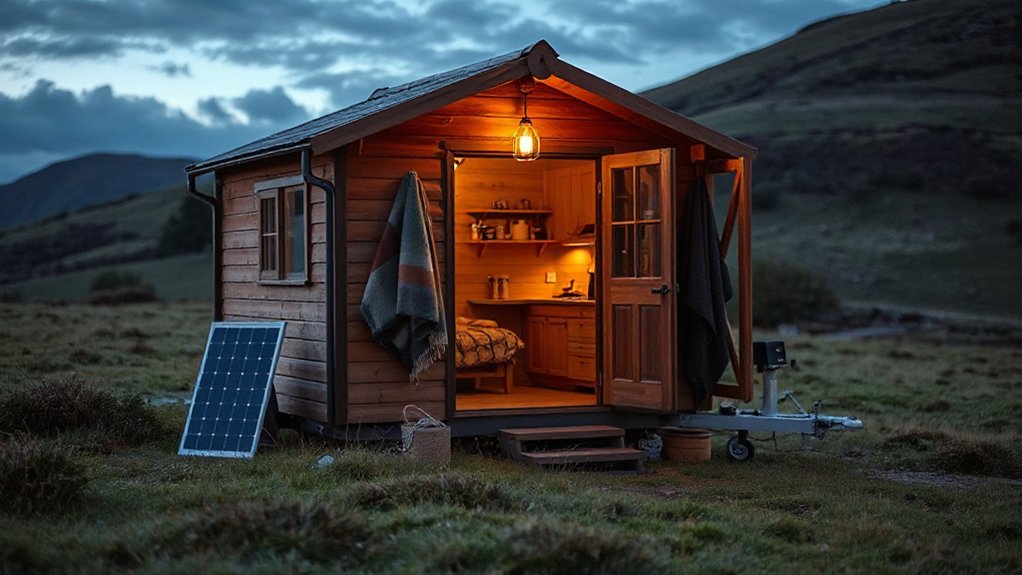
Start by totaling your real-world load—lighting, fridge, phone/laptop charging, water pump, and any heat source—so you can size cables, fusing, and a mains hook-up or off‑grid system without guesswork.
If you’re going solar, match panel wattage to your roof space and seasonal yield, then choose an inverter (pure sine is the current baseline) that can handle surge loads from motors and kettles.
Round it out with battery storage sized in usable kWh and a backup plan—shore power, a small generator, or a DC‑DC charger from a vehicle—so you’re not rationing power on grey weeks.
Assessing Power Demand
Before you buy panels or book an electrician, map your hut’s real power demand so you can choose between a simple mains hookup, a solar‑plus‑battery setup, or a compact battery system you top up as needed.
List every device, its wattage, and daily hours: lights, water pump, phone/laptop charging, fridge, extractor fan, and any electric cooking or kettle loads.
Multiply watts × hours to get watt‑hours per day, then add a 20% buffer for winter darkness and guests.
Note peak loads too; a kettle spikes differently than LEDs.
Track power consumption for a week with a plug‑in meter, and budget energy conservation upgrades first: low‑draw LEDs, efficient fridge, USB‑C charging, timed ventilation, and thermal layers to avoid electric heating.
Solar And Inverter Options
Once you’ve totalled your daily watt‑hours and spotted your peak loads, you can pick a power plan that won’t leave you rationing lights on a cloudy weekend: mains hookup, solar with battery storage, or a portable battery system you top up as needed.
If you’ve got reliable grid access, a small consumer unit and outdoor-rated inlet keep installs tidy and future-proof.
For off-grid, prioritise Solar panel placement: aim south-facing, tilt for your latitude, and avoid hut shadows from chimneys, trees, and roof racks; even partial shading can kneecap output.
Choose an inverter sized to your peak surge (kettle, induction, tools) and check inverter compatibility with your chosen PV controller and system voltage (12/24/48V).
Pure-sine models run laptops, pumps, and audio gear quietly.
Battery Storage And Backup
Although solar panels and inverters get most of the attention, your battery bank decides whether the hut feels effortless after dark or turns into a constant game of power triage. Size it from real loads: lights, fridge, water pump, Wi‑Fi, and a kettle spike.
For weekend use, LiFePO4 gives higher usable capacity, faster charging, and longer cycle life than lead‑acid, with less venting and weight. Add a shunt monitor so you’ll track state‑of‑charge, not guess.
If you’ve got mains hookup, use a smart charger and keep a small portable power station as backup. Off‑grid, build in redundancy: DC fuse block, spare fuses, and a manual bypass.
Hide cabinets behind outdoor decor, and route conduits under paths per landscaping ideas too.
Plan Water and Waste: Tank, Toilet, Drainage
Because water and waste systems dictate how “off‑grid” your hut can realistically feel, you’ll want to map your tank, toilet, and drainage as one integrated plan—starting with where you can legally collect or connect water, how you’ll vent and service the toilet, and where greywater can safely disperse without saturating the base.
Site a frost-rated tank low and central, add an accessible shutoff, and run short, insulated lines to reduce leaks.
Choose a separating composting toilet or cassette unit if access is tight; route the vent straight up, and plan an exterior service hatch.
For greywater, fit a small filter, then pipe to a gravel soakaway or planter bed, keeping clear of wheels and skids.
Specify Eco friendly materials for pipe clips and sealants, and hide runs behind interior decor panels.
Choose Heating: Wood Stove vs Electric
Next, you’ll choose between a wood stove’s punchy radiant heat and crackling ambience, or electric heating’s clean, dial‑in control.
You’ve got to weigh installation and safety—flue and clearances versus cabling, load limits, and moisture protection in a tiny build.
Then you’ll compare running costs and efficiency, factoring fuel storage and sourcing against your tariff, insulation level, and how often you’ll actually heat the hut.
Heat Output And Ambience
When you’re turning a shepherd’s hut into a true micro‑retreat, your heating choice sets both the comfort level and the vibe—so weigh heat output against the kind of ambience you want to live in.
A wood stove delivers punchy radiant heat that warms bodies and surfaces fast, boosting thermal comfort even when the air temp lags. It also creates that slow, flickering “cabin-core” glow, plus the ritual of tending fuel—just keep Fire safety front of mind in how you operate day to day.
Electric heaters give predictable, dialed-in warmth with minimal warm-up time in small volumes, and they’re great for maintaining an even baseline overnight. You trade flame ambience for clean lines, quiet operation, and a more Scandi, uncluttered feel.
Installation And Safety
Heat and ambience matter, but installation and safety decide whether your shepherd’s hut feels like a calm micro‑retreat or a constant worry.
If you choose a wood stove, you’ll need a non-combustible hearth, heat shields, and correct clearances to timber framing and soft Shepherd’s hut decor. Route a flue with an insulated twin-wall system, flash the roof properly, and add a spark arrestor where required. Fit a CO alarm and a smoke alarm, and store kindling in a lidded box.
For Historical preservation, keep penetrations minimal and reversible.
If you go electric, prioritise a dedicated circuit, RCD protection, and quality cable management to avoid trip hazards. Use wall-mounted or low-profile units and keep textiles away. Add child guards if needed.
Running Costs And Efficiency
How much will it really cost to keep your shepherd’s hut snug through a damp weekend or a full winter season? A wood stove often wins on peak warmth per pound, especially if you can source seasoned local logs, but you’ll pay in time: hauling, lighting, ash cleanup, and chimney sweeping.
Electric heating costs more per kWh, yet it’s predictable and low‑maintenance; pair it with smart thermostats and tight insulation to cut runtime.
If you’ve got renewable energy like solar, electric radiators or an infrared panel can feel almost “free” off‑grid.
For efficiency, heat the person: use a heated throw and zoned timers.
Don’t ignore water conservation—less hot‑water demand reduces overall energy load.
Build a Bed Nook That Doubles as Seating
Although a shepherd’s hut footprint feels tight, you can carve out a bed nook that works double duty as a day bench without compromising comfort.
Set the mattress lengthways against one wall and build a low timber surround with a slightly raised backrest, so it reads as seating by day.
Use a firm, pocket-sprung or high-density foam mattress plus a tailored topper to keep the sit height right.
Add two oversized lumbar cushions and a washable throw to soften edges and match current relaxed, layered Shepherd’s hut decor.
Choose oak, larch, or painted tongue-and-groove for a crisp cabin look.
Finish with rustic accessories: wool plaid, leather pull straps, and a small swing-arm reading light for bedtime zoning.
Add Storage That Doesn’t Eat Floor Space
Once your bed nook pulls double duty as a bench, you’ll want storage that works just as hard without stealing precious walking room. Start by going vertical: fit slimline cabinets between studs, add a peg rail for daily essentials, and mount a fold-down desk with shelves above.
Use toe-kick drawers under built-ins, plus lift-up lids on the bench for bulky items.
Choose wall-hung bedside ledges instead of tables, and run a continuous shelf along the hut’s curve for books and jars. Treat joinery as decorative wall accents by mixing open cubbies with framed doors.
Keep it cohesive by matching cabinet fronts to your exterior paint options—deep greens, inky blues, or warm off-whites—and repeat the tone inside for a seamless, spacious feel.
Add labeled bins for seasonal swaps.
Finish With Lighting, Textiles, and Rustic Detail
Before you start styling, lock in a layered lighting plan and a tight palette of textiles so the hut feels warm at night without looking cluttered by day: hang a dimmable brass or matte‑black pendant on a swag hook, add a low-glare wall sconce by the bed, and tuck an LED strip under shelves for task light.
Then tune Lighting ambiance with 2200–2700K bulbs and a single dimmer zone, so you can shift from reading to wind-down fast.
Build Textile textures with one wool throw, one linen duvet, and a plaid cushion, keeping tones to oat, charcoal, and rust.
Add rustic detail sparingly: a waxed oak peg rail, forged-iron hooks, and a jute runner that hides grit.
Finish with framed maps or botanicals, not busy knick-knacks.
Conclusion
When you transform your shepherd’s hut into a cosy micro‑retreat, you’re designing small but living large. You’ve set the purpose, cleared access and permits, and spent where it counts—layout, insulation, and reliable heat. You’ve tucked in a bed nook, added vertical storage, and kept surfaces calm and clutter-free. Finish with layered lighting, tactile linens, and rustic accents like timber hooks or botanical prints. Done right, it’s a million‑mile getaway.