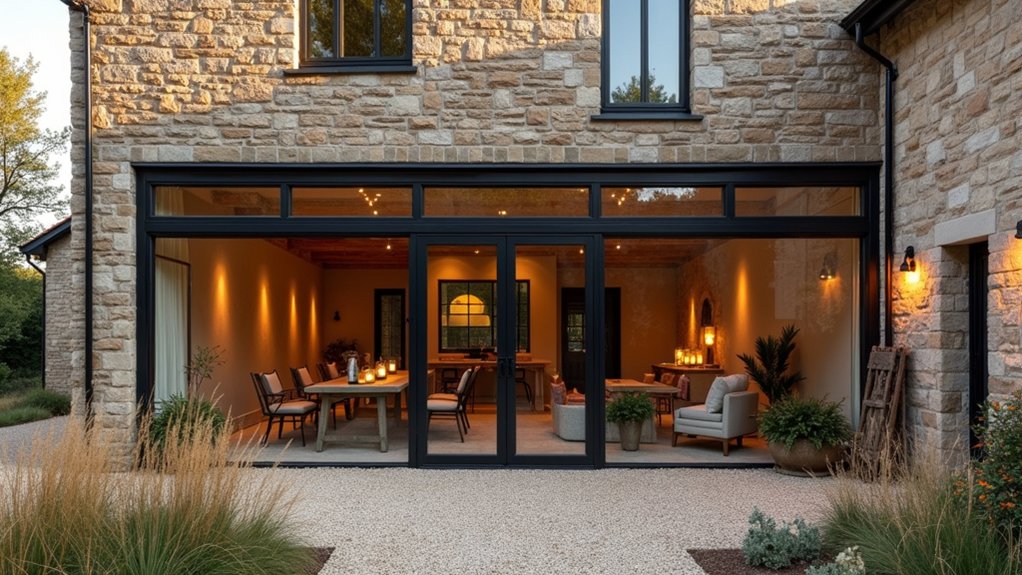

You probably don’t know that many dairy sheds were engineered for lateral loads from livestock movement, not the point loads you’ll introduce with mezzanines, glazing, and new partitions. You start by validating zoning and building control, then map the existing bay grid into a tight plan that hides services and improves flow. Next you tackle drainage, persistent ammonia residues, and vapor-open insulation so the shell can dry. Once you cut in daylight openings, the real structural trade-offs begin…
Check If Your Dairy Building Can Be Converted
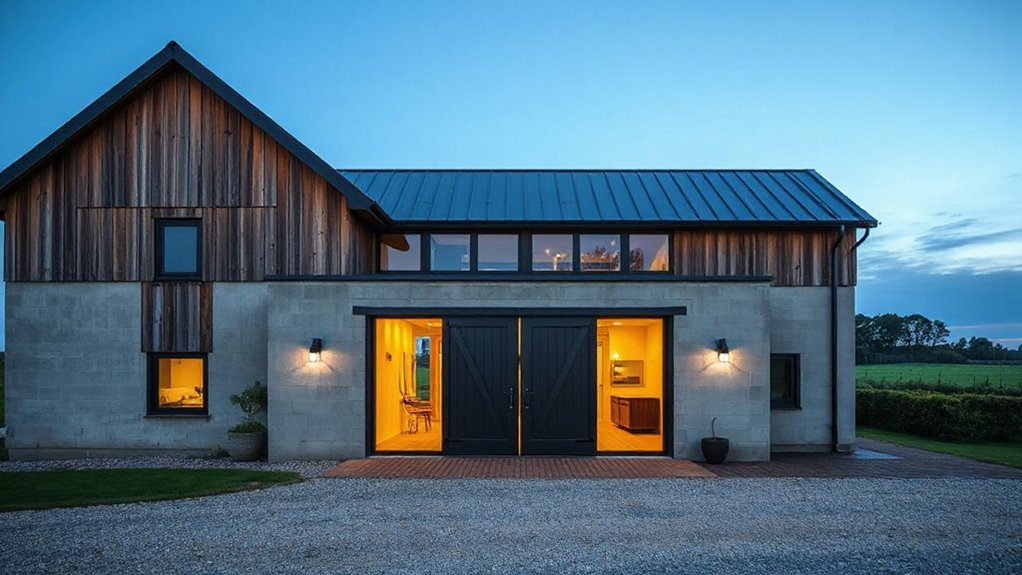
Before you fall in love with a concept plan, confirm the building’s “bones” can support a safe, code-compliant residence. You’ll start by verifying foundations, slab thickness, and column spacing for new point loads.
Then inspect framing for rot, insect damage, and undersized members. Check roof trusses for sag and lateral bracing; many older dairies weren’t designed for modern insulation, PV arrays, or snow drift loads.
Map moisture pathways: manure channels, washdown drains, and capillary rise can drive mold unless you detail vapor control and perimeter drainage.
Evaluate air quality and surfaces where Dairy equipment sat; residual oils and cleaners may require removal or encapsulation.
If Milk storage tanks remain, assess access, corrosion, and floor penetrations before you plan utilities.
Confirm Zoning, Permits, and Building Control Early
Although the structure might look conversion-ready, you’ll save time and redesign costs by confirming land-use rules, permits, and authority having jurisdiction (AHJ) requirements upfront. Start by checking zoning regulations for residential conversion, accessory dwelling limits, setbacks, floodplain status, and agricultural preservation overlays.
Ask the planner what triggers a change-of-use review and which code edition applies (IECC, IRC/IBC, NFPA 101). Pull permit requirements for septic, well, electrical service upgrades, stormwater, and driveway access, then map submittal timelines and inspections.
Verify structural fire rating, egress, and accessibility thresholds so you don’t overbuild. Document existing nonconformities before you touch anything.
Finally, confirm how reassessment will affect property taxes and whether you qualify for exemptions or farm-to-home reclassification.
Turn the Dairy Layout Into a Workable Floor Plan
Once you’ve locked in what the jurisdiction will allow, you can translate the dairy’s highly linear, hose-down-optimized footprint into a residential plan by treating the existing bays, alleys, and service rooms as a modular grid.
Start by mapping structural posts, roof trusses, and openings, then assign “program blocks” per bay: living, kitchen, sleeping, utility, and storage.
Use the central alley as a daylight spine or circulation gallery, and convert wider pens into open-plan zones with partial-height partitions for acoustic control.
Place kitchens and baths along former service runs to shorten MEP routes.
For interior decor, exploit rhythm: repeated frames suit built-ins and shelving.
Finalize furniture placement early to validate clearances, sightlines, and door swings.
Fix Drainage, Damp, and Lingering Livestock Odors
You’ll start by mapping drainage paths and regrading the site so surface water moves away from the slab, aligning with today’s resilient-landscape best practice.
Then you’ll damp-proof walls and floors with capillary breaks, vapor control layers, and targeted ventilation to stop moisture migration at the source.
Finally, you’ll neutralize deep-set livestock odors by stripping contaminated finishes, enzymatically treating porous masonry, and sealing with low-VOC odor-blocking primers.
Drainage Mapping And Regrading
Before you spec insulation or finishes, map how water actually moves around the old dairy: roof runoff, yard sheet flow, and any spring lines that push moisture toward the slab and lower walls.
Walk it in rain, flag ponding, and shoot grades with a laser level to find low spots and backfalls. Then regrade to pitch soil away from the perimeter, typically 5% for the first 10 feet, while keeping thresholds and accessible routes workable.
Add swales or shallow intercept ditches to redirect stormwater runoff to stable outlets, not toward neighbors.
Use compacted fill in lifts, cap with topsoil, and specify erosion control: jute netting, hydroseed, and rock checks at alterations.
You’ll cut damp smells by keeping manure-stained zones dry.
Damp-Proofing Walls And Floors
With grades corrected and runoff pushed away from the shell, focus shifts to stopping moisture that still migrates through old masonry and slabs and keeps barn odors locked in. You’ll start by testing RH and salts, then rake out failed joints and repoint with breathable lime where needed.
For damp proofing walls, apply a vapor-open mineral slurry or silane/siloxane cream, detailing around piers and service penetrations to prevent capillary bypass. If hydrostatic pressure remains, add an internal cavity drain at the wall base to a sump.
For damp proofing floors, saw-cut for a perimeter channel, install a welded DPM, then pour an insulated, fiber-reinforced slab with taped seams and sealed upstands. Finish with low-VOC coatings and tight thresholds.
Neutralizing Deep-Set Odors
Once drainage and damp paths are under control, target the odor reservoirs that old dairy buildings hide in porous lime mortar, rough concrete, timber fibers, and trapped slurry residues.
Start with mechanical removal: needle-scale concrete, sand timber where appropriate, and rake out friable joints without erasing patina—key for Historical preservation.
Follow with enzyme-based agricultural degreasers to break down proteins and fats, then hot-water extraction and rapid dehumidification to stop re-adsorption.
Seal only after surfaces read dry: use breathable silicate primers or limewash rather than plastic paints, so vapor can escape and salts don’t bloom.
Treat drains and voids with bioactive drain gel, then cap redundant channels.
Finish with low-VOC mineral coatings and activated-carbon ventilation to reset Interior aesthetics without masking.
Insulate a Dairy Building Without Trapping Moisture
You’ll start by mapping how moisture moves through the old dairy shell—bulk water, air leakage, and vapor diffusion—so your insulation strategy matches the physics.
You’ll then favor vapor-open assemblies like mineral wool, wood fiber, or cellulose with smart membranes, letting the structure dry while still hitting modern comfort targets.
You’ll tie it together with a ventilation-and-drainage plan—capillary breaks, perimeter drains, and balanced mechanical airflow—so heat stays in and moisture keeps moving out.
Moisture Movement Fundamentals
Although a former dairy barn looks solid, moisture still moves through it in predictable ways—by bulk water leaks, air leakage, vapor diffusion, and capillary wicking—and insulation changes those pathways fast.
You’ll see bulk water at roof joints, splash-back, and slab edges; it delivers the biggest wetting loads, so you must track it first. Air leakage then drives moisture deeper: warm, humid indoor air rides pressure differences and condenses on cold sheathing.
Vapor diffusion is slower but persistent, especially across large wall areas as seasons flip. Capillary action pulls ground and masonry moisture upward and inward, so breaks at footings and slabs matter.
Trend-wise, better airtightness raises the stakes for humidity control, so you’ll measure, ventilate, and dehumidify to keep assemblies stable year-round.
Vapor-Open Insulation Choices
Moisture moves through a converted dairy by leaks, air, vapor, and wicking, so your insulation strategy has to manage drying as much as R-value.
You’ll get the best resilience when assemblies can buffer and release seasonal loads instead of locking them in.
Choose vapor open insulation like dense-pack cellulose, wood-fiber batts or boards, mineral wool, or hemp-lime where appropriate. These materials stay permeable, tolerate incidental wetting, and support hygric buffering, which smooths humidity spikes common in masonry and timber retrofits.
Pair them with smart vapor retarders rather than polyethylene, so the wall can dry inward when conditions flip.
In rooflines, consider vapor-open sheathing membranes with above-deck wood fiber for continuous R without creating a cold, wet layer. That’s modern moisture management without foam traps.
Ventilation And Drainage Strategy
Once you’ve committed to vapor-open insulation, the make-or-break detail becomes how you move bulk water out and exchange damp air before it can load the assemblies. Start with a capillary break: washed stone, geotextile, and a perimeter drain to daylight or a sump with alarm.
Slope the slab and add a trench drain at former wash-down zones, then seal penetrations with flexible gaskets, not foam blobs.
For air, lean on Natural ventilation but control it: preserve ridge vents, add insect-screened soffit inlets, and use adjustable louvers so winter stack effect doesn’t over-dry finishes.
Pair that with a low-watt ERV on humidistat for shoulder seasons and odor control, capturing residual barn compounds while keeping assemblies safe.
Engineer-Check the Roof, Frame, and Slab
Before you commit to finishes or layout, bring in a structural engineer to verify that the roof system, primary framing, and slab can carry today’s residential loads and meet current code expectations. A disciplined Structural assessment maps member sizes, spans, connections, and any rot, corrosion, or past alterations, then compares them to snow, wind uplift, and seismic demands in your jurisdiction.
Expect targeted Roof reinforcement: sistering rafters, adding collar ties, upgrading truss plates, or specifying LVL ridge beams where you’re chasing open-plan volume. You’ll also confirm diaphragm action and lateral bracing so the shell resists racking, not just gravity.
At the slab, core samples and rebar scanning reveal thickness, compressive strength, vapor barrier gaps, and settlement; you may need epoxy crack repair, under-slab insulation, or localized underpinning.
Add Windows, Doors, and Daylight (Without Weakening Walls)
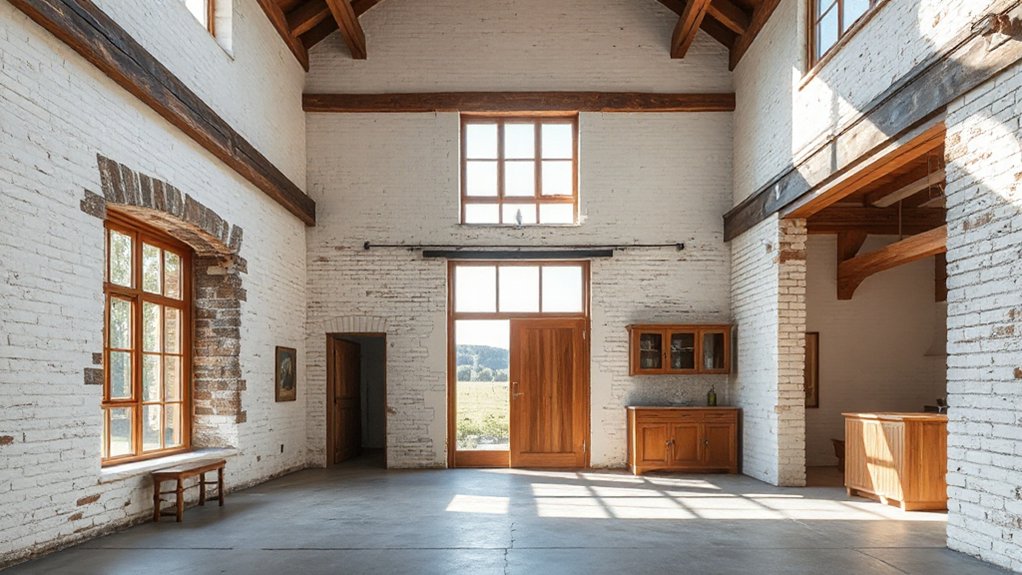
With the roof, frame, and slab signed off, you can start carving in daylight—just treat every new opening as a structural modification, not a cosmetic upgrade. Map load paths first, then set window placement between studs, posts, or bays where headers can span cleanly.
You’ll typically need engineered lintels, king/jack studs, and strapped connections to keep racking resistance. For masonry, cut with dust control, stitch openings with reinforced concrete or steel angles, and avoid chasing near corners.
Prioritize daylight optimization: use high clerestories to pull light deep into former milking zones, add tall glazing on sheltered elevations, and align doors to create long sightlines without over-cutting shear walls. Specify thermally broken frames and robust thresholds for rural grit, and detail flashing for wind-driven rain.
Plan Plumbing, Electrics, and Whole-House Ventilation
Although the shell now reads like a house, you’ll lock in performance and compliance by designing plumbing, electrics, and whole-house ventilation as one coordinated services layer rather than three separate trades.
Start with a wet-core: stack kitchen, utility, and bathrooms to shorten runs, cut heat loss, and simplify acoustic isolation. Specify manifolds, isolation valves, and accessible service voids so future maintenance won’t disturb finishes.
Map electrical zones for lighting, EV charging, and heat-pump loads, then size the consumer unit for renewable energy options like PV, battery storage, and immersion diverters.
Route MVHR ductwork early, keeping straight runs, generous radii, and silencers to hit airflow targets quietly.
Tie everything into Smart home integration: sensors, load-shedding, and boost modes that respond to humidity and occupancy.
Conclusion
You’re not just renovating a shell; you’re reengineering an agricultural envelope for high-performance rural living. Once you’ve verified zoning, approvals, and structural capacity, you can zone the plan, upgrade drainage, and purge residual odors with smart ventilation. Use vapor-open insulation, robust detailing, and moisture-aware layers so the building dries safely. Add daylight strategically without compromising shear walls. With coordinated services and airtightness targets, what’s more future-proof than adaptive reuse?