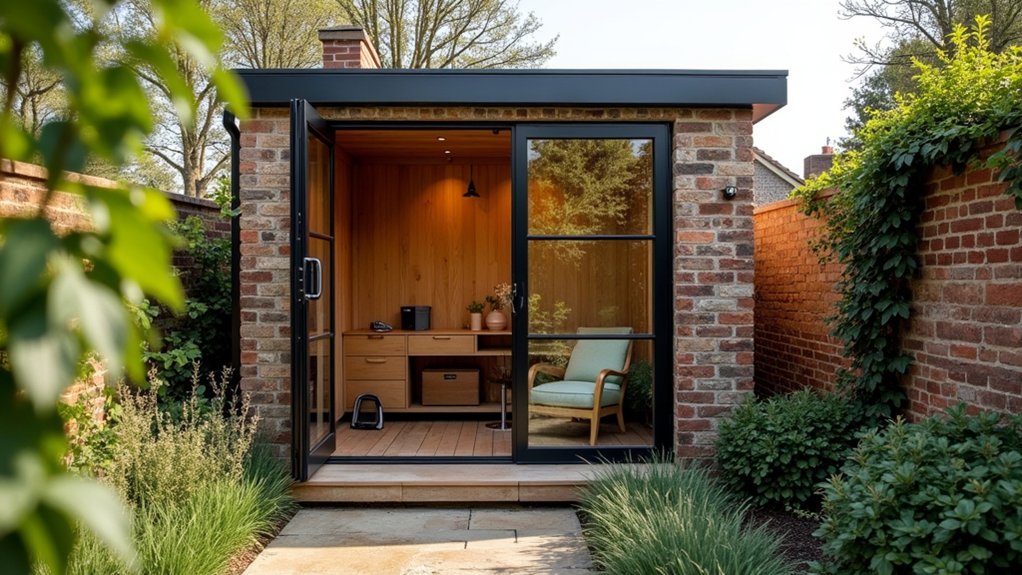

You can turn a coal shed into a compact garden room if you start by checking the roof, walls, and base for movement and damp. Decide what you’ll use it for, then plan insulation, vapour control, and ventilation so it won’t sweat in winter. Add a window where it frames the best view, layer lighting, and run safe electrics for heat and power. The key step most people skip comes next…
Check the Coal Shed: Structure, Damp, Permission
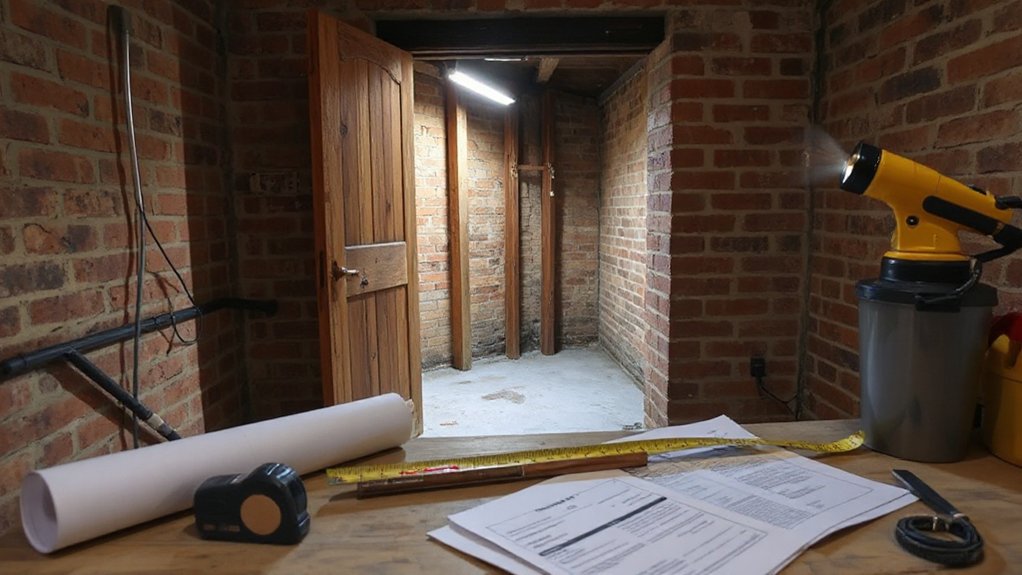
Before you buy insulation or sketch layouts, give the coal shed a quick but thorough health check: confirm the roof and walls are sound (no sagging timbers, loose masonry, or crumbling mortar). Look for damp entry points and lingering moisture (tide marks, salt staining, musty smells, soft floor edges). And verify what you’re allowed to change under local planning rules.
Run a structural assessment next: probe joists, lintels, and wall ties; check cracks for movement; and inspect the slab for heave. Clear gutters, add drip edges, and confirm ground levels slope away. If you need breathability, plan lime mortar and vapour-open finishes rather than hard cement.
Note any Historical significance—old vents, brick bonds, or plaques—then photograph everything. Finally, ring your council, ask about permitted development, conservation areas, and whether replacing doors/windows triggers approvals.
Set Your Use-Case and Layout (Desk, Seating, Storage)
Decide what your compact garden room has to do first—focused desk setup, reading nook, hobby bench, or a hybrid—because that choice drives every inch of the plan.
Sketch a to-scale layout and lock in key dimensions: desk depth, chair clearance, and a clear path to the door. Then place seating where you’ll get the best daylight and views.
Build storage in early with space-smart trends like wall-mounted shelving, a bench with hidden compartments, and a slim cabinet so the room stays calm and uncluttered.
Define Primary Function
Once you’ve locked in how you’ll actually use the coal shed—focused work nook, reading lounge, hobby studio, or a hybrid—you can design a layout that feels intentional instead of improvised. Start by naming the primary purpose in one sentence, then rank your top three activities in order of frequency. That hierarchy drives every choice you’ll make later, from circulation space to where daylight should fall.
Map the room in zones: “do” area, “pause” area, and “support” area. Keep the main task zone closest to power and the best sightline, and reserve quieter corners for decompression.
Trend-forward small-space design considerations include minimizing visual clutter, planning a clear walkway, and using vertical walls to keep the footprint open. Finally, test your plan with a five-minute routine walkthrough.
Plan Furniture And Storage
With your primary function and activity ranking set, you can now let the furniture plan do the heavy lifting: place the desk or main seating first, then build storage around it so the room stays calm and usable.
Measure wall-to-wall and window heights, then tape the footprint on the floor to test clearances for doors, chair swing, and a heater. Prioritize a slim desk or a built-in bench to keep circulation generous, and angle seating toward the best view for a “micro-retreat” feel.
Use vertical Storage solutions: tall cabinets, peg rails, and shelf ledges that stop short of the ceiling to avoid a boxed-in look.
In your Furniture arrangement, keep heavy pieces on one wall, and hide clutter in drawers, baskets, and lift-up lids. Add one mobile cart for flexible projects.
Insulate and Damp-Proof a Coal Shed Conversion
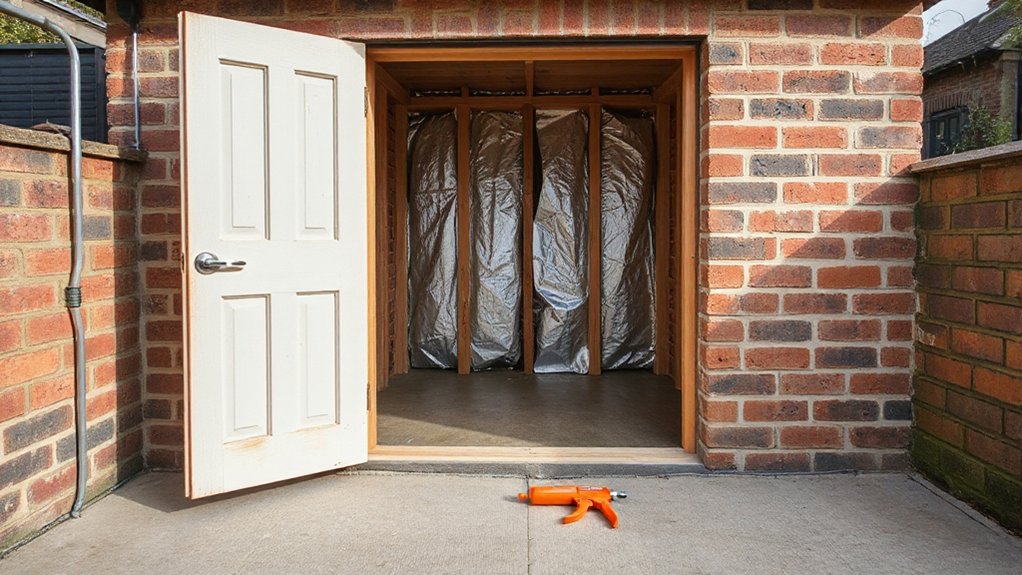
Because coal sheds were built to store fuel rather than control moisture or temperature, you’ll need to tackle damp-proofing and insulation as a single, coordinated upgrade before you even think about plasterboard or paint.
Start by clearing back to sound masonry and fixing leaks, loose mortar, and spalled brick.
Paint walls with a breathable damp-resistant coating, then add a continuous moisture barrier where ground contact or salts are likely.
If the floor’s bare slab, lay a DPM, battens, and rigid boards, then a moisture-tolerant subfloor.
For walls and roof, fit PIR or mineral wool for high-performance thermal insulation, keeping joints taped and edges sealed.
Finish with treated battens and a service void so fixings don’t puncture your barrier.
Add Windows, Lighting, and Ventilation (No Condensation)
A well-insulated, damp-proofed coal shed can still sweat if you trap humid air inside, so your next upgrades should balance daylight, electrics, and controlled airflow.
Start with window placement: put a larger pane on the brightest elevation for usable daylight, and a smaller opening window on the opposite wall to encourage cross-breezes. Keep heads high to protect privacy and wall space, and use trickle vents to prevent stale pockets of moisture.
For lighting, layer it: a slim, low-glare ceiling batten for general light, plus a warm task lamp where you’ll read or pot plants. Choose sealed fittings rated for damp zones, and route cables neatly in surface trunking to avoid puncturing your vapour layer.
Finish with natural ventilation via an opening skylight or louvred vent, and add an insect mesh.
Install Electrics and Heating for Year-Round Comfort
Once you’ve got daylight and airflow sorted, you can plan electrics and heating together so the shed stays usable in January as well as July.
Start by pricing a dedicated garden-room circuit from your consumer unit, protected by an RCD/RCBO, and run armoured cable outdoors; this is where safety considerations matter most, so use a qualified electrician for final connections and certification.
Position double sockets where you’ll actually work, add USB-C outlets, and include a wired data point if Wi‑Fi’s patchy.
For heating, go electric and controllable: a small panel heater or slim infrared with a programmable thermostat beats blasting a fan heater.
Add a timer, smart plug, or app control to improve energy efficiency, and size the heater to the room’s insulation and glazing.
Finish the Garden Room: Walls, Floor, Storage, Decor
Now you’ll lock in the look and durability with wall cladding or paint that can handle temperature swings. Plus, a hardwearing floor like LVT, engineered wood, or sealed plywood with a moisture barrier.
You’ll make every inch count with built-in benches, slimline shelving, and wall-mounted hooks that keep the footprint clear and the room flexible.
Then you’ll finish it off with layered lighting, a muted, nature-led palette, and a few tactile textiles or plants so the space feels intentional, not improvised.
Wall And Floor Finishes
Because a coal shed’s shell can feel dark and utilitarian, the wall and floor finishes you choose do most of the heavy lifting in making the new garden room look bright, warm, and intentional. Start by sealing any dusty masonry, then use moisture-resistant paint in a soft, light-reflective tone; warm whites and pale clay shades feel current without reading sterile.
Add subtle wall texture with limewash, microcement, or slatted timber panels where you want depth without clutter.
For the floor, prioritize durability and easy cleaning. Luxury vinyl tile, sealed plywood, or cork all handle temperature swings well. Pick a floor pattern—herringbone, checkerboard, or wide-plank runs—to visually stretch the footprint, and finish with matte trims for a modern, understated edge.
Smart Storage And Decor
Light, durable finishes set the tone, but smart storage and decor make the coal shed feel like a room you’ll actually use day to day.
Start with a shallow wall system: slim cabinets or IKEA-style rail shelves keep tools, chargers, and stationery off the floor.
Add a lift-up bench with bins for cushions and potting supplies, and use the door back for hooks or a pegboard.
Layer Creative lighting: a dimmable ceiling puck for general light, a swing-arm task lamp at the desk, and warm LED tape under shelves to soften corners.
For Plant integration, mount a narrow ledge for trailing pothos, cluster small herbs by the window, and choose self-watering pots to avoid damp.
Finish with a washable rug and one bold print.
Conclusion
Once you’ve checked the structure, blocked damp, and planned your layout, you’re ready to make that coal shed feel like a modern micro-studio. When my neighbor cut in a single south-facing window, the room jumped from cave to conservatory—daylight can feel like adding 20 extra square feet. Keep insulation tight, run safe electrics, and add trickle vents to stop condensation. Finish with durable flooring, slim storage, and self-watering pots, and you’ll actually use it year-round.