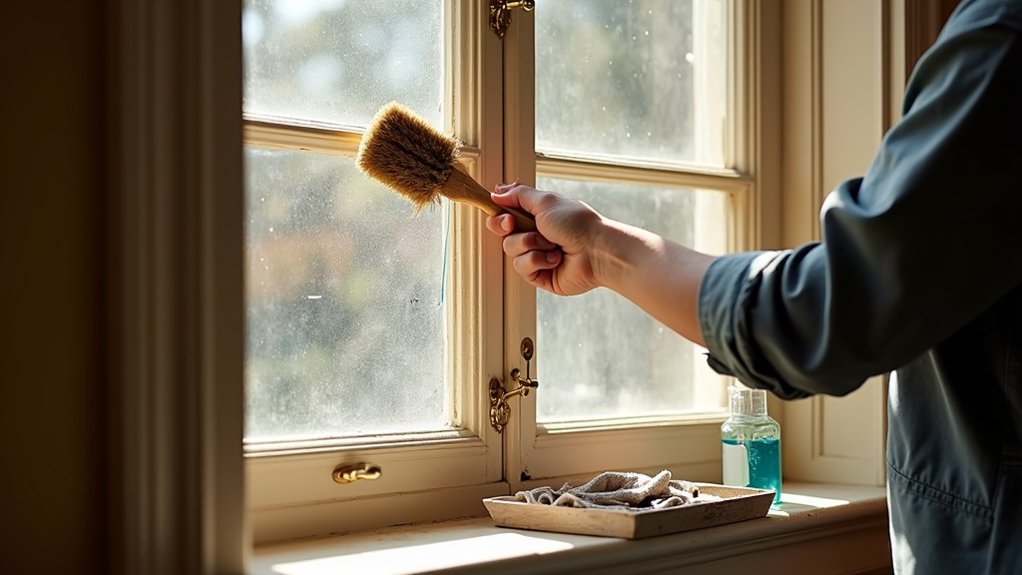

You can’t clean period sash windows the same way you’d tackle modern units, because aggressive products and sharp tools can damage old glass, putty, and paint. Start by gathering gentle kit: a vacuum with a soft brush, microfiber cloths, pH-neutral soap, and a plastic scraper, then check for flaking paint and possible lead before you add moisture. Once you’ve prepped the surfaces, the order you clean in matters more than you think…
Grab Gentle Tools and Safe Cleaning Products
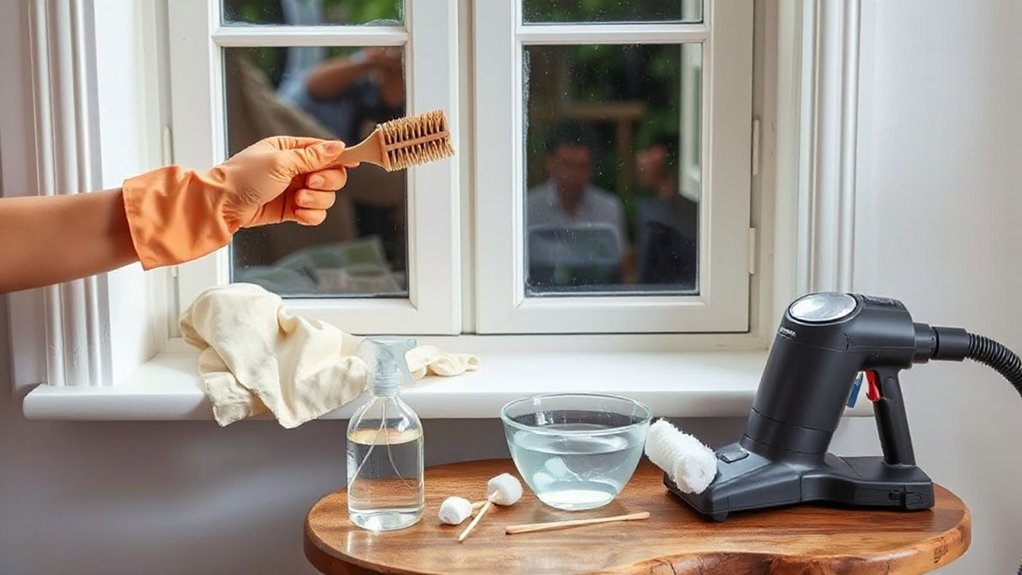
Before you touch the timber or glass, gather a small kit of gentle tools and low‑risk cleaners so you don’t scratch the sash, strip paint, or swell the wood with too much moisture. Choose soft microfiber cloths, cotton buds for corners, and a natural-bristle detail brush for dusting rails and pulleys.
Use a vacuum with a brush attachment to lift grit before wiping. For eco-friendly cleaning, mix warm water with a drop of mild, fragrance-free dish soap; keep a second bucket of clean rinse water.
Use a plant-based glass cleaner or diluted white vinegar on the pane only, applied to the cloth, not sprayed near joints. Keep a plastic scraper for stubborn spots on glass, and dry immediately to support historical preservation.
Check Paint, Putty, and Lead-Safety First
Although you might be enthusiastic to start wiping down the sash, take a minute to inspect the paint, glazing putty, and any signs of lead risk so you don’t turn a simple clean into a repair job or a health hazard.
Begin with Paint inspection: look for flaking, bubbling, cracked edges, or layers that crumble when lightly pressed. Don’t scrape; if paint powders, assume it may contain lead.
Check glazing putty for gaps, brittleness, or missing sections that could let moisture in or loosen the pane. If you spot deterioration, pause cleaning in that area and plan repairs first.
Prioritise lead safety: wear a P2/P3 mask, gloves, and keep work damp to minimise dust. Seal nearby soft furnishings, and wash hands afterward. Keep children and pets away.
Clean Period Sash Window Glass Safely
Once the paint and putty look stable and you’ve set up lead-safe precautions, you can clean the glass without loosening glazing or driving grit into the timber. Start by vacuuming the panes and meeting rails with a soft brush to remove abrasive dust.
Mist, don’t soak: use a pH-neutral cleaner or warm water with a drop of washing-up liquid. Wipe with a microfiber cloth, working top to bottom, keeping the cloth away from putty lines.
For stuck residue, use a plastic scraper or nylon pad; don’t use razor blades on historic glass, as ripples scratch easily and reduce glass durability.
Rinse with a barely damp cloth, then dry with a lint-free towel.
Maintain window safety by keeping sashes secured and hands clear of cords.
Clean Timber Frames and Sills, Then Protect Them
A well-cleaned timber frame and sill keeps moisture out and slows paint failure, so tackle the wood methodically and gently. Vacuum loose grit from joints and mouldings, then wipe with a barely damp microfibre cloth and a pH‑neutral soap solution. Don’t flood the timber; change water often to avoid dragging abrasive dirt across the grain.
Use a soft toothbrush for corners, and lift stubborn marks with a little white spirit on a cloth, testing first.
Dry immediately, then inspect for soft spots, open mitres, and hairline cracks. Spot-prime bare patches, and apply a compatible microporous paint or finish for Timber preservation.
Finally, complete Sill sealing by running a neat, paintable exterior-grade sealant bead where the sill meets masonry, then tool it smooth.
Clear Sash Window Tracks So They Slide Smoothly
Next, clear the sash window tracks so the sashes don’t bind or stick. Brush and vacuum out grit, paint flakes, and compacted dust from the channels, then wipe them clean so nothing drags against the runners.
Once dry, apply a light, even coat of a suitable lubricant to the tracks and runners to restore smooth, controlled sliding.
Remove Debris From Tracks
Why do period sash windows suddenly start sticking and rattling? Grit, paint flakes, and compacted dust build up in the tracks, forcing the sash out of true and stressing sash window hardware.
Start by lowering the top sash and raising the bottom sash to expose both channels. Vacuum with a crevice tool, then use a stiff, nylon detailing brush to dislodge debris from corners and staff beads. Wipe the track with a slightly damp microfiber cloth; keep water away from window frame insulation and timber joints.
If you find paint ridges, score along the edge with a sharp utility knife and lift flakes carefully—don’t gouge the wood. Finish by checking pulleys, cords, and locks for trapped grit. Re-test the slide after cleaning.
Lubricate Tracks For Smoothness
Once you’ve cleared the channels, lubricate the tracks lightly so the sashes glide without dragging or rattling. Start with Lubricant selection: use a dry PTFE or silicone spray designed for windows; avoid oil-based products that attract grit and can stain timber.
Apply sparingly to the parting beads, staff beads, and running surfaces, then wipe off any overspray immediately. Raise and lower each sash several times to distribute the film evenly.
Next, check Track alignment by watching for binding at the top or bottom of travel. If it snags, tighten loose screws, reseat beadings, or adjust any bent runners so both sides move in parallel.
Finish with a final wipe to keep the tracks clean and quiet.
Treat Mould, Mildew, and Stubborn Stains
Although a light wipe-down handles everyday grime, you’ll need a targeted approach for mould, mildew, and set-in stains on period sash windows to avoid spreading spores or damaging original paint and timber.
Start by ventilating the room and wearing gloves and a mask.
For Mould treatment, mist the affected timber lightly with water first, then apply a diluted white-vinegar solution (1:1) or a specialist fungicidal wash with a soft brush, keeping liquid away from joints and putty lines.
Wipe with disposable cloths and bag them immediately.
For Stain removal, use a pH-neutral cleaner on paintwork; on bare timber, try a mild oxalic-acid wood bleach for black marks, testing in a hidden spot.
Don’t scrape aggressively; you’ll lift historic layers.
Dry and Buff for a Streak-Free Finish
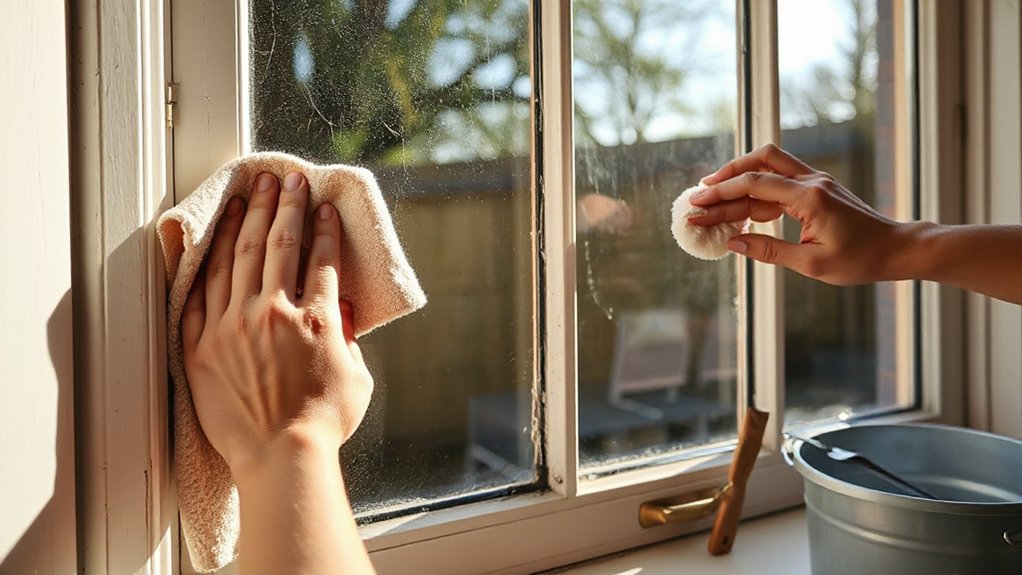
After you’ve dealt with mould or stubborn marks, focus on drying straight away so moisture doesn’t creep into joints, putty lines, or the timber grain. Use a clean, lint-free microfibre to blot, not drag, especially along glazing bars and meeting rails. Swap cloths once they feel damp, and dry the lower corners where water pools.
Next, buff the glass with a separate dry cloth or crumpled newspaper, working top to bottom in overlapping S-strokes. Keep pressure light to avoid stressing fragile panes and old putty.
For final clarity, use a chamois on the last pass and check from different angles for haze. Dry frames and sills last, then lightly polish painted timber to protect finishes during Window restoration and support historical preservation.
Maintain Clean Sash Windows With a Quick Routine
Keep your period sash windows cleaner for longer by building a quick routine you’ll actually stick to. Each day, dust the frames and meeting rails, then wipe fingerprints and spots with a barely damp microfibre cloth so grime doesn’t set.
Once a week, check the tracks and sill for debris, vacuum out grit, and clear corners to prevent sticking and premature wear.
Daily Dust And Wipe
When you give your period sash windows a quick daily dust and wipe, you stop grit from acting like sandpaper on the paintwork, seals, and pulley channels.
Start with Dust removal: use a soft microfibre cloth or clean paintbrush to lift loose dust from the meeting rails, sash stiles, and mouldings, working top to bottom so debris doesn’t resettle. Keep pressure light to avoid dulling old finishes.
Follow with Surface wiping: slightly dampen a cloth with warm water and a drop of mild detergent, then wipe painted timber, staff beads, and the lower sill. Don’t soak joints or let water pool at corners.
Finish by buffing dry to prevent streaks and swelling. Keep a dedicated cloth so you don’t transfer kitchen grease.
Weekly Track Debris Check
Once a week, run a quick debris check along the sash tracks and pulley channels to stop grit, paint flakes, and dead insects from jamming the sashes or chewing up the parting and staff beads.
Raise the lower sash a few inches, then vacuum the track with a crevice tool. Follow with a soft brush to loosen packed debris at corners and around the pulley stile.
Wipe the channel with a barely damp microfiber cloth; don’t flood old timber. For window safety, support the sash and keep fingers clear of pinch points.
If you find hardened paint, lift it with a plastic scraper, not metal, to protect profiles.
Finish by checking the sash cords’ path is clear. This small routine preserves smooth operation and supports historical preservation.
Conclusion
When you clean period sash windows this way, you’re doing more than removing grime—you’re keeping a small piece of history moving smoothly, like a well-kept clock. Stick to gentle tools, pH-neutral cleaners, and minimal moisture, and you’ll protect paint, putty, and timber. Clear the tracks, treat mould promptly, then dry and buff until the glass is crisp. Keep a quick weekly dust-and-wipe routine, and they’ll glide quietly for years.