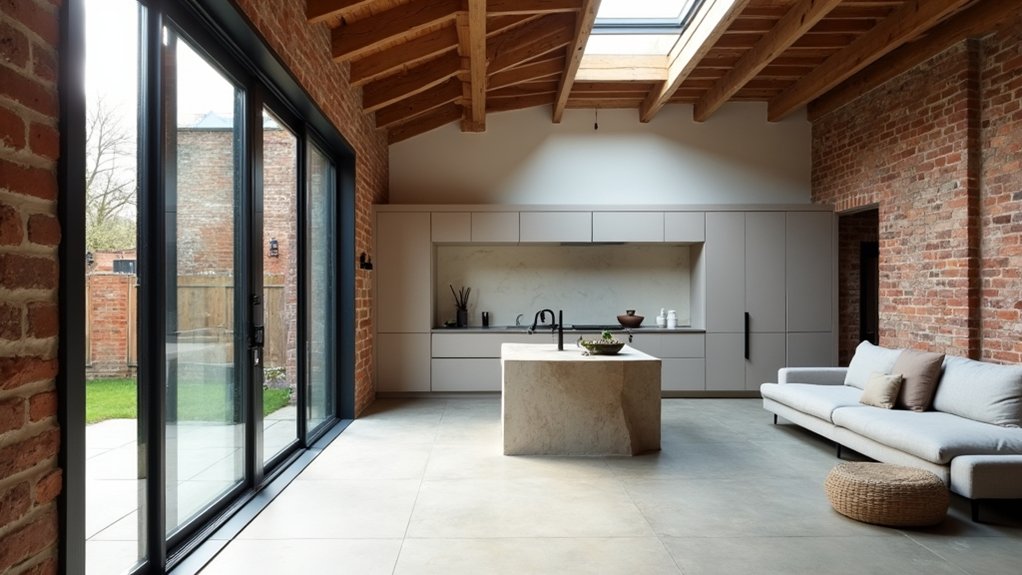

You probably don’t know a coach house can lose its character fast if you “open it up” without first mapping load paths, moisture movement, and heritage constraints. You’ll get better results when you keep the roofline, beams, and brick as the visual anchor, then layer in airtightness, high-performance insulation, and slimline climate control. Use built-in joinery to sharpen circulation and hide storage, and specify FSC oak, linoleum, and warm metals so everything patinas well—but the key move comes next…
Assess the Coach House Structure and Limits
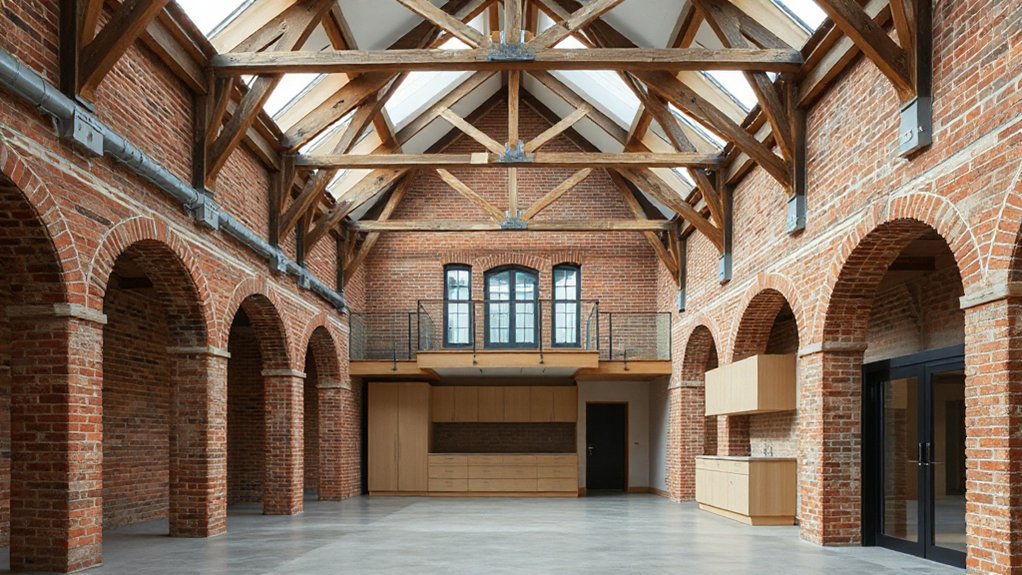
Before you sketch a single layout, you need to read the coach house like a structure, not a blank shell: document load paths, wall thicknesses, spans, and any historic fabric you can’t casually remove.
Commission a measured survey, then verify what’s real with selective opening-up and a structural engineer’s calcs.
Check masonry for moisture-driven decay, out-of-plumb walls, and undersized lintels; probe timber for beetle damage and bearing failures.
Map roof thrust, rafter spread, and diaphragm action so your open-plan ambitions don’t compromise Structural integrity.
Trend-aware upgrades—UFH, airtightness layers, MVHR—add weight and alter vapor profiles, so model condensation risk.
Align interventions with Historic preservation constraints, fire compartmentation, and local seismic/wind loads.
Highlight Original Coach House Features Worth Keeping
Once you’ve mapped what the building can safely give you—load paths, moisture behavior, and where you can’t cut—you can decide which original coach house elements should stay visible and do the heavy lifting aesthetically. Keep hand-hewn beams, brick party walls, and the carriage-door opening as primary “authenticity anchors,” then clean and seal them with vapor-open finishes.
If you’ve got lime mortar, repoint like-for-like; it’s core to Historical preservation and prevents trapped moisture. Restore cast-iron hardware and stable doors, but add discreet brush seals so performance improves without visual noise.
Outside, prioritize exterior aesthetics by repairing original timber cladding profiles, matching sash proportions, and retaining the roof pitch and ridge line. Let patina remain; over-sanding erases the story. Add low-gloss lighting to graze textures, not bleach them.
Plan a Coach House Layout for Daily Flow
You’ll start by defining crisp functional zones—sleep, work, cook, and store—using built-ins and subtle level changes so the compact footprint performs like a larger home.
Then you’ll optimize circulation paths with clear sightlines, 900–1000 mm walkways, and minimal door conflicts to keep daily routines frictionless.
Finally, you’ll align rooms with light by placing primary living areas on the best solar aspect, reserving deeper plan edges for utility, and using glazed partitions to borrow daylight without sacrificing acoustics.
Define Functional Zones
If you map functional zones early, you’ll prevent the classic coach house problem—beautiful volume with awkward circulation—from hijacking daily flow.
Start by assigning “quiet” and “active” bands: sleep/work to the most insulated edges, cooking/dining/social to the brightest span. Use ceiling height changes, partial-height joinery, or slatted screens to signal shifts without blocking light.
Lock in Furnishing arrangements at plan stage: sofa backs define lounge limits, a banquette pins dining, and a storage wall anchors entry drop-zone.
Treat Color coordination as zoning, too—keep a continuous base palette, then shift accent tones and material sheen per zone (matte in calm areas, higher gloss near kitchen).
Specify task lighting layers to reinforce each zone’s intent.
Optimize Circulation Paths
Although coach houses often read as one dramatic room, circulation needs a disciplined route map so daily movement doesn’t cut through your “destination” zones. You’ll get better flow by drawing a primary spine from entry to kitchen, bath, and stairs, then branching short secondary paths to lounge and work areas.
Use Furniture placement to widen pinch points: float a sofa off the wall to create a 36–42″ passage, align rugs to “lane” traffic, and keep chair pull-back clear of door swings. Anchor storage to perimeter walls so circulation stays uninterrupted.
Reinforce routes with Color schemes: run a continuous floor finish, then use a slightly deeper tone on trim or a matte accent band to signal edges without adding partitions. Add lighting controls at path nodes for nighttime legibility.
Align Rooms With Light
Because a coach house usually runs narrow and deep, the light you get—where it lands and how long it lasts—should dictate room placement before you lock in furniture or millwork. Map solar exposure first: put breakfast and work zones on the east for crisp Natural light, then reserve west-facing glazing for living areas where evening warmth matters.
Treat bedrooms as quieter, cooler programs and tuck them to the north or behind shaded courtyards. Use Window placement to pull daylight down the plan: align openings across from each other for cross-light, or add high clerestories above circulation to brighten the spine without sacrificing privacy.
Specify deeper jambs, light shelves, and matte pale finishes to bounce light while controlling glare. Plan dimmable layers for winter.
Add Modern Joinery That Suits a Coach House
While you preserve the coach house’s rugged shell—brick, timber, and generous openings—modern joinery lets the interior perform like a contemporary home without feeling out of place.
Use Contemporary joinery to clarify circulation: full-height wall panels can conceal doors, risers, and services so elevations read calm, not cluttered. Specify shadow-gap details at skirtings and architraves, and align reveals with existing window mullions for a disciplined grid.
Build Modern woodwork as furniture-like insertions: a slatted stair balustrade, a floating hearth bench, and a continuous storage plinth that doubles as seating. Add pocket or pivot doors to keep thresholds clean, and integrate flush vents, acoustic backing, and soft-close hardware.
Keep proportions chunky enough to echo stable-scale framing, but execute with crisp tolerances and matte finishes.
Choose Coach House Materials That Age Well
Modern joinery gives the coach house its clean lines and hidden function, but the materials you wrap it in determine how convincing—and durable—the update feels over decades.
Start with Sustainable materials that patinate, not peel: FSC oak, thermally modified ash, linoleum, cork, and lime plaster that buffers humidity. Specify breathable mineral paints and silicate renders so trapped moisture won’t blister old masonry.
For worktops, choose sintered stone or soapstone; both handle heat, acids, and daily abrasion with minimal sealing.
On floors, go for wide-plank engineered timber with a hardwax oil you can spot-repair.
Blend Vintage finishes—burnished brass, antiqued mirror, blackened steel—so new elements read intentionally timeworn.
Finally, detail shadow gaps and drip edges to prevent staining.
Build Small Coach House Storage Into Every Nook
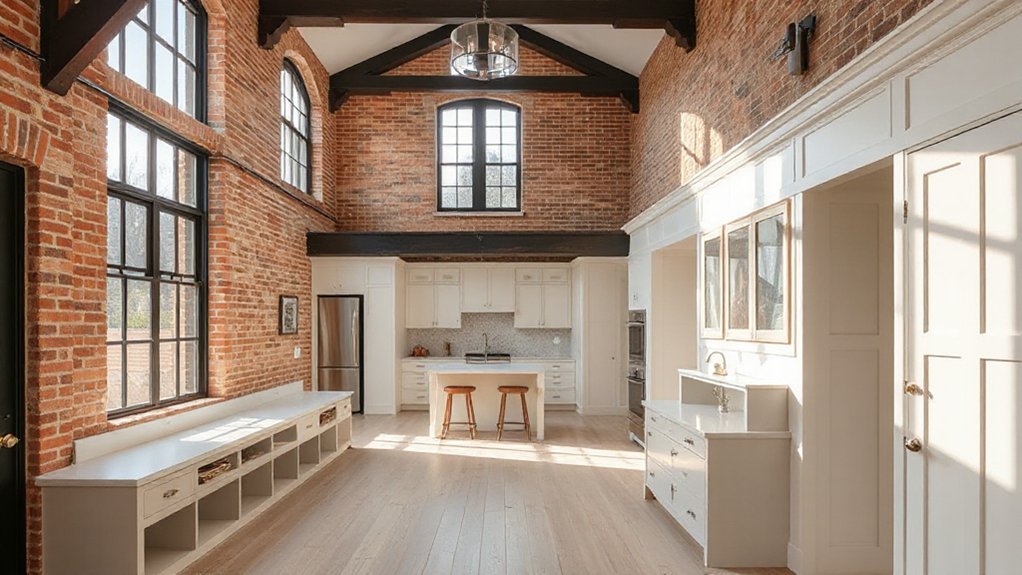
If you treat storage as architecture rather than furniture, a small coach house instantly feels calmer and more expansive.
Start by mapping dead zones: under-stair wedges, eaves, and chimney offsets. You’ll gain volume with flush, full-height joinery that tracks the roof pitch and keeps sightlines clean.
Use pocket doors or push-latch fronts to avoid swing clearance, and specify 12–15″ deep cabinets where circulation is tight.
Build banquette seating with lift-up lids, toe-kick drawers, and vented backs for HVAC returns.
Add a mud niche with a slatted boot tray and concealed hooks to preserve Vintage charm without visual clutter.
Match internal cabinet lacquer to the exterior color for continuity, and finish with durable edge banding and soft-close hardware.
Layer Coach House Lighting for a Modern Feel
You’ll get a modern feel by layering ambient lighting with precise task beams, so the coach house reads bright but never flat. Use directional accents—wall washers, picture lights, or concealed LED tape—to graze brick, beams, and alcoves and sharpen the architecture after dark.
Mix fixture types and color temperatures (pendants, sconces, recessed, and floor lamps) on separate dimmers to build depth and control mood zone by zone.
Balance Ambient And Task
How do you make a compact coach house feel expansive without over-lighting every surface? You balance ambient and task layers so the room reads calm, not glaring.
Start with dimmable ambient light at 2700–3000K and a high CRI (90+) to keep finishes true. Then cap general illumination around 100–150 lux in circulation zones.
Add task lighting where you work: 300–500 lux at the counter, desk, and vanity. Use narrow-beam LEDs or under-cabinet strips with diffusers to avoid scalloping.
Put everything on separate circuits with scene control so you can shift from daytime utility to evening softness.
Choose discreet fixtures that honor vintage charm while supporting exterior preservation—keep window glow warm, not blue, and prevent spill with shields.
Highlight Architectural Details
Although a compact coach house can’t grow its footprint, you can make it feel taller and more dimensional by lighting the architecture, not the furniture. Aim light at vertical planes: graze tongue-and-groove paneling, brick returns, or plaster reveals with concealed linear LEDs set at a tight 10–20° beam to emphasize texture without glare.
Add discreet downlights at soffits to sharpen shadow lines at beams and arches, then tune everything to warm-dim 2700K so Traditional charm stays intact.
For stairs, wash the wall, not the treads, to create a floating read and safer wayfinding.
Outside, uplight columns and wash gables to spotlight exterior embellishments while keeping dark-sky compliance with full cutoff optics.
Use dimmers and consistent CRI 90+ throughout.
Mix Fixtures For Depth
Once you mix fixture types instead of relying on a single overhead source, a compact coach house reads taller, warmer, and more contemporary.
Start with recessed or track as your ambient layer, then add a sculptural pendant to anchor the kitchenette and define scale.
Bring in wall sconces to graze brick, beams, or shiplap, boosting texture and making ceilings feel higher.
For task lighting, use under-cabinet LEDs at 2700–3000K with high CRI so your color palettes stay true, especially beside wood and stone.
Finish with portable lamps to support Vintage decor—pleated shades, patinated brass, opal glass—while keeping cords minimal.
Put every layer on dimmers and separate circuits so you can tune scenes from work mode to evening glow.
Improve Coach House Comfort With Insulation and Heat
Because a coach house often starts life as an unconditioned outbuilding, your comfort upgrade should begin with a tight thermal envelope and a right-sized heating strategy.
Start with Insulation upgrades: dense-pack cellulose in stud bays, add continuous exterior mineral wool to kill thermal bridging, and air-seal rim joists, sill plates, and roof penetrations with tapes and low-expansion foam. Specify a smart vapor retarder so assemblies dry both ways, and target blower-door numbers under 3 ACH50.
Then choose Heating solutions that match the new load: a cold-climate mini-split with variable-speed compressor, or radiant floor with a modulating electric boiler where ceiling heights allow.
Add ERV ventilation for IAQ, and use zoning plus setback schedules to prevent short-cycling year-round.
Conclusion
You’ve respected the coach house’s limits, kept its hand-hewn beams and brickwork, and sharpened the daily flow with clear circulation. You’ve added crisp, built-in joinery, chosen FSC oak and linoleum that patinate gracefully, and tucked storage into every awkward bay. You’ve layered warm-dim LEDs to graze texture, not flatten it. You’ve boosted airtightness, upgraded insulation, and paired efficient heat control with fresh-air strategy—so it’s heritage-led, modern-made, comfort-first.