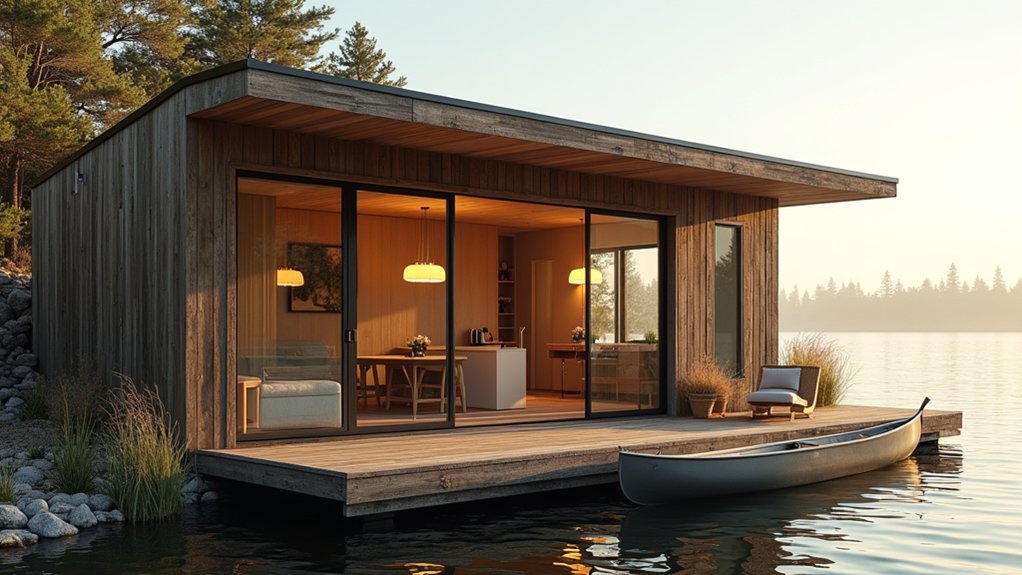

You can’t treat a boathouse like a simple shed-to-cabin swap, because water, wind, and code will test every shortcut. You’ll start by confirming the structure can handle live loads, then map permits, wake-zone limits, and utility access before you spend on finishes. Plan zones for sleeping, cooking, and gear, but prioritize pilings, sealed framing, corrosion-rated wiring, drainage, and tight ventilation. The next choice determines whether it stays dry—or becomes a mold trap…
Confirm Your Boathouse Can Be Lived In
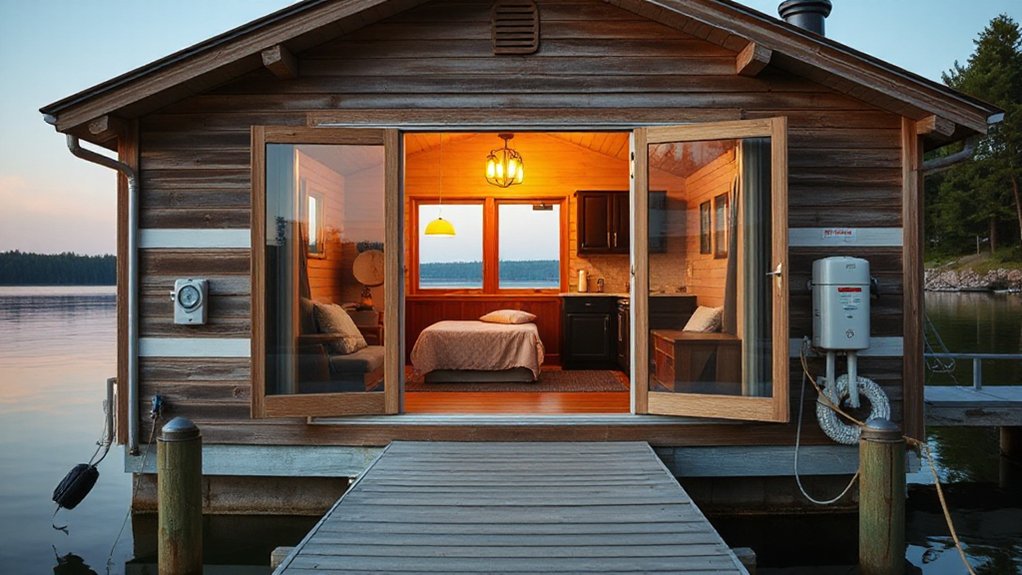
Before you order insulation, windows, or a mini-split, confirm your boathouse can legally and safely function as a dwelling. Start with a structural read: check piling and beam rot, fastener corrosion, and lateral bracing for wind and wave loads. Verify the deck diaphragm can handle residential live loads, not just boat storage.
Map moisture pathways; you’ll need continuous air sealing, vapor-smart membranes, and a drainage plane to prevent mold. Audit utilities: GFCI/AFCI protection, marine-rated wiring where exposed, and backflow prevention for potable water.
Plan for wildfire and Waterfront wildlife by sealing soffits, screening vents, and hardening openings. Add egress-capable windows, safe stairs, and guardrails to current heights. If you can’t meet these basics, redesign before you finish.
Check Permits, Zoning, and Wake-Zone Rules
Once you’ve confirmed the structure can perform as a dwelling, you’ll need to align the project with the rules that actually govern waterfront living—local zoning, building permits, and the waterway’s operating restrictions.
Start with your municipality’s planning office to verify zoning restrictions on use (accessory dwelling, rental, seasonal occupancy), setbacks from the shoreline, height limits, and floodplain overlays.
Then map permit requirements: change-of-use, electrical and plumbing, septic or sewer tie-in, fire egress, and any shoreline stabilization or pier modifications.
If you’re on navigable waters, contact the state DNR and the U.S. Army Corps for dock, dredging, or fill approvals.
Finally, review wake-zone rules and posted speed limits; they affect mooring layouts, erosion control, and your future boating access.
Set a Realistic Boathouse Conversion Budget
With zoning and permit pathways confirmed, you can price the project like a small waterfront build rather than a cosmetic remodel.
Start Budget planning with a line-item scope: structural repairs, pier and float hardware, roof and siding upgrades, and marine-grade doors/windows.
For cost estimation, get two contractor bids plus one engineer consult; waterfront access, barge delivery, and short work windows can add 10–25%.
Include utilities: new electrical service, GFCI/AFCI protection, corrosion-rated fixtures, and insulated plumbing if you’re adding water.
Add resilience upgrades trending in coastal builds—closed-cell spray foam, flood vents, and stainless fasteners.
Carry 15–20% contingency for hidden rot and code-driven revisions.
Track cashflow against permit milestones so you don’t stall midstream.
Plan Sleeping, Cooking, and Storage Zones
Although a boathouse footprint can feel simple, you’ll get a far better retreat by zoning it like a compact cabin: put sleeping where it stays driest and quietest, keep cooking on the utility wall closest to power/water runs, and treat storage as a deliberate buffer against spray and clutter.
Map Sleeping zones with clear circulation: a platform bed or murphy keeps the center aisle open, and a pocket door or curtain track gives acoustic separation.
Place the kitchenette in a single linear run with an induction hob, under-counter fridge, and a vented hood or recirculating unit rated for humidity.
Add Storage solutions that work vertically: sealed uppers, toe-kick drawers, and a bench with gasketed lids for life jackets.
Specify marine-grade latches, moisture-resistant panels, and washable surfaces.
Repair Pilings, Framing, and the Deck
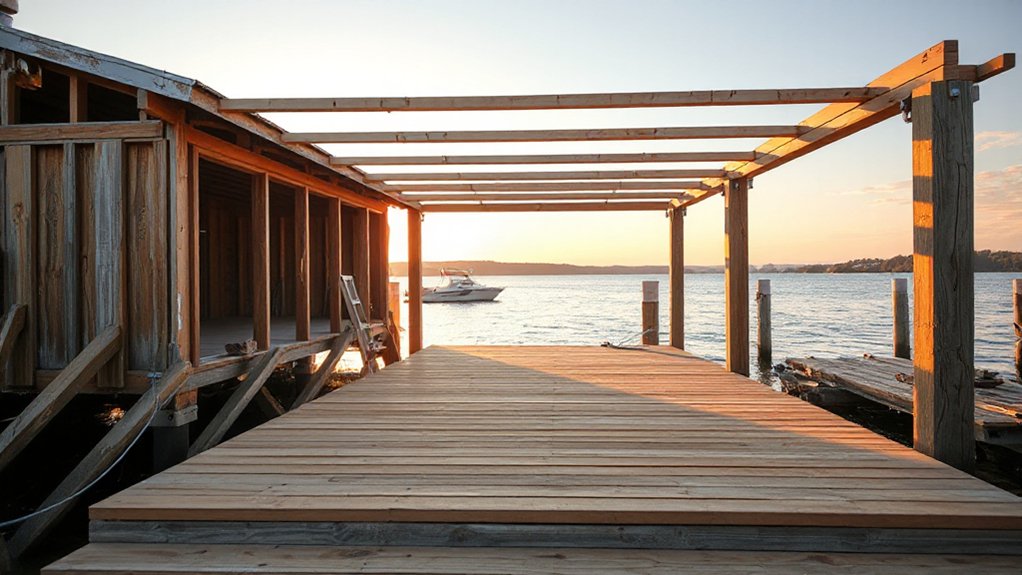
Before you invest in finishes, verify the boathouse’s bones by inspecting pilings, framing, and deck boards for rot, corrosion, and out-of-plumb settlement. Probe with an awl, map soft spots, and photograph checks for your engineer or inspector.
For pilings reinforcement, sister deteriorated members with marine-grade pressure-treated stock or specify steel jackets and through-bolts where allowable. Re-square the frame by replacing rim joists, adding blocking, and upgrading connectors to hot-dip galvanized or 316 stainless hardware.
Correct bounce with deeper joists or closer spacing, then install solid bridging to quiet footfall. For deck restoration, pull failed boards, re-fastened loose planks, and re-plane crowns so drainage runs true. Finish with hidden fasteners and a slip-resistant, low-sheen surface that matches modern coastal minimalism.
Waterproof the Underside and Splash Zones
You’ll extend the life of your retreat by treating the underside and splash zones like a marine hull: spec marine-grade epoxy or polyurethane coatings rated for immersion, UV, and abrasion.
Seal every joint, fastener, and utility penetration with compatible bedding compound and taped seams so capillary leaks can’t start.
Then armor the high-splash surfaces—joists, rim boards, and the first 24–36 inches above the waterline—with extra build coats or sacrificial wear layers to handle wake, spray, and salt.
Select Marine-Grade Coatings
Where does a boathouse fail first when you turn it into a livable retreat—typically at the underside framing, fasteners, and the constant splash zone line where spray, wake, and UV team up to push water past ordinary paint.
Choose Marine coatings built for immersion and cyclic wetting: epoxy primer for barrier protection, then a UV-stable polyurethane topcoat above the waterline.
In high-splash areas, specify an abrasion-resistant, high-solids system; it films thicker and resists chipping from debris and dock lines.
Your surface preparation drives longevity: degrease, rinse, dry to spec, then mechanically abrade to a uniform profile and remove dust.
Spot-prime exposed end grain and any bare metal.
Apply by roller-and-tip for coverage, keeping to recoat windows and mil thickness.
Seal Joints And Penetrations
Marine-grade coatings buy you time, but water still hunts for the smallest pathway at seams, bolt holes, utility runs, and the splash-zone “tide line” under the deck. Start by chasing movement: Seal joints with a polyurethane or MS polymer rated for constant wetting, and tool a concave bead so runoff can’t sit.
Backer rod lets you hit the right depth-to-width ratio and prevents three-sided adhesion.
For Penetration sealing, treat every fastener and pipe like a mini-through-hull. Oversize the hole, wet-out the core with epoxy, then re-drill to isolate wood from water. Bed hardware in butyl tape where you’ll service it, and use gasketed washers plus torque-to-spec to avoid squeeze-out. Inspect yearly and re-bed at first weep.
Protect High-Splash Surfaces
Because wind-driven chop and prop wash keep the underside of a boathouse wet long after the surface looks dry, treat high-splash areas as a waterproofing system—not just paint.
Define your Splash zone from typical waterline to 24–36 inches above, plus all underside framing within reach of spray.
Start with mechanical prep: scrape, sand to a profile, and vacuum dust; damp wood won’t hold coatings.
Flood-coat end grain and fastener holes with a penetrating epoxy sealer, then apply a high-build elastomeric membrane or marine-grade epoxy barrier in two coats, respecting recoat windows.
Tape seams with fiberglass cloth at joints and corners.
Finish with a UV-stable topcoat above the waterline for surface protection, and keep scuppers clear so splash can drain fast.
Insulate for Comfort Without Trapping Moisture
If you want the boathouse to feel like a true retreat in every season, you’ll need insulation that boosts comfort without turning the walls into a moisture trap. Start by air-sealing rim joists, sill plates, and window bucks so humid lake air can’t convect into cavities and condense.
Choose thermal insulation that tolerates intermittent dampness: closed-cell spray foam for undersides and band areas, or mineral wool in stud bays where you can maintain drying potential.
Add a smart vapor retarder on the warm-in-winter side, not polyethylene, so assemblies can dry when conditions flip. Detail moisture barriers as a continuous plane with taped seams, gasketed penetrations, and proper transitions to the floor and roof.
Keep a vented rainscreen behind cladding where possible, and leave inspection access near splash zones.
Add Electrical Power and Safe Lighting
Even though a boathouse feels casual, you’ll need a code-compliant electrical plan that treats it like a wet, corrosive environment from the service entrance to the last fixture. Specify marine-rated panels, corrosion-resistant fasteners, and sealed boxes; route conductors in watertight conduit with drip loops and elevated runs. Use GFCI/AFCI protection where required, plus a clearly labeled disconnect and bonded grounding system.
For power, you can combine shore power with solar panels feeding a lithium battery bank through an MPPT controller and properly sized inverter/charger. Add generator backup with an interlock or transfer switch so you can’t backfeed.
For lighting, choose IP65 fixtures, low-glare LEDs, and red-amber night modes; place step lights to reduce slips. Use timers and photocells.
Add Water Supply, Hot Water, and Drainage
Once you’ve got safe power and lighting in place, plan the water and waste systems with the same wet-location mindset so you don’t end up chasing leaks, odors, or freeze damage later.
Start by confirming your source: municipal tie-in, well, or lake draw, then size PEX runs and a booster pump to maintain steady water pressure at fixtures.
Add Water filtration (sediment + carbon, and UV if you’re pulling from the lake) upstream of the heater, with shutoffs and unions for service.
Choose a compact electric tank or on-demand unit rated for low inlet temps, and insulate all lines with heat trace where freezing’s possible.
For drainage, use a vented trap, proper slope, and a sealed sump/ejector if gravity won’t work. Include cleanouts.
Choose Windows, Doors, and Airflow
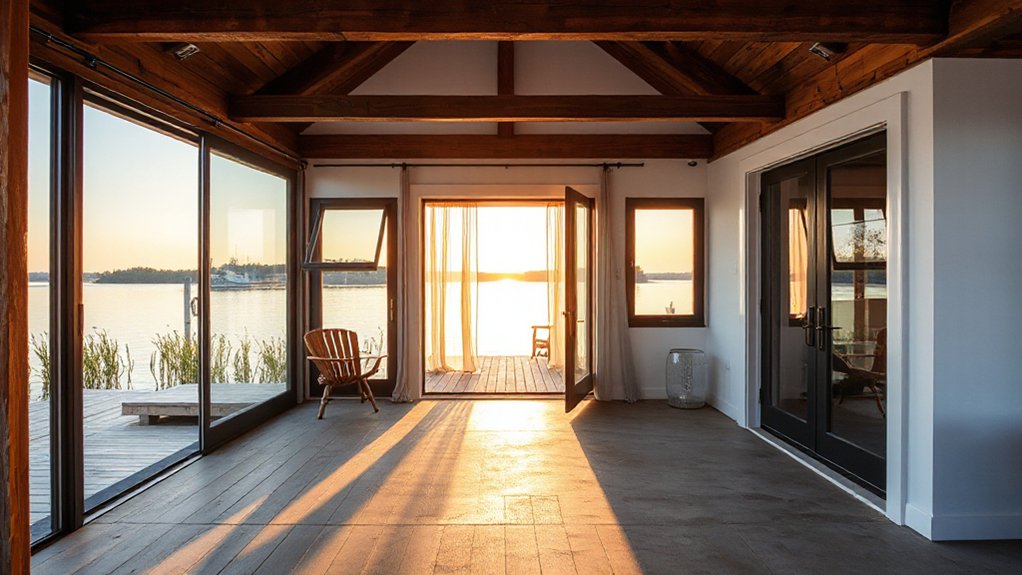
Because a boathouse sits in a harsh, high-moisture microclimate, you’ll get the best long-term comfort and durability by treating windows, doors, and airflow as one coordinated envelope system: spec corrosion-resistant frames (vinyl, fiberglass, or marine-grade aluminum), use insulated low‑E glazing tuned to your climate, and prioritize tight weatherseals and multipoint locking hardware to control wind-driven rain and salt air.
Favor Window styles that manage views and pressure: awning units shed rain, casements seal tight, and fixed panes maximize daylight with fewer leak points.
Choose door materials like fiberglass slabs or aluminum-clad systems over raw wood, and add raised thresholds plus drip caps.
Balance airtightness with controlled ventilation: run a quiet, ducted exhaust on a humidistat, add trickle vents, and keep intake paths screened.
Use Humidity-Proof Floors, Walls, and Ceilings
Once you’ve tuned windows, doors, and airflow, you’ll lock in comfort by specifying humidity-proof floors, walls, and ceilings that won’t swell, wick, or stain.
You can choose moisture-resistant flooring like luxury vinyl plank, porcelain tile, or epoxy-coated concrete, then pair it with mold-resistant wall assemblies (fiberglass-faced gypsum, cement board, and closed-cell spray foam where appropriate).
For the lid, you’ll control condensation with vented or insulated ceiling systems—vapor-smart membranes, sealed penetrations, and mold-rated paints—so humid air can’t park and drip.
Moisture-Resistant Flooring Options
How do you keep a boathouse retreat feeling upscale when humidity, splashback, and seasonal flooding never really let up? Start underfoot: choose moisture-rated rigid core LVP or porcelain tile with a low water-absorption spec (≤0.5%) and sealed grout.
If you want warm visuals without swelling, pick Hardwood alternatives like wood-look tile or high-pressure laminate rated for wet areas.
For a seamless, contemporary look, pour a moisture-mitigated microtopping over concrete, then topcoat it for chemical and UV resistance.
Specify Anti slip coatings or textured finishes to hit wet DCOF targets and keep docks-to-lounge transitions safe.
Use closed-cell underlayment only where the manufacturer approves, and detail perimeter expansion gaps to prevent buckling.
Mold-Resistant Wall Materials
Moisture-smart flooring sets the baseline, but a boathouse won’t stay upscale if the wall assembly feeds mold behind the finishes. Start with mold resistant drywall in splash-prone zones and any wall sharing air with the dockside exterior. Specify fiberglass-faced panels or treated gypsum with ASTM D3273 performance, and pair them with corrosion-resistant fasteners and paperless tape systems.
Don’t trap moisture: detail a capillary break at the bottom plate, keep drywall edges 1/2 inch off the floor, and run closed-cell sealant at penetrations.
Choose mineral-wool or closed-cell foam insulation where codes allow, since both resist wetting better than kraft-faced batts. Finish with a vapor-appropriate primer and high-quality water resistant paint, satin or semi-gloss for wipeability.
Condensation-Control Ceiling Systems
Because warm, damp air rises and stalls at the lid of a boathouse, you need a ceiling system that manages dew point—not just a nicer finish—by combining a continuous air barrier, the right vapor control layer for your climate, and insulation that won’t slump when humidity spikes.
Tape and gasket every seam at the lid, then run that air barrier tight to the wall moisture barriers so you don’t create bypass paths.
In cold climates, you’ll typically place a smart vapor retarder toward the interior; in hot-humid zones, you’ll favor outward drying and avoid interior poly.
Use closed-cell spray foam or rigid mineral wool panels with mechanical fasteners for stable R-value.
Finish with fiberglass-faced gypsum or PVC panels, and pair it with ventilation strategies like a controlled exhaust fan and soffit-to-ridge airflow.
Heat and Cool the Space Efficiently (Quietly)
Even if your boathouse sits a few feet from the water, you can heat and cool it efficiently—without the constant hum—by treating HVAC as a low-load, low-noise system from day one. Start with an aggressive air-seal and vapor-smart insulation so your equipment runs at part-load.
Choose a small inverter mini-split with a low dB(A) outdoor unit, rubber isolation feet, and a wall bracket that decouples vibration from framing for truly silent cooling.
For energy efficient heating, size for design-day loads, not floor area, and favor cold-climate heat pumps with variable-speed compressors.
Add an ERV for balanced ventilation, MERV-13 filtration, and humidity control, then tune fan curves and locate returns away from sleeping zones.
Conclusion
When you finish your boathouse conversion, you don’t just gain square footage—you gain a retreat that holds up to spray, sun, and shifting tides. You’ve verified livability, cleared zoning, and built a budget that matches marine-grade reality. Reinforced pilings, sealed framing, and a tight deck keep everything steady underfoot. With corrosion-resistant utilities, vented airflow, and moisture-proof finishes, the space stays crisp. Then quiet HVAC hums as water glitters outside.