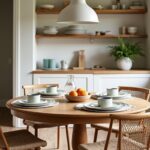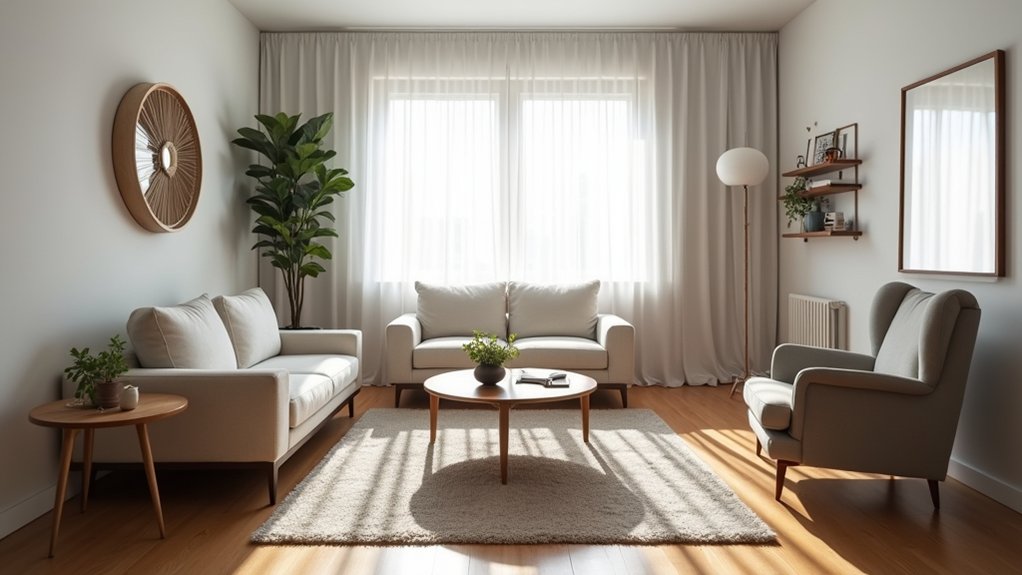

You’ll get a small room working harder when you start with a quick plan: measure walls, note doors, windows, and outlets, then pick right-scale pieces with slim profiles and hidden storage. Place one anchor item first, keep 24–36 inches for walkways, and float furniture when it improves flow. Use rugs and lighting to define zones, go vertical for storage, and protect clear sightlines—next, you’ll see how this changes each room type.
Start With a Simple Small-Room Layout Plan
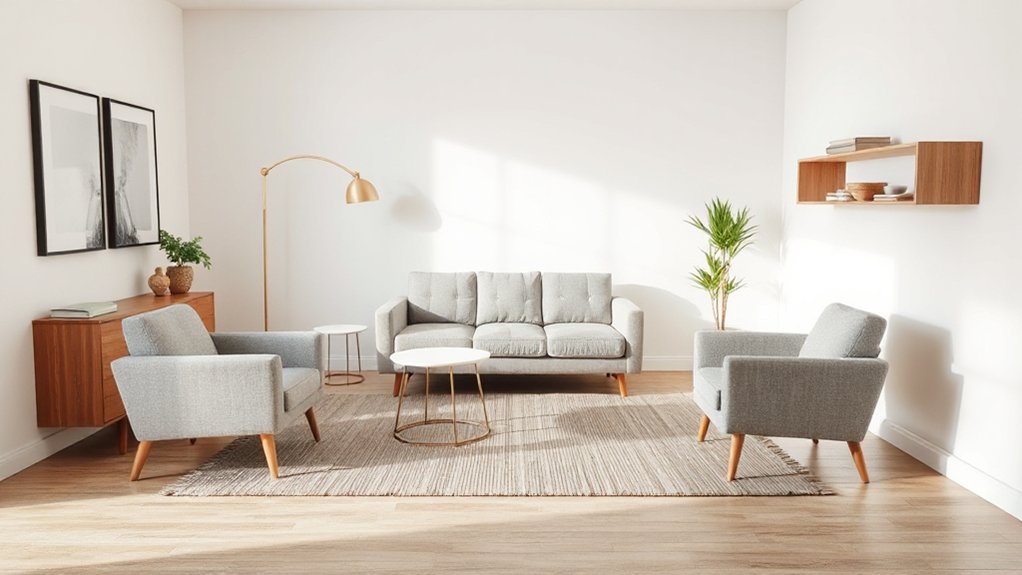
Before you buy anything or start shoving furniture against the walls, sketch a simple layout plan that matches how you actually use the room. List your must-do activities—sleep, work, lounge, dine—then assign each a tight “zone” and a clear path between them.
Anchor the plan with one primary piece, then add only what supports it, favoring slim profiles, open legs, and wall-hugging storage. Plan for flexible moves: nesting tables, ottomans with storage, and a fold-down desk keep you trend-right and clutter-light.
Map Color schemes early so finishes coordinate and the room reads larger. Finally, choose lighting options that layer: ceiling glow, task light, and a small accent lamp to define zones without extra furniture.
Keep circulation intentional.
Measure Your Room and Mark Doors, Windows, Outlets
Grab a tape measure and record wall-to-wall lengths, ceiling height, and any awkward bumps so your layout doesn’t guess.
Then mark every door swing, window span, vent, and outlet on your sketch to protect clear paths and keep lighting and charging where you need them.
With these basics mapped, you’ll place furniture with confidence and avoid the common small-room mistakes.
Accurate Room Measurements
Although small rooms can feel limiting, you’ll get far better layout results when you measure with precision and document the room’s “fixed” elements. Start with a steel tape, not an app, and record wall-to-wall lengths in inches for tighter tolerances. Measure ceiling height, baseboard depth, and any trim that steals clearance behind sofas or bookcases.
Note floor material changes that can affect rug sizing and rolling chairs. Then measure your key pieces—sofa depth, bed footprint, dresser drawer swing—so you can match real dimensions to walking paths. Keep a simple scale (like 1 square = 6 inches) to test options quickly.
Accurate numbers also help you plan Decorative accents and Lighting enhancements without crowding surfaces or circulation. Save measurements digitally for edits later.
Map Openings And Outlets
Once you’ve nailed the raw dimensions, map the elements that dictate where furniture can—and can’t—go: doors, windows, vents, and outlets. Sketch each door swing and note how far it opens so you don’t block clearance with a sofa arm or cabinet door. Mark window widths and sill heights to avoid covering radiators, forcing curtains to bunch, or trapping natural light behind tall pieces.
Next, label every outlet, switch, and data jack. This is where Electrical planning saves you from extension-cord clutter in a tight room. Plan Lighting placement early: flag spots for floor lamps, sconces, or a plug-in pendant so cords run behind furniture, not across walk paths.
Finally, record vent locations and airflow direction so rugs, consoles, and beds don’t choke heating or cooling.
Choose Right-Scale Furniture for Small Spaces
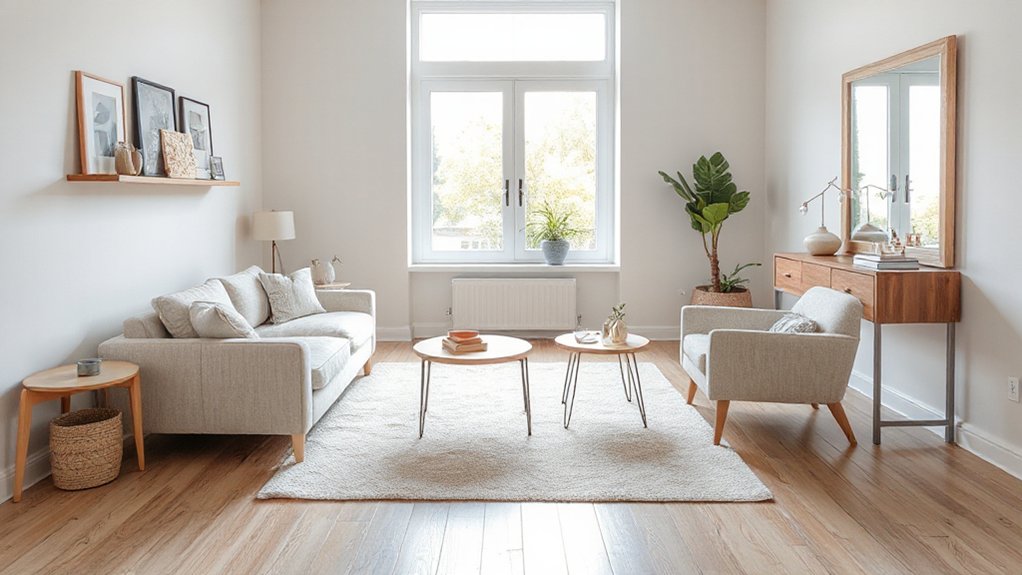
When you match furniture scale to your room’s footprint, the whole space instantly feels calmer and more intentional. Skip oversized arms, deep seats, and chunky legs; they steal aisle space and make furniture placement harder. Choose slim silhouettes, raised bases, and open frames so sightlines stay clear and cleaning’s easier.
Measure before you buy: keep 30–36 inches for main walkways and leave breathing room around doors, drawers, and vents. Favor nesting tables, armless chairs, and benches that tuck under consoles.
Go vertical with tall bookcases and narrow dressers to gain storage without widening your footprint. For color coordination, stick to a tight palette and similar finishes so pieces read lighter and more cohesive.
If you want a trend-forward look, mix one curved piece with straight lines for balance.
Place One Anchor Piece First (Bed, Sofa, Desk)
Right-scale furniture sets you up for success, but your layout won’t click until you place the room’s anchor piece first—the bed, sofa, or desk.
Start by choosing the wall or window line that naturally wants to become the focal point, then commit: center the bed on the strongest wall, float the sofa to face your media or view, or angle the desk toward daylight for a WFH-ready zone.
Keep the Anchor piece visually “quiet” with slim arms, low profiles, and legs that show floor, a current look that also lightens the room.
Once it’s set, you’ll instantly see where supporting pieces belong—nightstands, a nesting table, or a compact dresser—without guessing. This keeps the space intentional, not crowded.
Leave 24–36 Inches for Clear Walkways
Even if you love a cozy, layered look, you still need 24–36 inches of clear walkway so the room functions without feeling tight. Measure paths from the door to the main seat, bed, or desk, then edit anything that pinches circulation.
If a side table crowds the route, swap in a slim C-table or a wall-mounted shelf. Keep drawers and cabinet doors from colliding by planning their swing arcs, not just their footprints.
Use a runner to visually “reserve” the path and guide traffic. Corral decorative accents on trays or vertical shelves so surfaces stay usable.
Refine lighting arrangements by placing floor lamps behind seating and using plug-in sconces, keeping cords off the walkway. You’ll move smoothly, and the room will feel bigger.
Pull Furniture Off the Walls (When It Helps)
You don’t always need to push every piece against the wall—floating a sofa or chair a few inches out can create breathing space and make the room feel less boxed in.
You’ll often get better traffic flow by angling seating around the walkway instead of forcing a tight perimeter loop.
Use a small pull-off to define a cozy zone (think conversation circle or reading nook) without adding extra furniture.
Create Breathing Space
One simple shift can make a small room feel instantly less cramped: pull key pieces a few inches off the walls when the layout allows. That narrow gap creates visual “breathing room,” breaks up the boxed-in look, and gives your furnishings a lighter, floaty feel—especially with slim legs and low profiles.
Start with the sofa, bed, or media console: 2–6 inches is usually enough. Anchor the piece with a compact rug or a console table behind it, keeping surfaces minimal.
You’ll also improve air quality by reducing dust traps along baseboards, and you can boost natural ventilation by letting air circulate around bulky items near windows or radiators.
Finish with a floor lamp or plant in the gap for an intentional, curated look without adding clutter.
Improve Traffic Flow
Breathing space looks great, but it also sets the stage for smoother movement. To improve traffic flow, try pulling key pieces a few inches off the walls when it helps sightlines and clears pinch points.
Float a sofa slightly forward to widen the entry path, or shift a chair off a corner so you don’t brush past it. Keep a consistent 30–36-inch walkway, and angle legs toward the route to guide motion.
Use slim consoles or armless seating to reduce visual bulk. Support the layout with Lighting design: aim a floor lamp or sconce at circulation paths to prevent dark bottlenecks.
Tie it together with Color schemes that keep walls and large pieces similar in value, so pathways read open and intentional. Always measure first.
Define Cozy Zones
Although small rooms tempt you to hug every piece to the perimeter, pulling select furniture a few inches off the walls can define a cozy “zone” without shrinking the space.
Float a loveseat or two chairs around a slim rug, then anchor them with a compact coffee table to signal a conversation area. Keep a 30–36 inch walkway behind seating so the room still breathes.
If you’re tight on depth, shift only the front legs onto the rug for a modern, tailored look.
Use Decorative accents sparingly: one tray, one plant, one textured throw.
Finish with smart Lighting techniques—plug-in sconces or a floor lamp placed behind the sofa—to layer warmth without eating surface space.
Don’t Block the View Across the Room
When you can see cleanly from one side of the room to the other, the space reads larger and more modern. Protect that sightline by keeping tall pieces off the room’s main axis and away from windows. Let outdoor views stay visible and pull natural light deeper into the floor plan.
Float your sofa a few inches off the wall only if it doesn’t cut the visual runway; otherwise, align it parallel to the longest wall. Choose armless chairs or low-back seating near pathways, and angle them toward the focal point so you don’t create a “furniture fence.”
Use slim-profile side tables and wall-mounted lighting to keep surfaces light. Finally, leave at least one uninterrupted corridor from entry to window so your room feels open and intentional.
Use Multi-Purpose and Storage Furniture
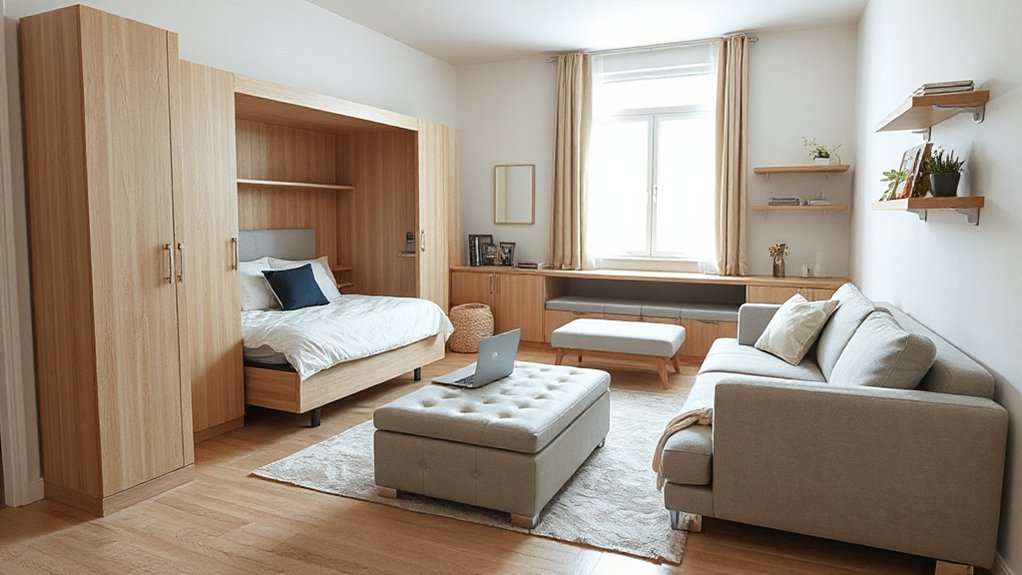
In a small room, you can’t afford single-use furniture, so pick dual-function pieces like a storage bed, nesting tables, or a desk that doubles as a console. You’ll keep your layout flexible and your surfaces clear while still meeting everyday needs.
Add hidden-storage seating—think ottomans and benches with lift-up lids—to stash clutter fast without adding visual bulk.
Choose Dual-Function Pieces
If your small room has to do double duty, start by choosing dual-function pieces that earn their footprint. Pick a sofa bed with a slim track arm, or a daybed that reads like a couch by day and sleeps guests at night.
Swap a bulky coffee table for a lift-top model that becomes a work surface, then tuck laptops and remotes inside.
Choose nesting side tables that spread out for hosting and stack tight afterward.
Look for wall-mounted desks that fold down, keeping floor space open and sightlines clean.
To keep it cohesive, match finishes to your color schemes and limit decorative accents to a few high-impact items.
You’ll get function without visual clutter, and your layout stays flexible.
Add Hidden Storage Seating
Dual-function pieces handle the big jobs, but hidden-storage seating tackles the everyday clutter that makes small rooms feel tight. Add an ottoman with a lift-top to stash throws, remotes, and chargers, then keep the surface clear for a tray or extra perch.
Slide discreet benches under a console or window ledge; you’ll gain quick seating plus a place for shoes, games, or mail. Look for clean-lined styles with hidden compartments so storage disappears into the silhouette.
Place a storage banquette along one wall to anchor a dining nook without bulky cabinets. Choose slim arms, raised legs, and lighter upholstery to keep sightlines open, and label bins inside so you’ll actually use them daily.
Go Vertical to Free Up Floor Space
While a tiny room can feel boxed in, vertical layout choices instantly give you breathing room. Start by moving visual weight upward: choose tall, narrow bookcases, ladder shelves, and wardrobes that rise close to the ceiling. Use vertical stacking for baskets, bins, and folded textiles so you don’t waste shelf height, and label the front edge for quick grabs.
Next, install wall mounted storage wherever studs allow—floating shelves, rail systems, pegboards, and slim cabinets above desks, doors, or radiators. Keep frequently used items between shoulder and eye level, and reserve high shelves for seasonal pieces.
Swap bulky floor lamps for plug-in sconces, and mount your TV or monitor to clear a console. Finish with one vertical mirror to bounce light.
Small-Room Layout Examples: Bedroom, Living Room, Studio
Three go-to layouts cover most small spaces: a bedroom that prioritizes sleep and hidden storage, a living room that keeps walkways open and seating light, and a studio that zones without building walls.
In your bedroom, anchor the bed on the longest wall, add slim night shelves, and slide bins under a lift-up frame. Keep a clear 24–30″ path on one side.
In your living room, float a compact sofa facing a wall-mounted media ledge, then use nesting tables and armless chairs you can tuck in.
In your studio, place a low bookcase or curtain behind the sofa to separate sleep from lounge, and use a drop-leaf table as dining/desk.
Tie it together with tight Color schemes and small Decorative accents.
Conclusion
Now you’ve got a layout that works hard without feeling cramped. You measured, chose right-scale pieces, set one anchor, and protected 24–36-inch walkways. You kept sightlines open, added storage-forward furniture, and went vertical to clear the floor. Treat every inch like a well-edited capsule wardrobe: intentional, flexible, and current. With zones, rugs, and lighting, your small room won’t just fit your life—it’ll streamline it day to day.