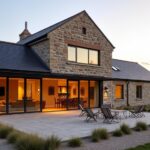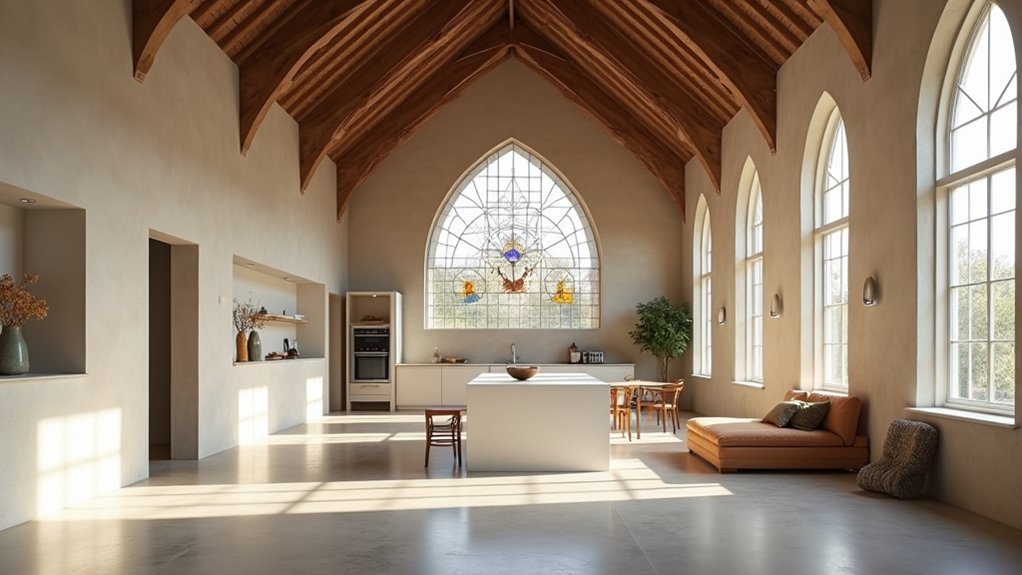

Like a quiet nod to Le Corbusier’s light studies, you start by treating the chapel as a lantern, not a box. You secure planning, listed, and ecclesiastical consents, then map damp paths with measured surveys before you touch the stone. You keep walls breathable with lime and woodfibre, slip slim glazing into existing openings, and float new rooms as freestanding timber pods so the nave stays legible. Next, you’ll need to decide where warmth, privacy, and silence actually belong…
Can You Legally Do a Chapel Conversion?
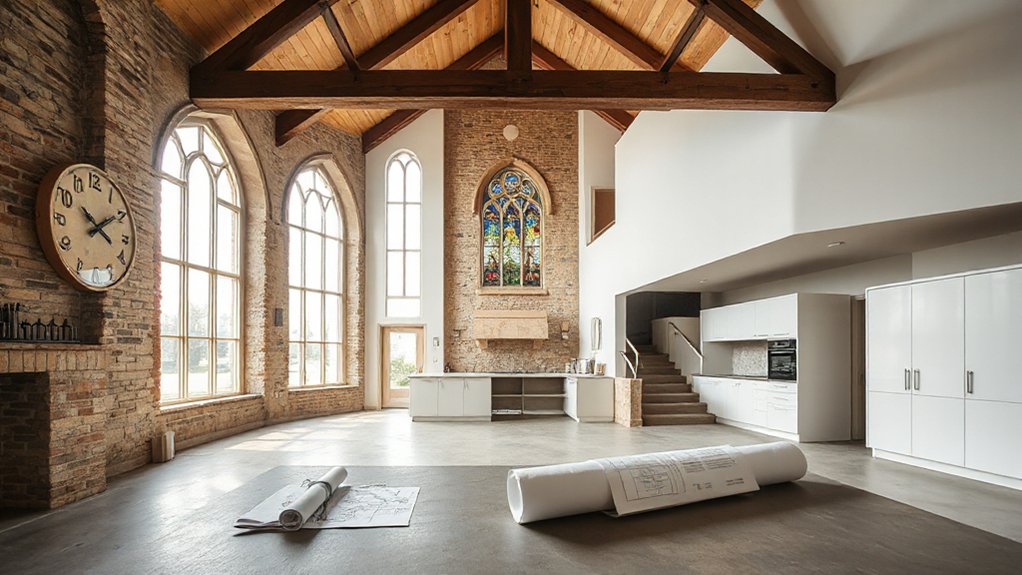
Before you sketch a mezzanine into the nave or swap stained glass for high‑performance glazing, you’ll need to confirm the chapel can legally change use from worship to residential. Start by establishing ownership, boundaries, and access rights, then check for covenants, burial rights, or reversion clauses that can restrict alteration or sale.
You’ll also need written confirmation the building is formally deconsecrated and released from denominational control, with any fixtures—pews, pulpit, memorials—clearly accounted for.
If the chapel still hosts Festival traditions or community gatherings, agree on how you’ll protect public access, acoustics, and circulation.
Finally, verify utilities, drainage, and fire‑safety responsibilities so your material choices—insulated lime plaster, breathable membranes, timber floors—stay compliant.
Planning Permission, Listed Status, and Consents
You’ll start by confirming whether your change of use, new rooflights, or an entrance re-cut triggers planning permission. Then map those moves against the chapel’s massing and street-facing elevations.
If it’s listed, you’ll frame every intervention—cutting through stone, repairing lime mortar, inserting slimline glazing, upgrading insulation—around listed building consent and a clear heritage rationale.
You’ll also coordinate any ecclesiastical approvals early so your layout, services runs, and fabric repairs align with church requirements before you lock the drawings.
Assessing Planning Permission Needs
Although the architecture may look ready for a domestic fit‑out, you can’t sketch layouts or specify materials with confidence until you’ve mapped the consents stack: whether a change of use needs full planning permission, whether the chapel’s listed status triggers listed building consent for even “minor” fabric interventions, and whether the site sits in a conservation area with extra controls on windows, roof coverings, boundary treatments, and external lighting.
Start with a pre‑app to test your conversion narrative, then build drawings that show massing, daylight, and privacy: rooflights set between rafters, slimline glazing bars, and discreet vents aligned to stone joints.
Quantify environmental impact with fabric‑first U‑values and low‑carbon heating allowances. Support the case through Community engagement: explain traffic, noise, and evening light spill, and show how new paths and planting respect the setting.
Navigating Listed Building Consent
Once you’ve confirmed the planning route, pin down whether the chapel is listed and what that triggers, because Listed Building Consent can govern everything from how you cut new openings to how you run a soil pipe.
Read the list description line by line, then map significance: stone tracery, stained glass, roof trusses, memorials, encaustic tiles.
Build your design around retention and reversibility—freestanding pods, shadow gaps, lime-based repairs, breathable insulation, and services routed through existing voids.
When you need change, justify it with measured drawings, material samples, and method statements: leadwork details, matching mortar, timber species, glazing profiles.
Treat Adaptive reuse as conservation-led, and show community impact by keeping the exterior legible, lighting the nave discreetly, and avoiding intrusive plant noise.
Coordinating Ecclesiastical Approvals
Because chapels sit at the overlap of civil planning control and church governance, coordinate approvals early so the design doesn’t drift into a dead end. Map every consent: planning permission for change of use, listed status conditions, and any denominational sign‑off (faculty, trustees, or diocesan bodies).
Bring your conservation officer, architect, and church representative into one decision trail so window repairs, lime mortar repointing, and roof insulation details match across applications.
Prove historical significance with a short heritage statement that ties proposed interventions to existing stonework, pews, and tracery. Use Community engagement as evidence: share drawings, daylight studies, and material samples, then log feedback.
You’ll de‑risk objections by showing reversible joins, discreet services runs, and minimal fabric loss.
What Surveys Does a Chapel Conversion Need?
Before you sketch a mezzanine or specify slimline glazing, line up the surveys that tell you what the chapel can actually take. Start with a measured building survey to capture wall thicknesses, stone courses, roof pitches, and window tracery, so new joinery aligns cleanly with existing reveals.
Commission a structural survey to test timber trusses, tie rods, and buttress stability, plus foundation probes where damp or settlement shows. Add a damp and salt analysis—lime mortar, porous sandstone, and cement patches behave differently—then specify compatible breathable repairs.
Order asbestos and lead-paint surveys before any strip‑out. Run services scans to locate buried cables and old heating mains.
Pair this diligence with Spiritual symbolism and community engagement, documenting retained memorials and furnishings for sensitive reuse.
How Do You Plan a Layout Around the Nave Height?
Let the survey findings set the rules of engagement, then shape your layout to celebrate the nave’s vertical volume without wasting it. Start by mapping sightlines to the altar wall, trusses, and key stained glass so Natural light becomes your primary organizer.
Place everyday functions where daylight is reliable: kitchen and dining in the brightest bay, circulation along darker aisles, and quieter zones toward the chancel end. Use spatial hierarchy deliberately—keep the central axis open, then step floor finishes to signal zones: oiled oak boards for living, limecrete or stone flags for entry, wool runners to soften acoustics.
Align built-in storage with buttress piers to preserve rhythm, and position furniture below clerestory glare for comfort.
How Can You Add Rooms Without Boxing It In?
If you treat new rooms as insertions rather than walls, you can carve out privacy while keeping the nave reading as one tall volume. Build freestanding “pods” for bath, storage, and utility, then stop them short of the rafters so the original trusses stay legible. Use shadow gaps at floor and ceiling, and express junctions in blackened steel angles so old stone never feels trapped.
Slide in mezzanine bedrooms as lightweight timber frames with slatted balustrades, letting sightlines pass through. Specify acoustic linings—felt panels, wool curtains—inside the inserts, not across the chapel shell. Tie interior decor to these pieces: oak joinery, limewash, brass pulls.
Outside, align garden landscaping with pod edges using hedges and gravel bands.
How Do You Bring Daylight Into a Chapel Home?
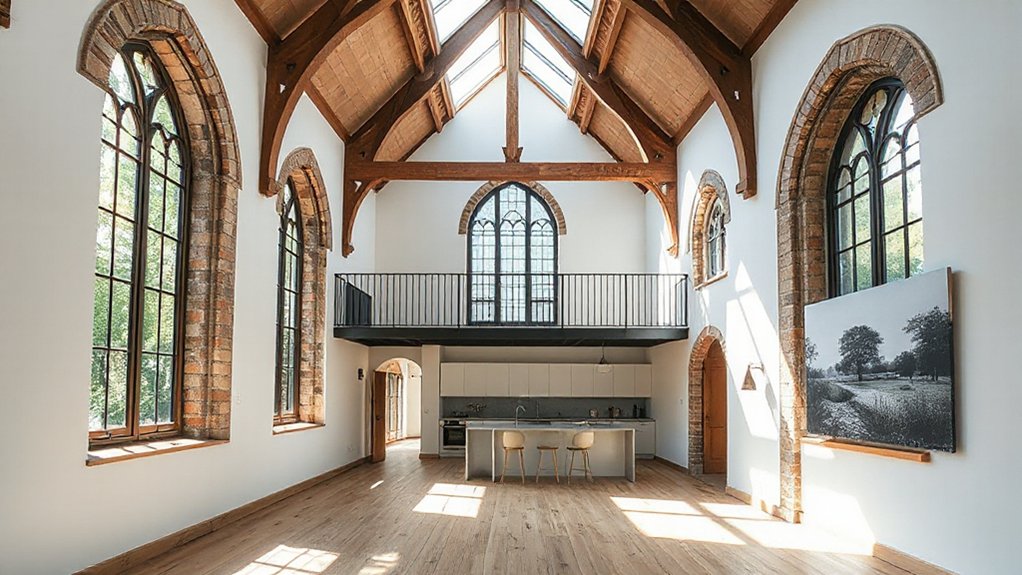
Although chapels already feel luminous, you’ll get the best daylight by treating the original openings as the primary source and adding new glazing only where it won’t compete with the stone shell.
Start by stripping back heavy linings and dark stains so light can travel; limewash or mineral paint lifts reveals without looking plastic.
Keep sightlines clear by using open balustrades, slim stair strings, and perforated metal or oak slats for mezzanine edges.
For Natural lighting, tune reflectance: pale timber floors, honed limestone, and matte plaster bounce light while avoiding glare.
Place mirrors sparingly, aligned to catch the lancet glow, not to shout.
In interior design, choose low, warm fixtures and tuck them into cornice lines so daylight stays dominant, all day.
Heritage-Friendly Glazing for a Chapel Conversion
When you’re converting a listed chapel, you’ll need glazing that satisfies listed-building rules—retain original sightlines, protect historic fabric, and match existing leaded patterns and frame profiles.
You can specify slimline heritage double glazing to lift thermal performance while keeping narrow cavities, fine glazing bars, and putty-line proportions that read as period-correct from the street.
Where stained glass survives, you’ll preserve it with careful panel repairs, releading where necessary, and discreet isothermal protective glazing that ventilates the cavity and avoids trapping moisture.
Listed Building Glazing Rules
Because listed chapels rely on their glazing to express proportion, craft, and light, you can’t treat replacement windows as a simple thermal upgrade—you’ve got to match the historic intent while improving comfort. Start by confirming the listing grade, then map every opening: leaded lights, quarries, tracery, and painted glass.
You’ll typically need listed building consent for like‑for‑like repairs and any change to glass type, bar thickness, putty line, or opening method. Specify repair-first: consolidate cames, splice decayed timber, retain cylinder or crown glass where possible, and document everything with window-by-window schedules and photos.
In Modern interior design, keep sightlines crisp by hiding secondary seals in rebates. For Sustainable renovation, choose breathable linseed putty, FSC hardwood, and reversible fixings to protect stone reveals.
Slimline Heritage Double Glazing
If you need real thermal and acoustic gains without losing the chapel’s slender glazing bars and crisp sightlines, slimline heritage double glazing gives you a credible middle ground. You specify ultra-thin units that tuck into existing rebates, so muntins read as original and reflections stay controlled.
Choose warm-edge spacers, low-iron panes, and a low‑E coating to lift comfort without tinting the light. You’ll also reduce condensation risk at reveals by pairing the glass with discreet draught seals and careful perimeter bedding.
Timber repairs can use Eco friendly materials and breathable paints, keeping the frame stable while the unit stays tight. Done well, the result supports modern aesthetics: clear planes, minimal hardware, and quieter rooms, while the façade still reads distinctly ecclesiastical.
Stained Glass Preservation Techniques
Slimline double glazing can handle most clear openings, but the stained glass needs a lighter touch that protects paint layers, lead cames, and centuries-old putty.
You’ll start with a condition survey: map bulges, cracked quarries, fatigued ties, and failed cement.
For Stained glass restoration, you should remove panels to a bench, photograph every saddle bar, then re-lead only where cames have stretched beyond alignment.
Choose heritage-friendly protection glazing: a ventilated outer pane in low-iron glass, set on discreet bronze brackets, with weep paths to stop condensation.
Keep a micro-gap at the perimeter so the window can breathe.
For Glass cleaning techniques, use deionized water, cotton swabs, and neutral pH surfactant; avoid abrasives, ammonia, and tape.
Seal perimeter with lime-based mortar, not silicone.
Insulation, Airtightness, and Moisture in Stone Chapels
While the thick stone walls of a chapel look inherently “solid,” they rarely perform like a modern envelope, so you’ll need to design insulation, airtightness, and moisture control as one coordinated system. Start by surveying salts, damp lines, and mortar type, then choose vapor-open assemblies that respect the masonry’s drying path.
Inside, you can add Natural insulation such as wood fiber, cork, or hemp-lime, but you’ll still need a continuous air barrier: parged lime plaster, taped membrane, or airtight sheathing behind service cavities.
Seal at window reveals, wall-to-roof junctions, and around new steelwork with compatible gaskets and lime-friendly tapes. Keep Moisture management explicit: capillary breaks at floors, drained cavities where required, and lime-based finishes that buffer humidity.
Detail thermal bridges at buttresses and piers with insulated returns and careful junction drawings.
Heating a Chapel Conversion Evenly (No Cold Spots)
Because a chapel’s volume stacks warm air high above the occupied zone, you’ll only get even comfort by designing heat delivery around surfaces, stratification, and air movement—not just boiler size.
Start with low-temperature emitters: hydronic underfloor loops in a limecrete slab, or wall radiant panels hidden behind timber wainscot, so masonry stays gently warm and downdraughts fade.
Add perimeter trench heaters at tall glazing to cut cold fall and protect condensation-prone reveals.
Specify a variable-speed circulation pump and weather-compensated controls to prevent overshoot in high-mass stone.
Use ceiling fans on slow reverse to destratify without drafts, and pair them with balanced Natural ventilation via high-level actuators for shoulder seasons.
Seal duct and pipe penetrations, and zone by floor level to maintain energy efficiency year-round.
Privacy and Acoustics in an Open Chapel Interior
You can zone the chapel’s volume without solid walls by shifting floor levels, rotating cabinetry, and laying rugs to draw quieter “rooms” inside the nave. You’ll tame echo with fabric-lined screens, acoustic plaster panels, heavy curtains at tall glazing, and cork or timber underlay that softens footfall.
Then you can carve private nooks with slatted oak, reeded glass, and ceiling-hung drapery that keeps light moving while blocking sightlines and dampening speech.
Zoning Without Solid Walls
Even when the chapel’s volume stays visually open, you can carve out clear “rooms” by layering thresholds instead of building full-height walls. Use shifts in floor level, a change from stone to oiled oak, or a thickened portal lined in birch ply to signal entry without blocking natural lighting.
Place tall joinery blocks—wardrobes, pantry, bookcases—perpendicular to the nave to create pockets for sleep, work, and bathing while keeping sightlines to the clerestory.
For privacy, you’ll rely on partial-height screens in reeded glass, linen curtains on ceiling tracks, and deep window seats that turn the aisle into a buffer.
To support interior acoustics, choose tactile finishes—wool rugs, cork panels behind shelving, and upholstered banquettes—that soften conversation and make zones feel calmer.
Sound Control Strategies
Open sightlines and soft thresholds keep the chapel feeling expansive, but they also let sound travel unchecked from nave to nooks. You’ll need Soundproofing techniques that respect heritage surfaces while tightening the envelope. Add dense mineral-wool batts behind new lime-plaster linings where you can, and gasket every door, hatch, and service penetration to stop flanking noise.
For Acoustic treatment, you can’t rely on rugs alone; you’ve got to tune reverberation. Specify perforated timber panels with black acoustic felt on the former side aisles, and hang felted baffles high between trusses to break flutter echo without blocking clerestory light. Use heavy, lined curtains at tall glazing for adjustable absorption.
Back cabinetry with resilient channels so appliances don’t drum through the volume.
Private Nooks And Screens
While the nave’s new openness sells the drama of the volume, it also strips away the small layers of refuge that make daily life comfortable. So carve out private nooks with screens that do double duty for acoustics. Use slatted oak or perforated timber panels on ceiling tracks to shape a reading bay, a phone booth, or a tucked-in desk without killing sightlines.
Line the screen’s inner face with wool felt or cork to absorb mid‑frequency chatter, then cap it with a slim oak rail you can lean on. Pair curtains of heavyweight linen at sleeping zones for softer reverberation.
Keep interior decor calm: low sofas, rugs, and upholstered benches. Outside, echo the strategy with garden landscaping—hedges and trellises buffer views and noise.
Chapel Conversion Costs, Contingencies, and Timeline
Because chapel shells hide expensive surprises behind beautiful brick and stained glass, you’ll want to price the conversion like a hybrid of heritage restoration and new-build interior fit‑out: start with the big-ticket fabric (roof coverings and leadwork, repointing, stone repairs, window conservation).
Then layer in the performance upgrades that make it livable (insulation strategy, air‑tightness, underfloor heating, MVHR, and new services routed discreetly through floor voids and joinery).
Add 15–25% contingency for dry rot, failed trusses, and hidden asbestos.
Build in fees for measured surveys, bat ecologist, and conservation officer input; Chapel acoustics may demand fabric baffles, lined panelling, and heavy curtains.
Plan 4–8 months for consents and community engagement, then 6–12 months on site, sequencing windows before interior oak, lime plaster, and fitted cabinetry.
Conclusion
When you convert a redundant chapel, you don’t just renovate—you choreograph light, air, and stone. You’ll secure the right consents, map the structure with surveys, and then design around the nave’s height with mezzanines, glazed screens, and carefully placed joinery that preserves volume. Use breathable lime, wood fibre, and discreet insulation to control moisture, and pair even heating with quiet ventilation. The result: heritage held, comfort gained, daylight everywhere.