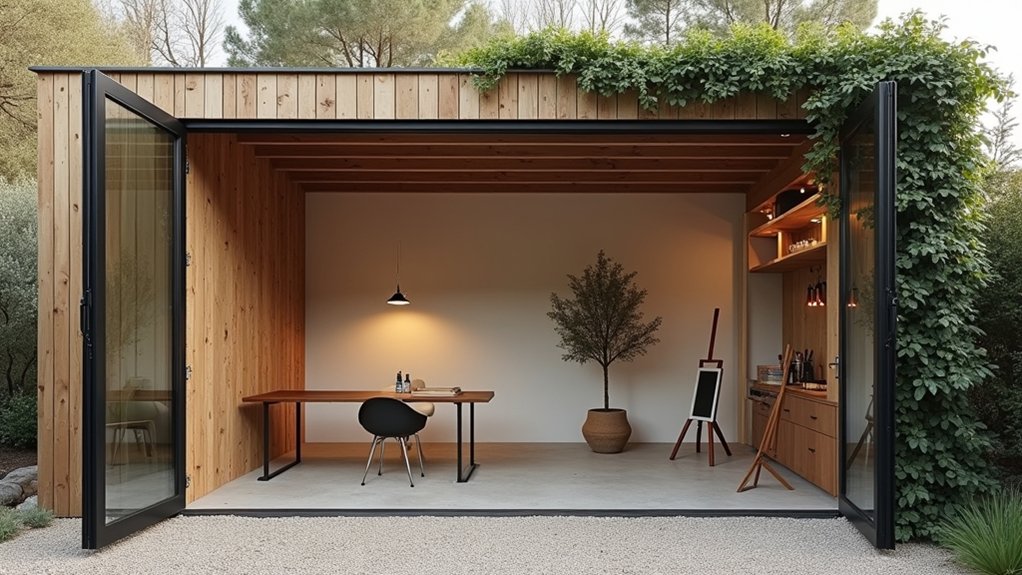

You can turn a cart shed into a stylish studio if you plan the layout before you buy anything. Measure every wall, ceiling height, door swing, and window line, then block out zones for work, storage, and a small reset corner. You’ll want perimeter shelving and furniture that folds, stacks, or rolls. But before finishes and décor, you need to face the unglamorous essentials—permits, wiring, moisture control, and heat—because they’ll dictate everything that comes next…
Plan Your Cart Shed Studio Layout
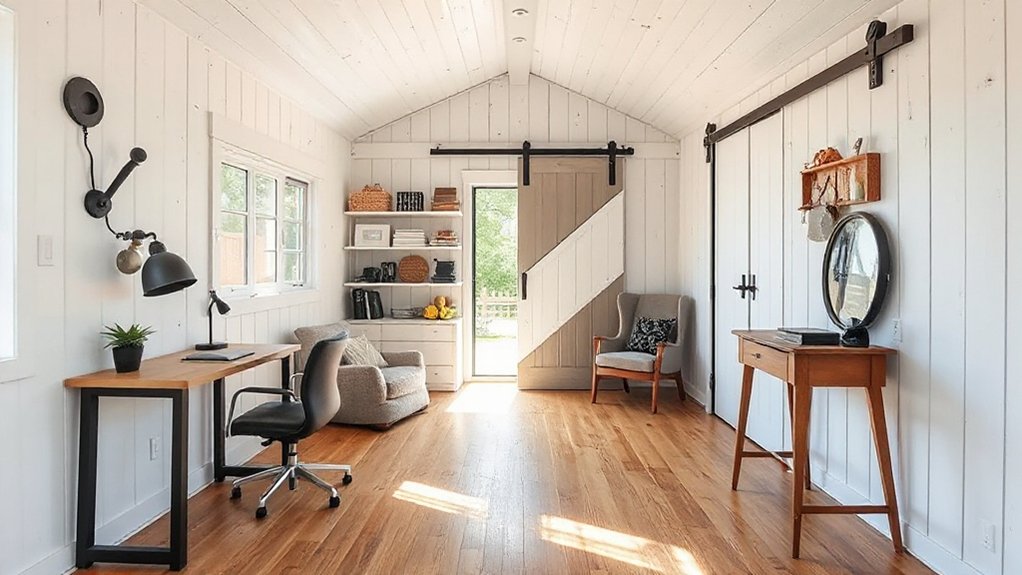
Before you pick up a hammer, map out how you’ll actually use the cart shed studio so every square foot earns its keep. Start by measuring interior dimensions, door swing, and window placement, then sketch zones for work, lounging, and display.
Prioritize daylight: orient your desk or easel near the brightest opening and keep sightlines clean for a larger feel.
Dial in furniture arrangement with multipurpose pieces—drop-leaf table, armless loveseat, nesting stools—so you can reconfigure fast for clients or quiet sessions.
Build storage solutions into the perimeter: floating shelves above eye level, under-bench drawers, and slim rolling cabinets that tuck beside studs.
Reserve one wall for vertical organization using pegboard or rail systems, and keep a clear walkway from entry to workstation.
Sort Permits, Power, and Plumbing First
Once you’ve sketched the zones and circulation, lock in the behind-the-walls requirements that can make or break your cart shed studio: permits, electrical capacity, and any plumbing runs. Call your local building department to confirm which permits apply for a detached studio, change of use, or new service; align drawings with building codes and safety regulations to avoid costly rework.
Next, audit power needs: HVAC loads, task lighting, computer gear, and any kiln or tools. Size the subpanel, plan dedicated circuits, and map outlet and switch locations to match your workflow and today’s clean, cord-free look.
For plumbing, verify whether you can tie into existing lines, need a pump, or must add a vent stack. Place the wet wall early so finishes stay seamless.
Insulate, Seal, and Heat the Cart Shed Studio
Although a cart shed looks simple on the outside, comfort inside hinges on a tight building envelope—so prioritize insulation, air-sealing, and a right-sized heating plan as a single system.
Start by framing cavities for consistent batts or mineral wool, then add rigid foam where thermal bridges bite, especially at studs and rafters. Tape seams, seal penetrations with fire-rated foam, and gasket the door to stop drafts and dust that can dull artistic decor.
Lay a durable vapor retarder only where your climate calls for it, and protect insulation with code-approved wall and ceiling finishes.
For heat, choose an efficient electric panel or mini-split sized to your volume and air-tightness. Keep clearances, and route cords cleanly into storage solutions so the studio stays calm.
Add Windows and Lighting for a Cart Shed Studio
Because a cart shed studio lives or dies by how it feels at eye level, treat windows and lighting as your next design system, not a finishing touch. Place glazing to frame views, control privacy, and balance daylight on work surfaces. Consider Decorative window styles—black steel casements, cottage grids, or clerestories—to add character while keeping wall space usable.
Specify double-pane units and flashing details so drafts don’t undermine comfort.
Layer illumination the way you’d plan a set: task, ambient, and accent. Choose Ambient lighting options like dimmable LED ceiling fixtures, track heads, or a slim pendant centered over your primary zone. Add wall sconces to reduce glare, and set 2700–3000K for warmth with accurate color. Put everything on smart dimmers and scenes.
Choose Durable Finishes That Still Feel Rustic
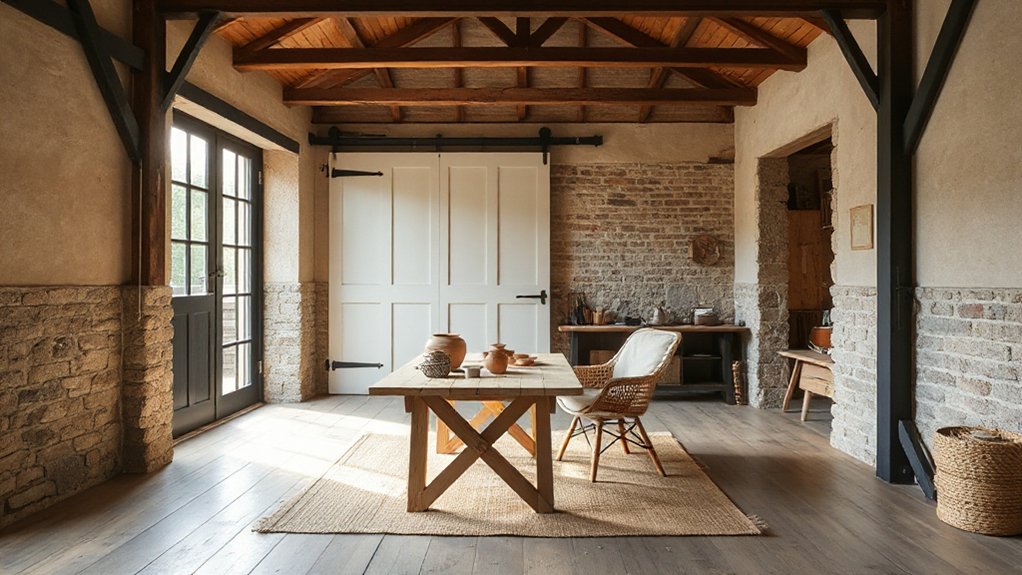
If you want your cart shed studio to feel rustic without acting fragile, choose finishes that take daily wear and still read warm and handmade. Start with Rustic paint in a matte or eggshell wash; it hides scuffs better than flat and feels more authentic than high-gloss.
Seal high-touch areas—door frames, trim, and window stools—with a clear, water-based topcoat for easy wipe-downs.
For the floor, specify Weather resistant flooring such as sealed concrete, porcelain that mimics reclaimed planks, or luxury vinyl with an embossed grain. Add a natural-fiber rug you can shake out.
Use blackened steel hardware, oil-rubbed bronze fixtures, and a satin polyurethane on exposed wood to prevent splinters. You’ll keep the patina, not the maintenance routine.
Conclusion
You’ve turned your cart shed into a studio that works as hard as you do—like a Swiss Army knife in a single room. By zoning the layout, locking down permits, power, and plumbing, and upgrading insulation, sealing, and heat, you’ve built real comfort. Add well-placed windows and layered lighting to keep it bright and camera-ready. Finish with durable, rustic-friendly surfaces and weather-rated hardware, and you’ll have a polished, flexible space that lasts.