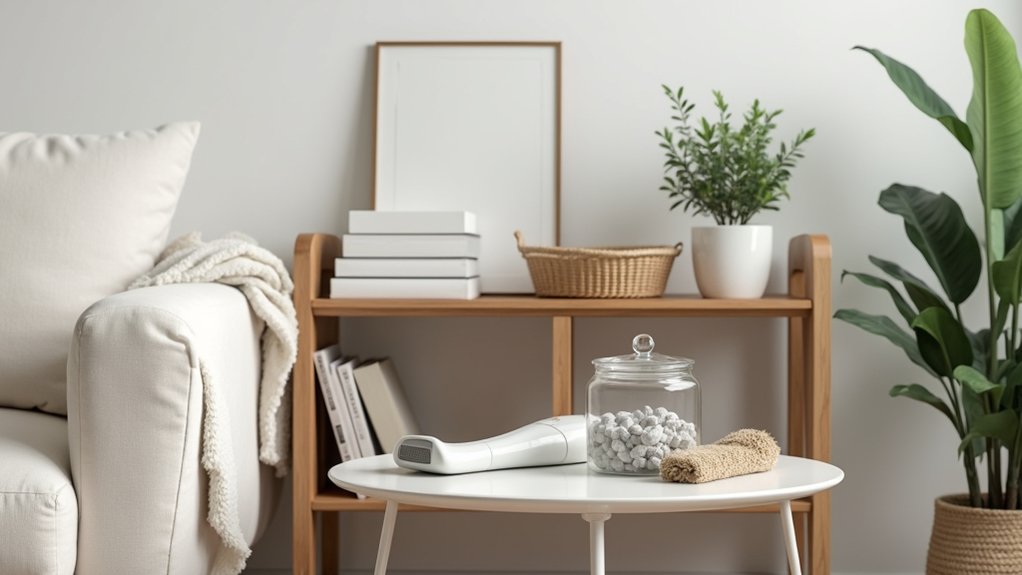

Dust isn’t just a cleaning problem—it’s often a storage and airflow problem you can fix quickly. Set a 10-minute timer each day and reset the main room by returning stray items to their homes and clearing flat surfaces so they stay visually calm and easier to wipe. Add a simple drop zone for keys, mail, and shoes, then use microfiber and a HEPA vacuum to trap what’s already settled. Next, you’ll tighten the routine so it sticks.
Do a 10-Minute Daily Clutter Reset
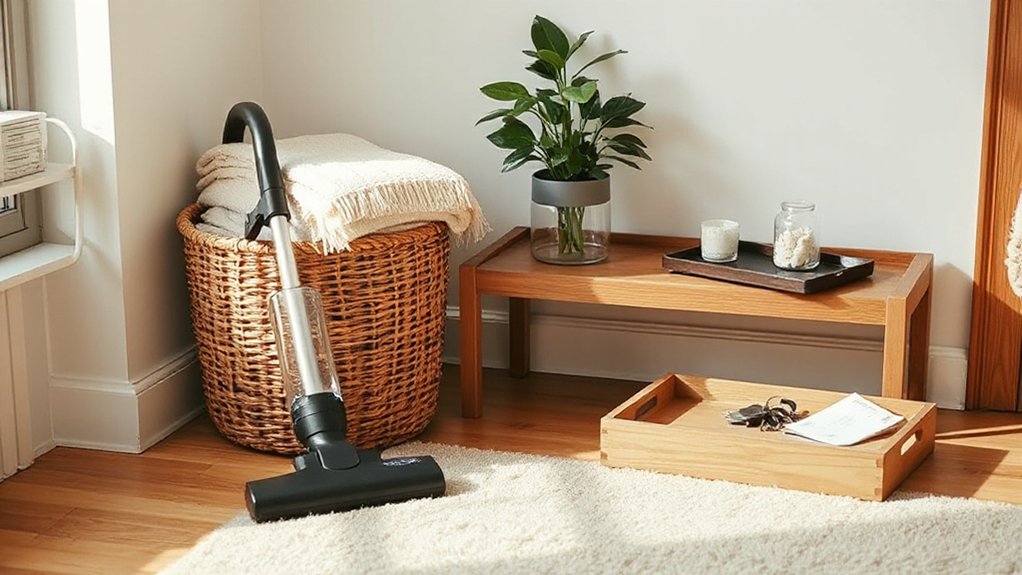
Even if your day feels packed, a 10-minute clutter reset keeps surfaces clear and dust from settling into piles. Set a timer, grab a small basket, and walk one loop through your main living zone. Return stray mugs to the kitchen, shoes to the entry bin, and mail to a labeled tray.
Make it seamless by pairing it with organizing daily habits: start the reset right after dinner or your last work call. Give everything a “home” that looks intentional—woven box, lidded container, slim drawer organizer—so the room stays calm.
Practice minimizing household items as you go: if you touch something twice in a week, decide to store it, donate it, or recycle it. You’ll end each night with tidy lines and lighter visual noise.
Clear Flat Surfaces to Cut Dust Fast
Once you’ve built that 10-minute reset into your day, take it one step further by clearing your flat surfaces—because countertops, coffee tables, and dressers act like dust magnets.
Strip each surface to essentials only: a lamp, one tray, one plant. Everything else either goes away or gets reassigned.
Use Decorative storage that looks intentional: a lidded box for remotes, a slim canister for pens, a catchall tray for jewelry (kept minimal). Keep items grouped so you can lift one piece and wipe in seconds.
Finish with a microfiber pass, then add Surface coatings where it makes sense—wax on wood, a stone sealer on counters, or an anti-static spray on laminates—to slow re-dusting and keep that clean, airy look longer.
Set Drop Zones to Stop Clutter Piles
Because clutter usually lands where your hands are full, you can stop piles before they start by setting a few “drop zones” that look deliberate and work hard. Define one spot per category: keys, mail, bags, shoes, and coats, so items don’t migrate to counters and chairs.
For Entryway organization, place a slim console with a tray for keys and a lidded box for sunglasses and chargers. Mount two or three sturdy hooks at shoulder height for everyday bags and jackets, and add a small catchall bowl beneath.
For Shoe storage solutions, use a low-profile rack or closed shoe cabinet with a washable mat in front to trap grit. Label baskets, keep widths consistent, and choose finishes that match your trim for a calm, intentional look.
Use the One-in, One-out Clutter Rule
Drop zones keep daily carryalls from spreading, but you’ll still accumulate extras if new items come in unchecked. Use a one-in, one-out rule: whenever you buy or receive something, remove one similar item the same day. Pair shoes with shoes, mugs with mugs, throw pillows with throw pillows. This reset trims clutter habits before they settle into dusty layers.
Make it effortless with tiny organizational systems. Keep a labeled “out” tote in a closet; when a new item arrives, drop its counterpart inside. Schedule a weekly five-minute exit: donate, recycle, or relocate.
Choose a visible, beautiful boundary—one shelf per category, one row per drawer—so the space itself tells you when you’re at capacity. Stick to it, and your surfaces stay clean, airy.
Improve Airflow With HVAC Filters and Purifiers
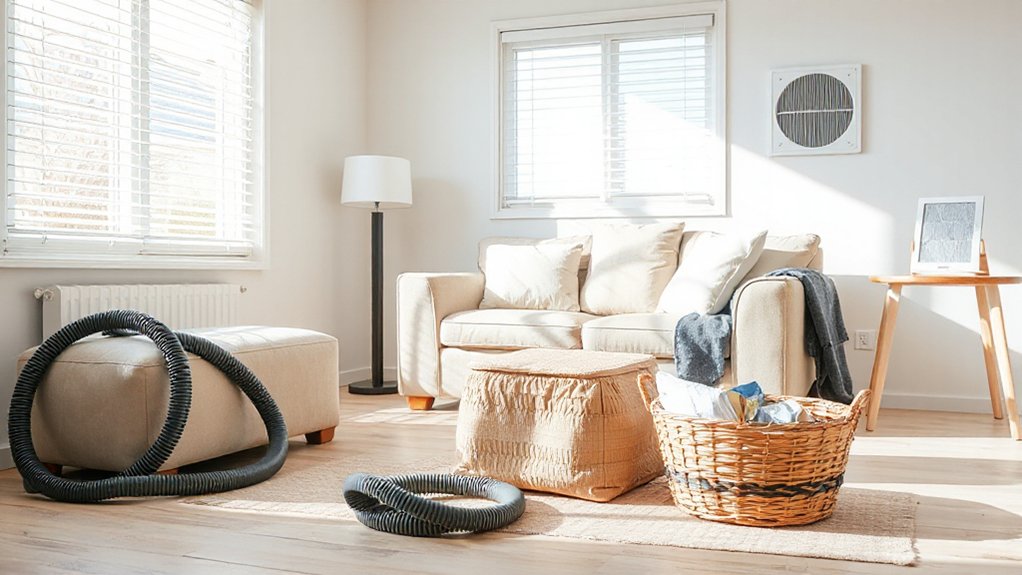
Even if you dust regularly, stale air and clogged filters keep fine particles circling back onto your floors and surfaces. Start with airflow optimization: set furniture a few inches away from supply vents and return grilles so air moves cleanly through the room.
Check your HVAC filter’s MERV rating and match it to your system’s recommendation, then schedule filter replacement every 60–90 days (more often with pets or renovations). Seal gaps around the filter slot so air can’t bypass it.
Add a quiet, appropriately sized purifier in high-traffic rooms; place it where it won’t hide behind drapes or shelves. Keep doors ajar to balance pressure and reduce dusty dead zones.
Use Microfiber and HEPA Tools to Trap Dust
Switch to microfiber cloths and use them slightly damp, folding them into clean quadrants so you trap dust instead of smearing it across glossy surfaces.
Pair that with a sealed HEPA vacuum, run slow passes along baseboards, upholstery, and vents, and let the tool do the capturing rather than kicking particles back into the air.
Keep results consistent by sticking to a simple filter-maintenance schedule—check monthly, rinse or replace as directed, and empty bins outside before they start shedding dust again.
Microfiber Cloth Techniques
Because dust settles in layers long before you notice it, you’ll get cleaner results by trapping it instead of pushing it around—start with a slightly damp microfiber cloth folded into quarters so you can rotate to a fresh face as it loads up.
Work top to bottom: crown molding, shelves, frames, then surfaces. Use light pressure and straight passes; the fibers grab fine particles when you glide, not scrub.
For vents and grooves, wrap the cloth around a butter knife to reach crisp edges without scratching.
Keep a “dry buff” cloth for glass and glossy lacquer so finishes look streak-free and intentional.
Microfiber maintenance matters: skip fabric softener, wash warm, and air-dry.
These dust trapping techniques keep rooms calmer and brighter daily.
HEPA Vacuum Essentials
Microfiber cloths trap what you can reach by hand, but a HEPA vacuum locks down the dust hiding in rugs, upholstery, and along baseboards so it doesn’t puff back into the room. Choose a sealed system and check HEPA filter compatibility with your model, especially if you swap canisters or bags.
Use a soft brush for shelves and lampshades, then switch to a crevice tool for trim lines and radiator fins. Vacuum slowly in overlapping passes to pull grit from fibers and keep carpets looking plush.
For hard floors, use a bare-floor head so you don’t scatter debris. Mind Vacuum weight considerations: a lighter stick works for quick, frequent touchups, while a heavier upright steadies deep-pile rugs and stairs.
Store tools together so you’ll actually use them.
Filter Maintenance Schedule
Even if you wipe surfaces with microfiber and vacuum with a sealed HEPA system, you’ll only keep dust truly contained if you maintain the filters on a simple schedule. Check your vacuum’s pre-filter weekly; tap it outdoors or rinse it if the manual allows, then air-dry fully to prevent musty odors.
Replace the HEPA filter every 6–12 months, or sooner if suction drops and floors look dull.
For your air purifier, vacuum the intake grill monthly so the unit stays sleek and quiet. Swap the purifier’s HEPA filter on the manufacturer’s interval (often 6–18 months), and reset the indicator so you don’t forget.
Keep spare filters in a labeled bin to avoid dusty, open boxes cluttering shelves.
Control Dust From Fabrics, Pets, and Shoes
While you can’t stop dust from forming, you can control where it starts by focusing on fabrics, pets, and whatever comes in on your shoes.
Choose tightly woven slipcovers and washable throws to trap fabric fibers instead of letting them float. Keep extra blankets in closed bins, and skip overstuffed pillows that shed and catch grit. If you love layered textiles, stick to smooth cottons and low-pile rugs for a cleaner look.
Pets add charm and pet dander. Brush them in one easy-to-wipe spot, then rinse the brush and wipe paws with a damp cloth before they roam.
Add a simple shoe zone: a slim tray, a closed basket for slippers, and a doormat that actually grabs debris. You’ll keep floors crisp and air calmer.
Follow a Weekly Routine for Dust and Clutter
Set weekly cleaning blocks on your calendar—15 minutes to dust, 15 to vacuum—so it’s automatic and your rooms stay crisp.
Pick one small area to declutter each week, like a drawer or shelf, and return every item to a clean, intentional home.
Finish with a quick reset of high-traffic surfaces—entry table, kitchen counters, coffee table—so your space looks polished every day.
Set Weekly Cleaning Blocks
Two short cleaning blocks a week can keep dust from settling in corners and clutter from piling up on your best surfaces. Put them on your calendar like meetings: 20–30 minutes midweek, 30–45 minutes on the weekend. This is simple time management that protects your home’s look.
Before you start, stage your tools in one caddy: microfiber cloths, duster, vacuum attachment, all-purpose spray, and a small bin for roaming items.
Work top to bottom, room by room: wipe ledges, lamps, and baseboards, then vacuum edges and under furniture fronts. Finish by resetting surfaces—clear counters, align trays, and straighten textiles.
These organizational habits keep your spaces visually calm, so your décor reads intentional instead of busy.
Declutter One Area Weekly
Because clutter acts like a dust magnet, you’ll get faster, better-looking results if you declutter one defined area each week—one drawer, one shelf, one countertop zone, or one entry basket. Set a 15-minute timer, empty the area completely, and wipe the container or surface edge as you go so you’re not putting dust back under items.
Sort into keep, relocate, donate, and trash. Limit keeps to what fits comfortably, then choose simple storage solutions—shallow bins, drawer dividers, or labeled pouches—that match your space and color palette for a calmer look.
Put like with like, store vertical when possible, and keep the most-used items front and center. Finish by writing one rule for next week, building organizational habits that prevent pileups and make everything easier to find.
Reset High-Traffic Surfaces
Where does dust and clutter land first? On the surfaces you touch all day: entry console, coffee table, kitchen counter edges, bathroom vanity, nightstand. Treat these as High traffic zones and reset them weekly so the whole room looks calmer.
Start with a small tray or bowl for keys, wallet, and earbuds; everything else gets filed, tossed, or relocated. Then do a fast sweep: clear, wipe, dry, and restyle.
Use a microfiber cloth for dry dusting, then follow with Surface sanitation on handles, switches, remotes, and faucet bases. Finish by returning only your “daily-use” items, aligned and spaced.
This tight edit keeps lines clean and stops piles before they form.
Conclusion
When you commit to these small habits, you’re not just chasing dust—you’re lowering the curtain on chaos. Set your 10-minute timer, clear your counters, and guide every stray item back to its “home.” Let drop zones act like quiet doorways, stopping piles before they form. Swap one-in, one-out to keep space breathing. With clean filters, HEPA suction, and microfiber sweeps, you’ll watch the air brighten—and your rooms feel lighter every night.