

You don’t need a massive overhaul to make your home feel crisp and intentional—you need a room-by-room plan. You’ll set out the right supplies, work top to bottom, and keep your pace steady so nothing gets missed. Start where grease and fingerprints collect, then move through tile, textiles, and high-touch spots until the air feels cleaner. The key is knowing what to tackle first—and what to save for last.
Deep Cleaning Prep: Supplies, Plan, and Pace
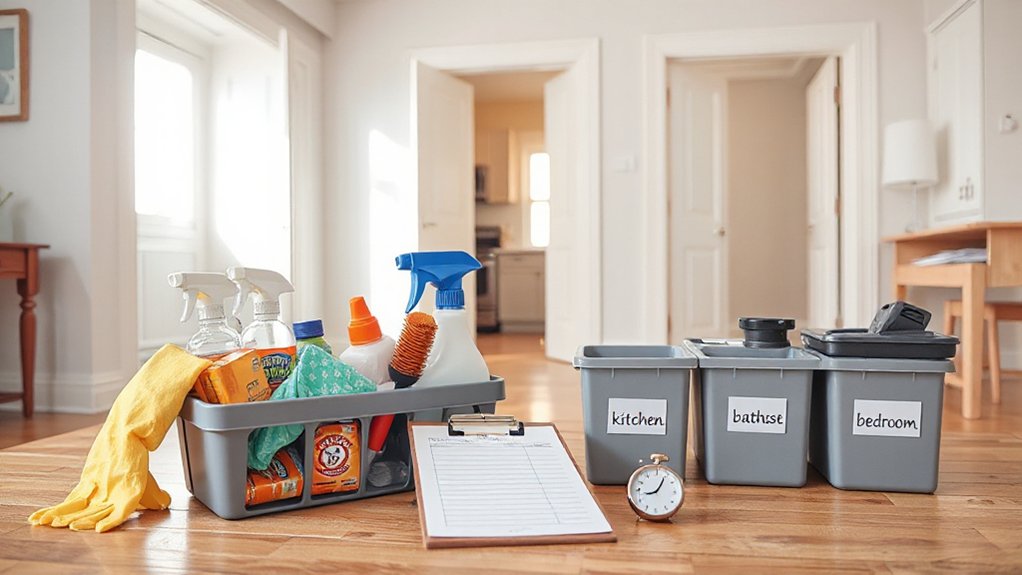
Before you start scrubbing, set yourself up with a tight kit and a clear route through the room so you’re not doubling back or hunting for tools mid-task. Gather microfiber cloths, a scrub brush, vacuum attachments, a mop, trash bags, and labeled bottles for all-purpose and glass cleaner. Keep a caddy that looks neat and wipes clean. Put on gloves, open windows, and read labels—your safety precautions include never mixing bleach with acids or ammonia.
Map your Cleaning schedule: work top to bottom, dry to wet, and farthest corner to exit. Set a timer for 25-minute sprints with 5-minute resets to rinse tools and swap cloths. Queue laundry, empty bins, and stage donation boxes to keep surfaces visually calm.
Deep Clean the Kitchen: Counters, Sink, and Appliances
Start with your countertops and backsplashes: clear everything off, spray a degreasing cleaner, and wipe from back to front so you don’t drag crumbs into clean areas.
Next, scrub your sink—basin, drain, faucet, and handles—then rinse hot and buff dry for a bright, spot-free finish.
Finish with your appliances by wiping high-touch points (fridge handle, microwave keypad, stove knobs), cleaning the inside surfaces as needed, and polishing exteriors so the whole kitchen looks crisp and cohesive.
Countertops And Backsplashes
Once you’ve cleared the clutter, give your countertops and backsplash a true reset by treating them as both a food-prep surface and a design feature. Start dry: sweep crumbs into the trash, then wipe with a barely damp microfiber to lift dust without streaks. Match your cleaner to the material—pH-neutral for stone, mild dish soap for laminate, and diluted vinegar for tile (skip vinegar on natural stone).
Next, detail the edges, seams, and switch plates with a soft brush. For grout, lay on a paste of baking soda and water, let it sit five minutes, then scrub in tight circles and wipe clean.
Finish with countertop organization: corral daily items on a tray, stash extras, and protect your backsplash design by buffing tiles until they shine.
Sink And Appliances
Where does the kitchen’s “clean” feeling really come from—if not the sink and the appliances you touch all day? Start by clearing the basin, then scrub with a baking-soda paste, working into corners and around the drain. Rinse, dry, and buff the metal or porcelain so it gleams, not streaks.
For faucet maintenance, remove the aerator, soak it in vinegar, and brush away mineral buildup. Wipe the handle and spout with soapy water, then dry to prevent spots.
Disinfect the drain and disposal with hot water and a quick scrub of the splash guard.
Move to appliance sanitization: degrease the stovetop knobs, wipe fridge handles, and clean the microwave interior with steam from lemon water, then dry everything for a crisp finish.
Deep Clean Bathrooms: Tile, Grout, and Fixtures
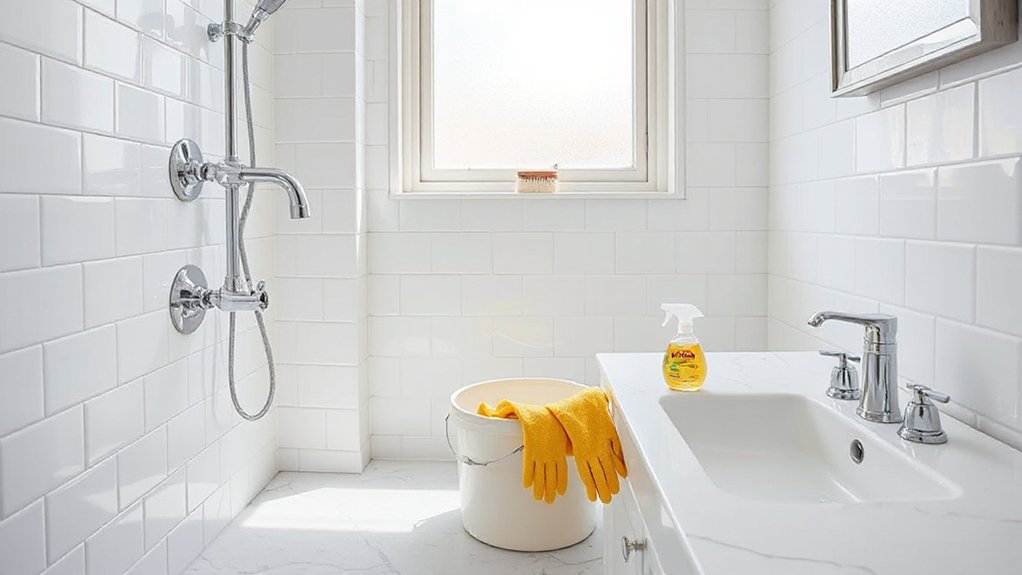
You’ll make your bathroom feel brighter fast when you scrub tile and grout until the lines look crisp and the surface feels squeaky-clean under your hand. Work cleaner to dirtier, use a stiff brush on grout, then rinse well so no haze dulls the finish.
Next, descale faucets, showerheads, and handles, then polish fixtures dry so they shine without water spots or streaks.
Tile And Grout Scrubbing
Because tile and grout collect soap scum, body oils, and mildew in places a quick wipe can’t reach, start your bathroom deep clean by tackling these surfaces first. Ventilate the room, then mist grout lines with a pH-neutral cleaner or a paste of baking soda and water. Let it dwell 10 minutes so it can loosen film without dulling glossy tile.
Scrub with a stiff nylon brush, working in small grids and rinsing often to avoid spreading gray slurry. For Mold removal, spot-treat dark seams with 3% hydrogen peroxide, then blot and rinse.
For stain elimination, apply oxygen bleach solution, keep it damp, and lift residue with a microfiber cloth. Finish by drying surfaces thoroughly so fresh grout lines stay crisp.
Fixture Descaling And Polishing
With your tile and grout looking sharp again, shift attention to the fixtures that still show water spots and chalky scale. Wrap a vinegar-soaked cloth around the faucet, showerhead, and handles for 15 minutes, then scrub seams with a soft toothbrush.
For stubborn buildup, use a citric-acid gel, but keep it off natural stone and rinse fast.
Unscrew the aerator, soak it, and clear holes with a pin for smooth flow. Rinse thoroughly and dry everything to prevent new spotting—this is fixture maintenance that pays off daily.
Finish with polishing techniques: buff chrome or stainless with a microfiber cloth and a drop of dish soap, then polish with a dry cloth for a clean, mirror-bright shine.
Deep Clean Bedrooms: Bedding, Dust, and Air
When the bedroom’s clean but still feels stale, trapped dust in fabrics and dull, uncirculated air usually cause it. Start with a Bedding refresh: strip sheets, pillowcases, and duvet cover, then wash hot if labels allow. Add a half cup of baking soda to brighten whites, and dry fully to avoid musty notes. Rotate your mattress, vacuum seams, and spot-treat stains for a crisp, tailored look.
Next, focus on Dust removal. Vacuum under the bed and along baseboards using a crevice tool, then wipe nightstands, lamps, and headboard top-down with a microfiber cloth. Clean vents and fan blades, replace the filter, and open windows for ten minutes. Finish with a light linen spray and neatly layered pillows.
Deep Clean Living Areas: Upholstery, Dust, and Touchpoints
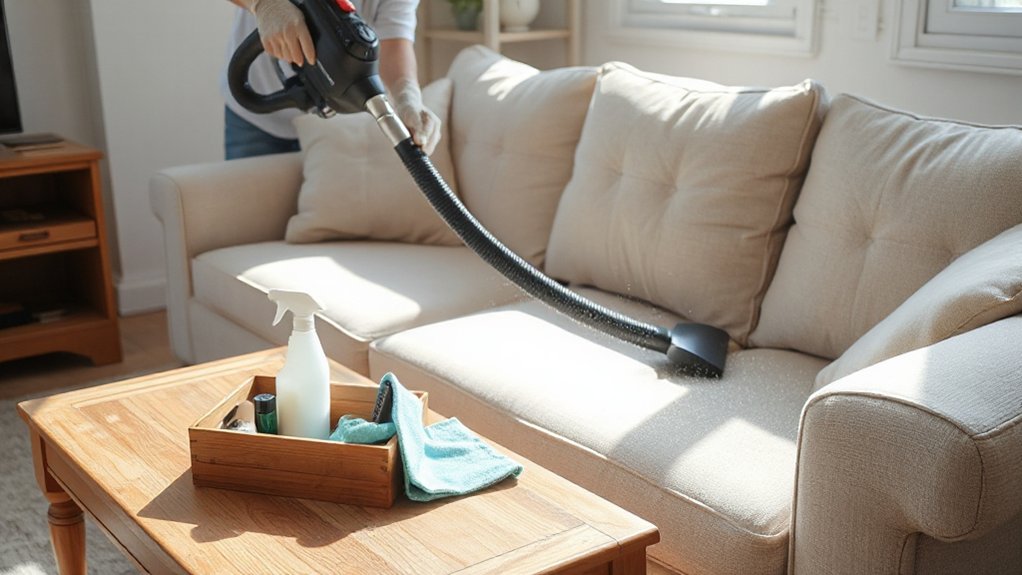
Fresh bedding and clearer bedroom air set the tone, but the living areas usually hold onto the most visible grime—crumbs in cushions, a film of dust on surfaces, and fingerprints on every switch and remote.
Start with Upholstery maintenance: remove pillows, vacuum seams with a crevice tool, then lift fabric with a soft brush. Spot-treat stains with a damp microfiber and a drop of mild soap; blot, don’t rub. Rotate cushions to keep the silhouette crisp.
Next, dust top-down: ceiling fan blades, frames, lampshades, then shelves and tables. Use a barely damp cloth on glossy finishes to prevent haze, and a dry one to buff.
Finish with Touchpoint sanitization—remotes, switches, handles, controllers—using alcohol wipes, keeping moisture away from ports and screens. Let everything air-dry.
Deep Clean Entryways and Halls: Finish With Floors
After you’ve reset the living areas, turn to the entryways and halls—the high-traffic corridors that collect grit, scuffs, and that telltale line of dust along the baseboards.
Start with Entryway organization: empty the drop zone, wipe trays, hooks, and console tops, then corral shoes into a rack and stash seasonal gear in a lidded bin.
Vacuum corners, vents, and along thresholds with a crevice tool, then spot-clean wall marks and fingerprints around switches.
Refresh Hallway lighting by dusting fixtures, wiping bulbs, and straightening shades so the space looks brighter and cleaner.
Finish with floors: sweep thoroughly, mop from the far end back, and detail baseboards with a damp microfiber. Let the runner dry flat.
Conclusion
You’ve walked your home like a careful gardener tending each bed. In the kitchen, you’ve cut through grease like pruning back overgrowth. In bathrooms, you’ve scrubbed grout the way you’d clear stone paths of moss. In bedrooms, you’ve aired linens like opening blossoms to light. In living areas, you’ve lifted dust as if shaking out a rug of seasons. Now, as you sweep the entry, you’re setting the gate: clean, calm, and welcoming.