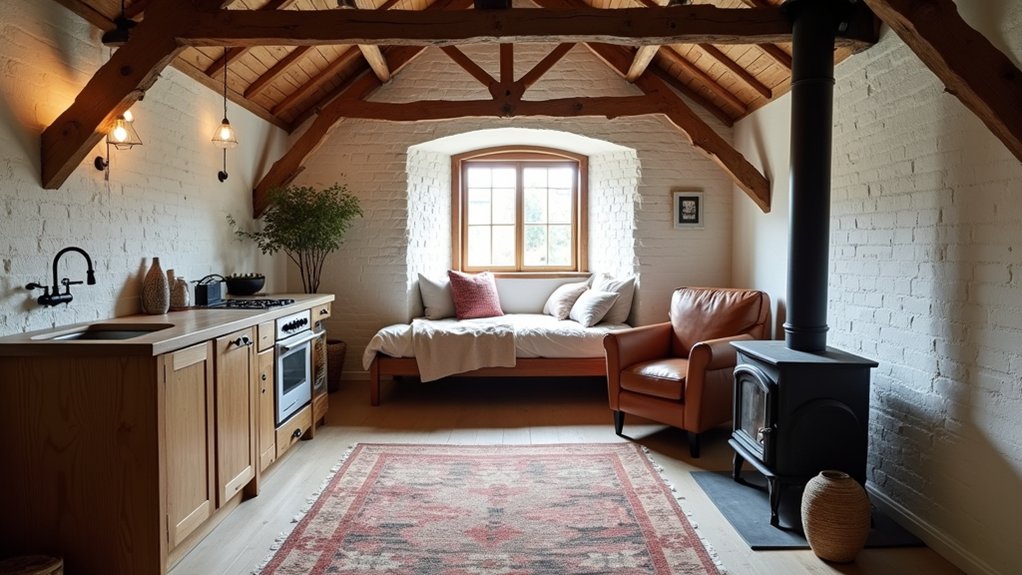

You’re turning a working stable loft into a calm, hotel-like hideaway, and that contrast guides every choice. You’ll start by zoning the footprint so sleep, lounge, and kitchenette areas feel separate without wasting headroom. Then you’ll check regs, stairs, and escape routes before you insulate, draught-proof, and run electrics, plumbing, and efficient heat. Add daylight and quiet ventilation, finish with microcement, textured tile, and layered lighting—and then comes the decision that makes it truly feel like a guest place…
Plan the Stable Loft Guest Apartment Layout
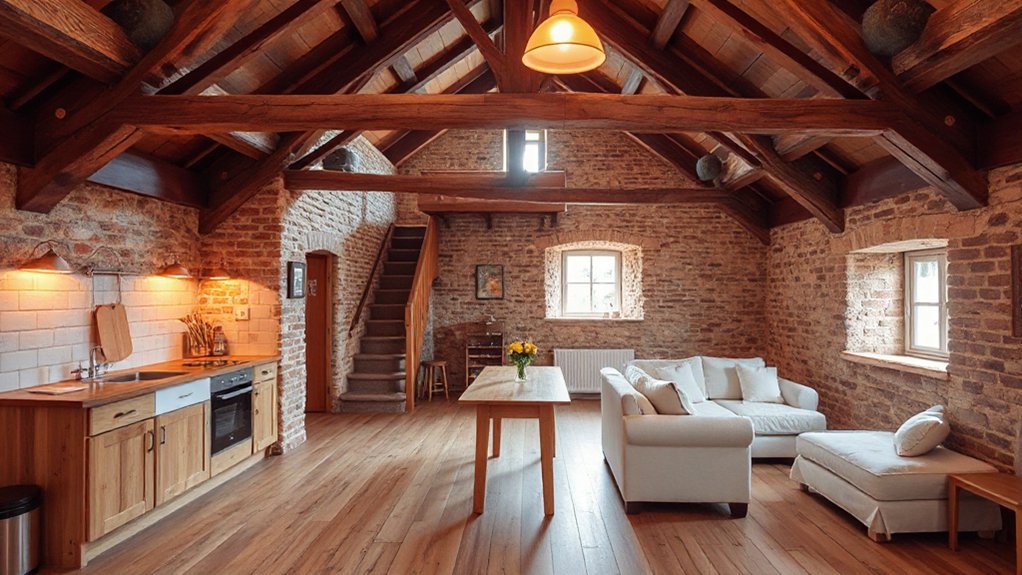
Before you pick finishes or furniture, map out how guests will actually move through the stable loft so the space feels effortless, not improvised. Sketch zones: entry drop spot, kitchenette, sleep, lounge, and a small work perch. Keep the main path clear—aim for at least 36 inches—so bags don’t snag on chair backs.
Use furniture arrangement to make the loft feel larger: float a compact sofa to define the lounge, tuck a round café table near the window, and choose a low-profile bed with under-storage.
Anchor each zone with layered rugs to soften old boards and reduce echo. Add decorative lighting with dimmable wall sconces, a slim pendant over the table, and warm LEDs under shelves to guide nighttime wayfinding.
Check Building Regs, Stairs, and Fire Escape
Although the loft’s charm lives in its old beams and barn details, you’ll need to confirm it can legally—and safely—function as a guest apartment by checking local building regs, stair requirements, and fire-escape rules early.
Start with your council’s change-of-use and Building permits process, then book a site visit so you’re not guessing.
Have an engineer assess structural integrity, especially where you’ll cut openings, add dormers, or hang new stairs from existing joists.
For stairs, verify rise/run, minimum width, headroom, and guarding; steep “ship ladders” may fail compliance even if they look rustic-chic.
Map your escape route: protected stair enclosure, fire-rated doors where required, and egress windows or an external stair.
Add smoke/heat alarms and emergency lighting to meet code.
Insulate and Draught-Proof the Stable Loft
Once you’ve confirmed the loft can meet regs, make insulation and draught-proofing your next priority, because a stable’s gaps, cold bridges, and leaky roofline will undo even the nicest finishes.
Start by sealing the shell: patch slipped tiles, repair felt, and close open joints so wind can’t whistle through.
Choose insulation materials that suit the structure—wood-fibre or sheep’s wool for breathable heritage rafters, PIR boards where you need slim build-ups, and mineral wool between joists for acoustic comfort.
Keep a continuous vapour control layer and tape every seam.
For draught proofing techniques, fit brush seals to doors, gaskets to windows, and an airtight loft hatch.
Foam around service penetrations, then add breathable membranes so you don’t trap moisture.
Run Electrics, Plumbing, Heating, and Hot Water
Next, you’ll map an electrical layout that suits guest use—bedside charging, task lighting, kitchen loads—and you’ll upgrade protection with RCD/RCBOs, proper earthing, and moisture-rated fittings.
You’ll plan plumbing runs to minimise boxing-in, keep pipework insulated and accessible, and position waste falls for a compact shower room and kitchenette.
You’ll choose efficient heating and hot water—like underfloor with smart zoning and an electric or heat-pump cylinder—so the loft warms quickly, runs cheaply, and stays comfortable year-round.
Electrical Layout And Safety
Before you close up walls and ceilings, map out an electrical layout that matches how guests will actually use the loft, then build safety into every circuit you run.
Start with circuit planning: split lighting, sockets, and high-load points onto separate breakers, and add dedicated lines for a kitchenette plug bank, washer, or EV charger.
Place outlets where suitcases land, phones charge, and a desk might go; include USB-C PD and a nightlight-friendly switch by the bed.
Prioritise grounding safety from the panel to every metal box, and bond any exposed structural steel.
Use RCD/GFCI protection, AFCI where required, and surge protection at the consumer unit.
Run cables in safe zones, sleeve through timber, and label everything for future repairs.
Plumbing, Heating, Hot Water
How do you keep a loft guest apartment feeling hotel-comfortable without turning the build into a pipe-and-cable maze? You plan runs like joinery: tight, accessible, and future-proof. Stack the bathroom over existing drains if you can, and use a single “wet wall” to concentrate supply, waste, and venting.
Choose compact, water-saving plumbing fixtures that still look premium—wall-hung WC, slim vanity trap, thermostatic shower. For heating, pair underfloor mats in the bath with low-profile radiators or a small air-to-air heat pump, then add smart zoning so guests don’t overheat the loft.
Size hot water systems to peak use: a fast-recovery cylinder or on-demand unit, plus short, insulated pipe runs to cut wait time. Include isolation valves everywhere.
Add Windows and Ventilation in the Stable Loft
Although the original stable loft might feel charmingly rustic, it won’t feel comfortable until you bring in steady daylight and fresh air.
Start with window placement: add larger openings on the long elevation for balanced light, then use smaller, higher clerestories on the opposite side to preserve privacy and wall space.
If you’ve got a view, frame it with a picture window; if not, prioritize operable casements for cross-breezes.
Meet code and keep warmth by choosing high-performance glazing, insulated frames, and airtight flashing.
Then size ventilation systems to the new occupancy: a quiet continuous extractor for moisture, plus a heat-recovery unit to swap stale air for fresh without dumping heat.
Add trickle vents, and include insect screens for summer nights.
Design Compact Kitchen/Bath Plus Cosy Finishes
You’ll make the loft feel fully liveable by planning a space-smart kitchen layout—think a single-wall or L-run with slim-depth cabinets, integrated appliances, and a pull-out pantry that keeps prep zones clear.
In the bath, you’ll get the biggest comfort boost from warm finishes like microcement, zellige-style tiles, brushed brass, and oak accents paired with soft, layered lighting.
Tie it all together with cosy, hard-wearing textures—matte paint, wool runners, and linen-look window treatments—so the compact footprint reads intentional, not cramped.
Space-Smart Kitchen Layouts
Once the structural work’s sorted, a space-smart kitchen layout turns your stable loft into a guest apartment that feels intentional rather than squeezed.
Start with Appliance placement: line the fridge, oven, and sink on one run to keep plumbing simple, or use an L-shape if you’ve got a dormer wall for extra prep. Put the hob near the window for ventilation, and keep the fridge at the entry so guests can grab basics without crossing the work zone.
Choose countertop materials that handle hard wear but stay warm-looking: matte quartz, compact laminate, or oiled oak with a removable heat pad.
Add a slim breakfast ledge, full-height pantry pull-outs, and under-cabinet lighting to maximise storage and make evenings feel inviting.
Warm Bathroom Finish Choices
Because stable loft bathrooms usually tuck under eaves and sit close to the kitchen plumbing run, your finish choices need to do double duty: bounce light around a compact footprint while still feeling warm and guest-friendly.
Start with creamy zellige-look tile or satin porcelain on the wet wall, then balance it with limewashed timber, microcement, or warm greige paint elsewhere.
Choose matte brass or aged nickel taps to soften the “new” look.
For bathtub materials, pick a compact acrylic slipper for easy handling, or a stone-resin tub for a heavier, spa vibe without full cast-iron weight.
Add a fluted oak vanity and a large round mirror to widen sightlines.
Finish with towel warmer options: slim ladder electric, hydronic rail, or a dual-fuel bar for shoulder seasons.
Conclusion
You’ve turned that stable loft into a guest apartment that feels like a boutique hideaway. By zoning the layout, you’ve made every square metre work harder, with vertical storage and dual-purpose pieces. You’ve kept it compliant with safe stairs and a clear fire escape, then boosted comfort with proper insulation and draught-proofing. With electrics, plumbing, heating, and hot water nailed, plus fresh-air ventilation and new windows, your compact kitchen/bath and cosy microcement finishes look a million times better.