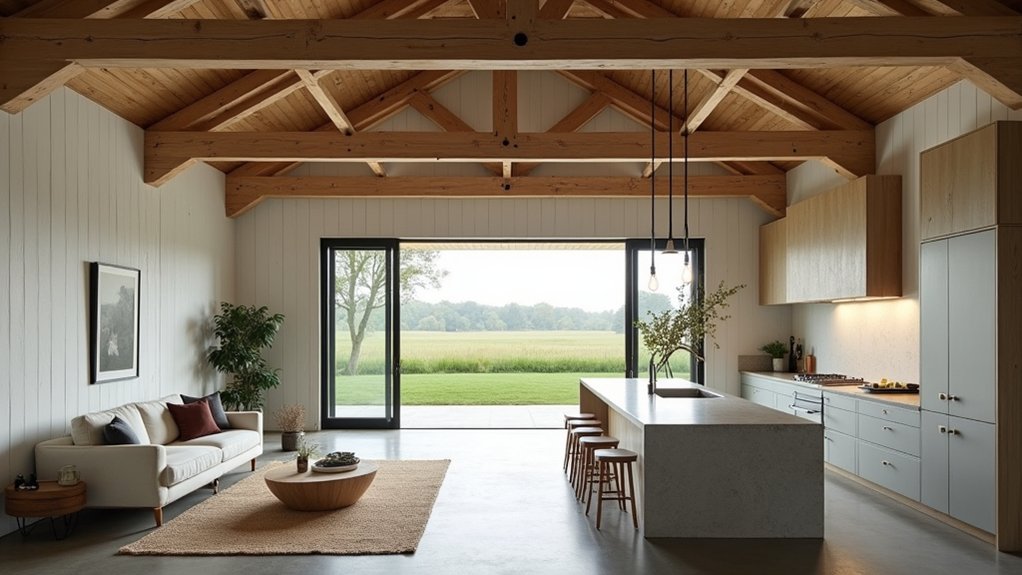

You can’t turn a loft barn into a clean open plan until you verify the frame can take modern floor loads and lateral bracing without losing its character. You’ll map spans, probe timber condition, and align permissions with fire, insulation, and escape requirements. Then you’ll plan daylight, stair geometry, and service routes so ducts and pipes don’t clash with trusses. The real challenge starts when you choose where to “break” the volume—because one move sets everything else.
Is Your Loft Barn Conversion Feasible?
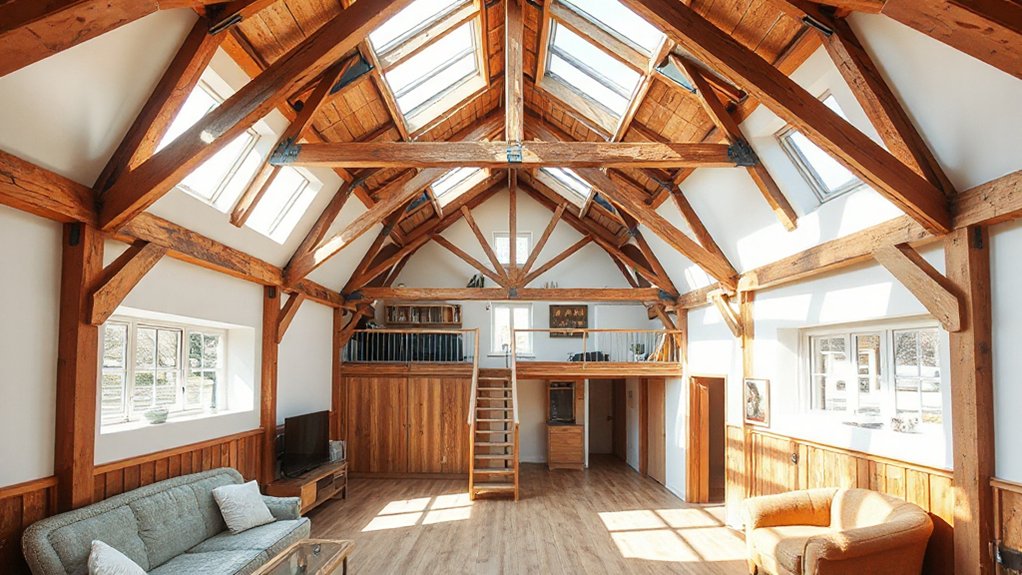
Before you fall for an open-plan loft aesthetic, you’ll want to confirm the barn can actually take the upgrade: check structural integrity (frame, roof, load paths), moisture and pest damage, and whether the existing slab or footings can support new insulation, glazing, and floor loads.
Next, map the span you want for that seamless great-room feel; undersized rafters or bowed posts may force steel flitch plates, LVLs, or discreet portal frames.
Verify head height in the loft zone and the stair run you can fit without killing circulation.
Assess daylight potential: existing openings, sun path, and where new glazing would compromise shear walls.
Finally, audit services routes—HVAC trunks, plumbing stacks, and electrical chases—so you keep Vintage charm and rustic aesthetics without ugly soffits.
Permissions and Building Regs for a Loft Barn
Next, you’ll map the exact planning-permission triggers for your loft barn—change of use, structural alterations, new openings, and any footprint or access upgrades—so you don’t get caught out mid-build.
You’ll also align the design with Building Regulations early (structure, fire strategy, insulation/airtightness, ventilation, drainage, and electrics), because compliance drives specs, sequencing, and cost.
If the barn sits in a listed setting or conservation area, you’ll factor in tighter controls on materials and external appearance, and you’ll plan your approvals timeline accordingly.
Planning Permission Triggers
Although a loft-barn conversion can look like a straightforward “internal rework,” specific triggers will pull you into full planning control and Building Regulations compliance, so you’ll want to map them early: any change of use (especially agricultural to residential), alterations that materially affect the external envelope (new openings, dormers, rooflights on principal elevations, cladding changes), works that impact structure (raising the ridge, inserting a new floor, steelwork), and interventions tied to access and services (new driveway visibility splays, drainage upgrades, heat-pump plant, PV arrays) can each require permission or prior approval.
The rules tighten further if the building sits in Green Belt, a conservation area, or near listed assets.
You’ll de-risk design by commissioning pre-app advice, checking Class Q limits, and aligning Rustic charm with Modern aesthetics.
Building Regulations Compliance
Once you’ve pinned down whether you need planning consent or a prior-approval route, Building Regulations become the non‑negotiable framework that dictates how your loft barn actually performs and stays safe.
You’ll need compliant structure (Part A) for new steelwork, trimmed openings, and floor loading, plus certified fire strategy (Part B) with protected escape routes, FD30 doors, interlinked alarms, and, if required, sprinklers.
You must hit energy targets (Part L) by upgrading roof build-ups, airtightness, and thermal-bridge detailing without trapping moisture; Part C ventilation and vapour control layers are critical in barns.
Plan Part E acoustics between zones, Part F whole‑house ventilation, and Part P electrics via a qualified installer.
Keep Vintage decor and rustic charm, but hide services neatly and document everything for sign‑off.
Listed And Conservation Areas
If your loft barn sits within a conservation area or carries listed status, you’ll need to treat permissions and Building Regs as a two‑track process that can’t be value‑engineered at the last minute. You’ll apply for Listed Building Consent (and often planning permission) while still meeting Parts A, B, L, and M.
Your conservation officer will expect a heritage statement, measured drawings, and a schedule of fabric repairs, plus justification for any new openings, rooflights, or cladding.
You’ll keep Rustic charm by retaining trusses, masonry, and lime finishes, but you’ll deliver Modern minimalism with reversible interventions: freestanding stair pods, shadow‑gap linings, and concealed services routes.
Specify slimline double glazing, intumescent coatings, discreet fire separation, and breathable insulation to avoid moisture trapping.
Plan an Open‑Plan Loft Barn Layout
Because an open‑plan loft barn amplifies both flow and flaws, you’ll want to start the layout with a clear zoning strategy that respects the structure’s existing bays, posts, and roof geometry. Map “quiet” and “active” zones to the rhythm of the frame: place bedrooms or a studio in tighter bays, and keep kitchen, dining, and lounge in the broadest span for uninterrupted sightlines.
Preserve Barn heritage by aligning circulation with original thresholds and keeping key timbers visually legible. For Loft aesthetics, float low partitions, shelving, or glass screens to define rooms without killing volume.
Run services along predictable spines, cluster wet areas, and use layered lighting to steer movement. Maintain acoustic control with rugs, slatted panels, and soft furnishings.
Structural Upgrades: Beams, Joists, and Floor Load
A clean open‑plan zoning scheme only works when the structure can carry the new loads you’re asking of it, so check beams, joists, and the floor build‑up before you lock in kitchens, baths, or a mezzanine lounge.
Start by mapping spans and bearing points, then verify species, grade, and moisture content in existing timber. If you’re keeping exposed beams for Rustic decor, you can sister them with LVL or add concealed flitch plates to boost stiffness without losing character.
Measure deflection; aim for L/360 under live load so your Vintage furniture doesn’t rattle. Upgrade joists with hangers, blocking, and double rim boards, and add a structural subfloor layer to control bounce.
Coordinate penetrations early so you don’t notch critical members.
Add Stairs, Fire Safety, and Safe Exits
Next, you’ll lock in stair design and placement so circulation feels open-plan while meeting modern code basics—consistent risers, proper headroom, and guard/handrail specs.
You’ll pair that with fire protection strategies like rated separations where required, interconnected smoke/CO alarms, and clean material choices that don’t compromise performance.
Finally, you’ll map safe exits with a compliant egress path, escape-capable windows or doors, and lighting/signage that keeps the loft barn safe without killing the aesthetic.
Stair Design And Placement
Map the stairs before you move a single wall, since their placement controls circulation, headroom, and every compliant escape route. Set the run where you can keep consistent riser heights, generous tread depth, and code-clear landings without stealing prime floor area. Use the stair as a spine: align it with the entry and kitchen axis to reduce cross-traffic and dead corners.
Choose staircase materials that suit the barn shell and contemporary open-plan trends—powder-coated steel stringers, oak treads, or laminated timber—while limiting vibration and squeaks with concealed fasteners.
Refine staircase aesthetics with open risers or slim balusters to preserve sightlines, but verify guard height and baluster spacing early. Keep the underside accessible for lighting and storage, and coordinate railing terminations with structural posts.
Fire Protection And Egress
Because an open-plan loft barn can behave like a single large smoke reservoir, you’ll want to lock in fire protection and egress early—starting with stair locations that form clear, code-compliant exit paths from every sleeping loft and mezzanine.
Add a second means of egress where required: an exterior stair, balcony with ladder, or egress window sized and positioned per local code and sill-height limits.
Specify interconnected smoke/CO alarms, and consider a residential sprinkler or concealed-rated board at key separations to slow smoke spread.
Treat emergency escape routes like circulation design: light them, keep widths clear, and avoid dead ends.
Plan fire extinguisher placement at kitchen entries, near stair landings, and by mechanical rooms, mounted at reachable heights with visible signage.
Bring More Daylight Into a Loft Barn
While a loft barn’s volume feels expansive, its original shell often throttles daylight with deep eaves, small openings, and heavy framing, so you’ll get the biggest lift by redesigning light entry points rather than relying on brighter finishes alone.
Prioritize Natural lighting with intentional window placement: add tall, narrow units between posts to preserve structure, and align heads to create a clean clerestory band.
Where privacy matters, specify frosted or reeded glazing while keeping visible transmittance high.
Consider ridge skylights or north-facing roof windows to deliver soft, glare-controlled light, then pair them with interior light wells that bounce daylight deep into the plan.
Use slimmer mullions, higher-performance low-iron glass, and operable transoms to keep the envelope visually light and flexible year-round.
Insulate a Loft Barn (Moisture, Airflow, R-Values)
You’ll lock in comfort by treating moisture first—air-seal cracks, specify a smart vapor retarder where your climate needs it, and detail continuous water management at roof-to-wall junctions.
Then you’ll plan airflow with a defined ventilation path (vented roof with baffles or an unvented “hot roof” assembly) so insulation stays dry and performs to spec.
Finally, you’ll size R-values to your zone and assembly depth, prioritizing continuous insulation to cut thermal bridging without trapping moisture.
Moisture Control Strategies
To keep a loft barn’s open-plan conversion comfortable year-round, you’ll need moisture control that pairs airtight detailing with a deliberate drying path—otherwise condensation will form when warm interior air hits cold roof and wall surfaces.
Start by air-sealing transitions at plates, rim areas, and penetrations with tapes, gaskets, and spray foam, then verify with a blower-door test.
Specify Moisture barriers by climate: smart vapor retarders for mixed zones, robust vapor control on the warm-in-winter side for cold zones, and vapor-open layers where outward drying dominates.
Detail window and roof interfaces with shingle-lapped flashing so bulk water can’t back up.
Finally, commission Ventilation systems sized to ASHRAE 62.2, with balanced HRV/ERV and bath/kitchen spot exhaust, keeping indoor RH stable.
Airflow And R-Value Planning
Moisture control only holds if your insulation plan manages air movement and heat flow as a single system—so map airflow paths and target R-values before you close up the roof and walls. Start with a blower-door mindset: seal top plates, eave transitions, ridge joints, and any loft stair chase, then verify continuous air barrier alignment at every framing bay.
Size R-values to your climate zone and roof build-up: for compact roofs, use closed-cell or hybrid foam to hit code R while controlling condensation at the sheathing. For vented roofs, keep clear soffit-to-ridge channels with baffles.
Don’t let Vintage decor drive compromises—route ducts and returns away from leaky knee walls, and use furniture placement to keep registers unblocked and mixing balanced.
Route HVAC, Plumbing, and Electrics in a Loft Barn
Before you close up walls or lay new flooring, map the service runs for HVAC, plumbing, and electrics as a single coordinated system, because a loft barn’s exposed structure and limited chases punish late changes.
Use a reflected ceiling plan to align slim duct trunks, ERV lines, and recessed grilles between joists, keeping clear of collar ties.
Stack wet walls back-to-back to shorten supply/return loops, slope drains correctly, and specify sound-rated pipe wraps.
Pull homeruns in surface-mount conduit where you want honest industrial lines, then hide critical feeds in new soffits sized for bend radius and access panels.
Prewire dimming, low-voltage, and smart drivers for Luxury lighting, and isolate circuits for Vintage decor displays and art washers.
Label everything and photograph before insulation.
Zone an Open‑Plan Loft Barn for Daily Life
Although an open‑plan loft barn reads as one big volume, you’ll make it livable by zoning it into performance‑based bands—cook, dine, lounge, work, sleep—using circulation lines, ceiling datum shifts, and furniture-as-architecture instead of full-height partitions.
Set a primary spine from entry to glazing, then offset secondary loops so you don’t cut through “quiet” zones. Drop a slatted soffit or acoustic baffle field over focus areas to tune reverberation without boxing space in.
Anchor each band with a rug grid, low storage, or a freestanding hearth block that doubles as a sightline stop. Use Vintage decor as legible markers—workbench desk, patinated lockers—while keeping clearances code-clean.
For landscape integration, align seating and sleeping views to openings and terrace thresholds, reinforcing daylight rhythms.
Design a Loft Barn Kitchen and Dining Core
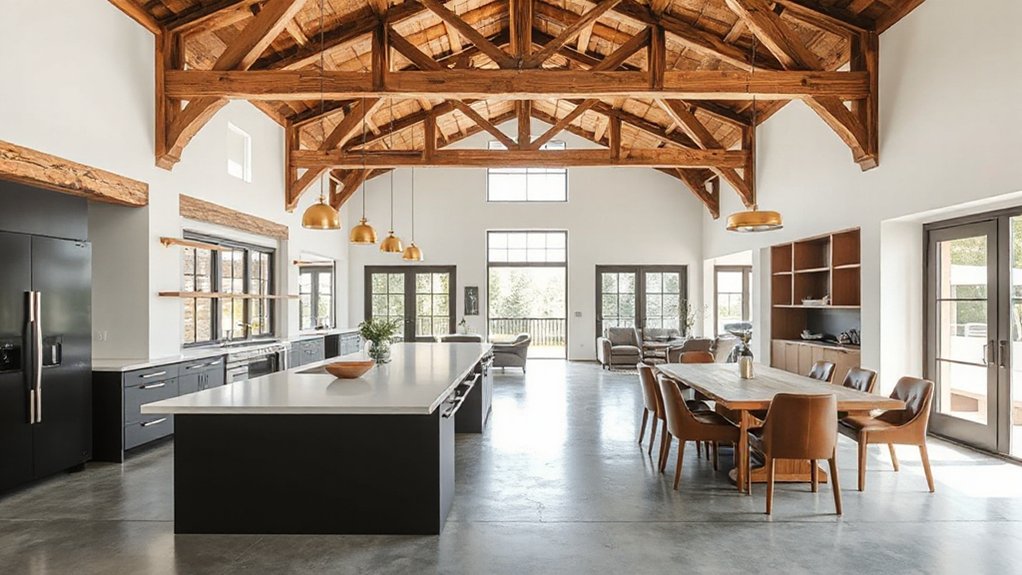
As you lock in the loft barn’s primary circulation spine, treat the kitchen-and-dining core as the project’s utility hub and social anchor, placing it where plumbing runs stay short, extraction can vent cleanly, and sightlines hold to the glazing.
Set a compact working triangle with a prep-led island, 1,000–1,100 mm clearances, and a downdraft or discreet canopy aligned to ridge structure. Specify induction, integrated refrigeration, and a concealed appliance garage to keep the volume calm.
For dining, run a banquette along the insulated wall to buffer drafts and free aisle width.
Layer Vintage decor through patinated brass pulls, salvaged oak shelving, and enamel pendants, but keep surfaces streamlined.
Drive Garden integration with a pass-through window, herb ledge, and flush threshold to an outdoor table.
Add Loft Barn Bathrooms and Choose Durable Finishes
With the kitchen-and-dining core set as the service hub, you can now stack bathrooms tight to that plumbing wall to cut pipe runs, simplify venting, and keep floor build-ups predictable.
Keep wet rooms back-to-back, and specify a slimline carrier frame for wall-hung WCs to preserve circulation.
Use a continuous uncoupling membrane under large-format porcelain, then epoxy grout for stain and freeze-thaw resilience.
In the shower, run a bonded waterproofing system up to the ceiling, slope a linear drain at 1–2%, and choose matte-textured tiles for slip resistance.
Balance moisture with an efficient inline fan and humidity sensor.
Add Barn lighting with damp-rated, warm-dim LEDs, and hide Loft storage in recessed niches and vanity toe-kicks.
Conclusion
You’ve turned a dusty loft barn into an open‑plan powerhouse—where old beams carry modern loads like they’re lifting a small city. You’ve navigated permissions, spec’d joists, and threaded HVAC, plumbing, and electrics through tight cavities with surgeon-level precision. You’ve zoned living, kitchen, and dining so circulation flows like a runway, then locked in fire-safe stairs and exits. With durable bathroom finishes and tuned acoustics, your rustic shell performs like a new-build.