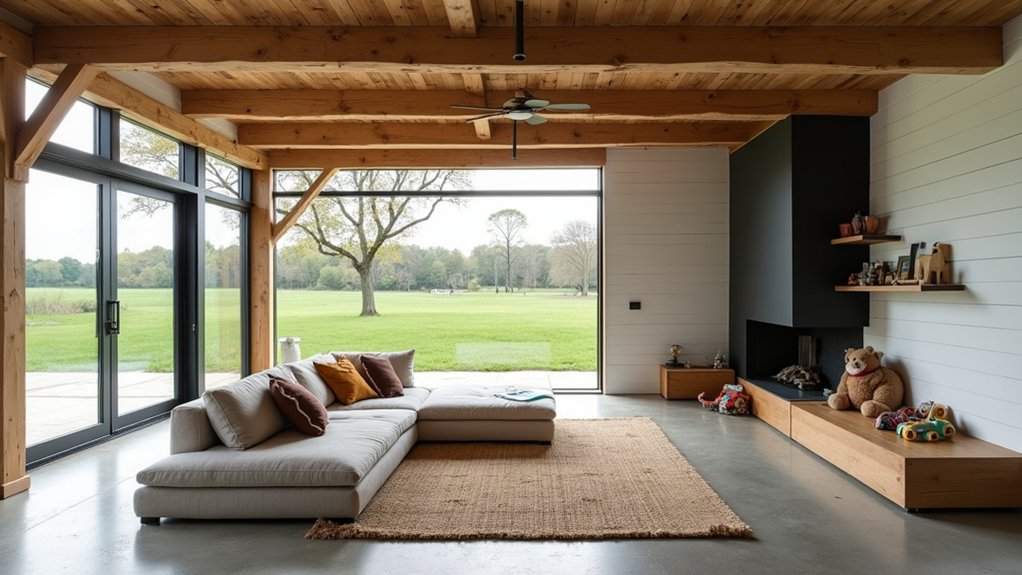

You’re converting a barn end into a contemporary family room, so you start by verifying framing, foundation loads, and local egress and fire-separation codes. Then you map zones for seating, media, and storage so circulation stays clear. You’ll hide high-R insulation and air-sealing behind clean drywall while keeping beams and reclaimed boards exposed for contrast. Add energy-efficient windows, layered LED lighting, and protected wiring runs. The key decision comes next: which original elements you keep—and which you cover.
Assess Your Barn End for Structure and Code
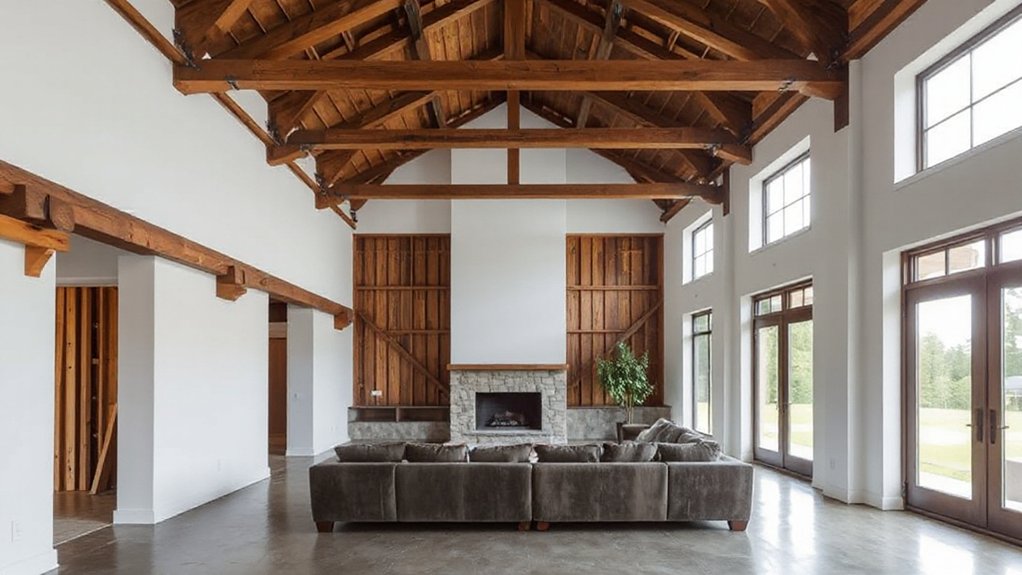
Before you sketch a new layout or pick finishes, you’ll need to verify that your barn end can safely and legally support conditioned living space. Start with a structural survey: check sill beams for rot, probe posts for insect damage, and confirm rafter ties resist outward thrust. Document spans, species, and joinery so any reinforcement supports barn end preservation and historical accuracy.
Next, map loads for proposed insulation, gypsum, and HVAC; you may need sistered joists, discreet steel plates, or a new slab with a capillary break. Review local code for egress, tempered glazing, stair geometry, guard heights, and fire separation from attached storage.
Confirm electrical capacity, GFCI/AFCI requirements, and ventilation rates for tight-envelope retrofits.
Plan a Barn Family Room Layout That Flows
Once you’ve confirmed the shell can take the loads, plan your family room layout around a clear circulation spine that respects the barn’s structural grid. Align the main path with posts and bays, keeping 42–48 inches of unobstructed width from entry to seating to any stair or patio door.
Float the sofa on a rug to define the conversation zone without blocking sightlines; anchor media on a gable wall or between braces so wiring runs stay short and clean. Use a slim console behind seating for drop-zone function.
Layer farmhouse style with Vintage decor intentionally: pair a salvaged bench with modern lounge chairs, and balance reclaimed wood with matte-black steel. Add dimmable task lighting at reading corners for flexibility.
Insulate and Air-Seal the Barn End Discreetly
You’ll lock in comfort without changing the barn’s character by hiding air-sealing where it belongs—taped sheathing seams, gasketed top/bottom plates, and sealed rim-joist and penetration details behind trim and cabinetry.
Then you’ll stack high-performance insulation layers—dense-pack cellulose or closed-cell spray foam for the cavities, plus continuous rigid or mineral wool to break thermal bridges and hit today’s efficiency targets.
If you detail a clear air-control line and a compatible vapor strategy, you’ll prevent drafts and condensation while keeping the interior clean and contemporary.
Concealed Air-Sealing Details
Although the barn end will read as a clean, contemporary wall from the room, you can’t get that look without a high-performance air barrier hidden behind the finish. Start by mapping the continuous plane: tie sheathing seams, rim areas, and top/bottom plates into one line, then verify with a smoke pencil before you close it up.
Use a vapor-variable membrane or taped panel layer, and run it unbroken past posts, braces, and window bucks. Seal service penetrations with gaskets and preformed boots, not caulk alone, and add backer rod at wide gaps for durable compression.
Detail interfaces to the roof and floor with liquid-applied flashing. Coordinate ventilation strategies and moisture control by preventing interior air leakage while keeping assemblies able to dry. Document every seam for installers.
High-Performance Insulation Layers
A tight air barrier only performs as well as the insulation package you build against it, so treat the barn end as a layered system: air control, thermal control, then a smart drying path.
Start with taped sheathing or a membrane behind the cladding, then add continuous exterior insulation to reduce thermal bridging through old studs and girts. Use mineral wool or high-density foam, but keep the thermal barrier uninterrupted at rim, sill, and window bucks.
Inside, dense-pack cellulose or batt-plus-spray-foam at edges gives a clean cavity fill without bulging historic boards.
Detail a variable-perm smart vapor retarder on the warm side, and maintain a service cavity so you don’t puncture it with wiring.
Flash junctions to handle bulk water; that’s real moisture control.
Add Windows, Lighting, and Safe Electrical Runs
Before you close up the new wall assembly, lock in daylight, layered lighting, and code-clean electrical paths so the room performs as well as it looks. Place new windows to capture views and cross-ventilation, then specify high-performance units (low-e, argon, warm-edge spacers) with proper flashing, sill pans, and air-sealed shims to prevent leaks.
For farmhouse charm and rustic elegance, choose divided-lite proportions but keep frames slim for a contemporary read. Build a lighting plan: recessed, glare-controlled general light; dimmable sconces for vertical wash; and task lighting at seating and media zones, all on separate circuits.
Run wiring through drilled studs with nail plates, staple within code, use AFCI/GFCI where required, and leave service loops in accessible boxes.
Mix Exposed Beams With Clean Modern Finishes
With windows, lighting layers, and wiring locked in, you can now set the room’s visual hierarchy by letting the barn’s exposed beams do the heavy lifting while modern surfaces stay quiet and precise.
Clean and seal timbers with a matte, clear intumescent finish so checking reads intentional, not dirty. Then sharpen edges elsewhere: use level 5 drywall, flush baseboards, and tight shadow-reveal trims to create modern contrast.
Specify wide-plank engineered oak in a desaturated tone, or polished concrete with a low-sheen sealer, so grain and knots don’t compete overhead.
Keep the palette restrained—warm whites, soft blacks, and muted clay—to amplify rustic charm.
Bridge old and new with blackened steel hardware and minimal plastered surrounds, and avoid fussy moldings or busy patterns.
Choose Durable Barn Family Room Seating and Storage
Because barn family rooms take more abuse than formal living spaces—grit from the yard, temperature swings, and kids/pets—you’ll get better long-term performance by specifying contract-grade seating and storage that’s easy to clean, repair, and reconfigure.
Choose a modular sectional with kiln-dried hardwood frames, high-resiliency foam, and replaceable covers in solution-dyed acrylic or performance leather. Specify double-rub counts above 50,000 and stain-repellent finishes to keep Rustic charm without fragility.
Add storage benches with marine-grade plywood boxes and soft-close, concealed hinges; they’ll resist warping when humidity spikes. For casegoods, pick powder-coated steel bases and durable oak or ash tops; then layer Vintage finishes through wipe-on wax or burnished pulls.
Keep casters and clip-together components for quick room resets.
Conclusion
You’ve turned a drafty barn end into a code-smart, comfort-driven family room by verifying structure, dialing in circulation, and hiding high-R insulation and airtight sealing behind clean planes. You’ve specified efficient glazing, layered LEDs, and protected electrical runs, then balanced exposed beams with minimalist finishes. Durable seating and integrated storage keep the space family-proof and uncluttered. When you flip on the smart dimmers, it feels like lighting a lantern—warm, grounded, and new.