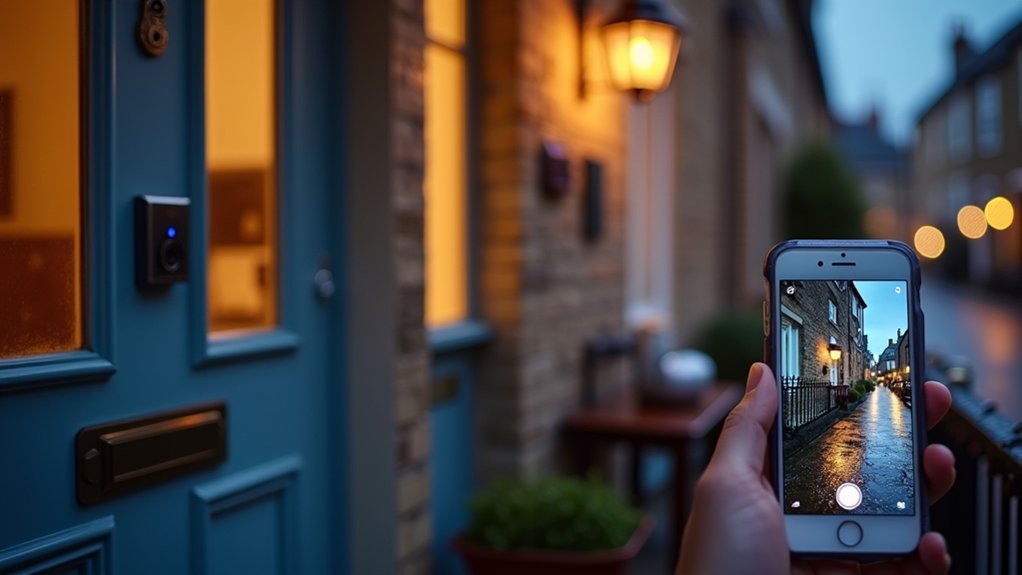

You don’t need a full alarm contract to tighten up your UK home’s security—you just need the right smart basics, placed well. Start by picking a platform you’ll actually use, then build around a video doorbell, door/window sensors, and a motion-triggered light that won’t annoy the neighbours. Add a smart lock only if your door and cylinder are up to standard. The tricky part is choosing what to buy first—and what to skip.
Build a Budget Smart Home Security Checklist
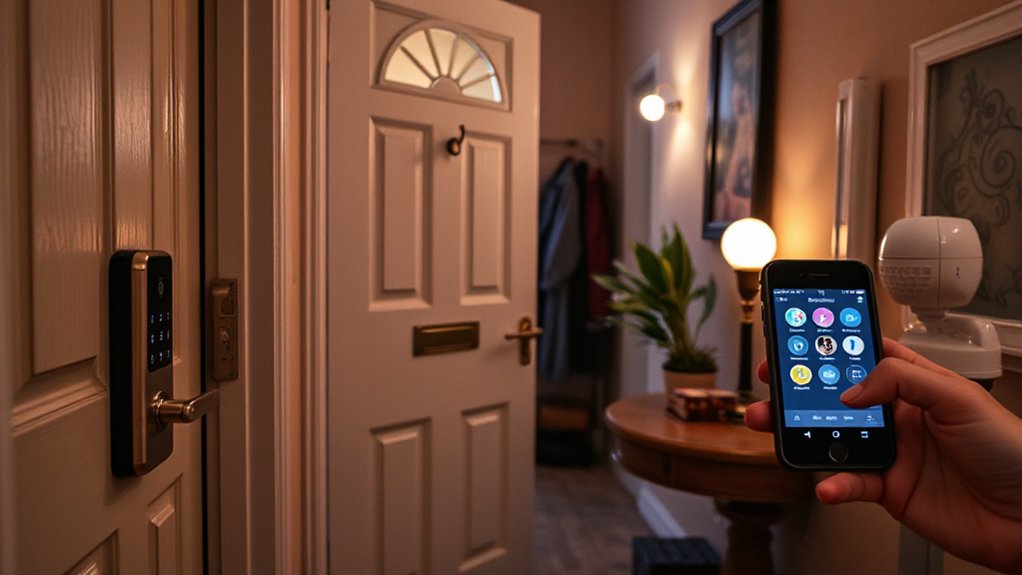
If you’re building smart home security on a tight budget, start with a simple checklist that prioritizes real risks over flashy gadgets. Walk your home like a burglar: check front and back doors, ground-floor windows, side access, and sheds. Note weak locks, poor lighting, and blind spots.
Set priorities: first, solid hardware (BS 3621 locks, window latches), then smart add-ons that amplify it. Add a video doorbell only if it covers your main approach; add motion lights where you actually walk.
Use timers or smart plugs to mimic occupancy and boost energy efficiency by avoiding all-night lighting. Record serial numbers, photograph valuables, and store backups securely for Home insurance claims.
Finally, test routines monthly and replace batteries on schedule.
Choose a Smart Home Platform for Security Devices
Three platform choices dominate budget-friendly smart security—Alexa, Google Home, and Apple Home—and picking one early keeps your cameras, doorbells, sensors, and smart plugs working together instead of living in separate apps.
Start by checking what you already use: an Echo speaker, Android phone, or iPhone and Apple TV/HomePod.
Then map Smart home protocols: Matter and Thread offer the cleanest future-proofing, while Zigbee (common with Alexa hubs) stays reliable for sensors.
With Compatibility considerations, confirm UK plug types, 2.4GHz Wi‑Fi support, and whether devices need a separate hub.
Review each platform’s security features too: two-factor sign-in, encrypted video, and granular sharing for family.
Finally, keep one routine system for lights and alerts.
Pick a Starter Setup by Budget (Under £100/£250)
If you’re keeping it under £100, start with an essentials kit: a smart door/window sensor, a motion sensor, and a simple indoor cam that matches your chosen platform.
With up to £250, you can layer in a video doorbell, an outdoor camera, and a siren or smart lighting routine for visible deterrence.
Plan your upgrade path now—choose devices with the same app ecosystem, reliable Wi‑Fi coverage, and room to add more sensors without replacing the hub.
Under £100 Essential Kit
For under £100, you can build a starter security kit that covers the basics—deterring opportunists, alerting you fast, and adding a little “someone’s home” presence—without locking you into a pricey subscription.
Start with a battery door/window contact sensor for your main entry, then add a compact indoor siren or hub that pushes instant phone alerts. Pair it with a smart plug and a warm-white LED lamp to run a convincing evening schedule; it looks intentional, not gimmicky, and boosts energy efficiency versus leaving lights on.
Finish with a loud, minimalist alarm sticker by the door for visible deterrence. Keep receipts and model details: some Home insurance providers like proof of basic devices installed and used properly.
Under £250 Layered Security
Once you can stretch to around £250, you can layer security instead of stacking gadgets—think “detect, deter, document” across your front door, a key ground-floor window, and the hallway.
Start with a smart video doorbell (wired if possible) for crisp footage and instant alerts, then add a slim contact sensor for that vulnerable window.
Finish with a compact indoor camera or motion sensor aimed at the hall, so you capture movement past the entry point without filming private rooms.
Choose matte-black or brushed-silver finishes so the kit looks intentional, not improvised.
Set activity zones, disable continuous recording, and use local storage where you can to ease privacy concerns.
Keep receipts and app screenshots—some Home insurance providers accept them as proof.
Upgrade Path Planning
While it’s tempting to buy whatever’s on sale, you’ll get a cleaner, more effective setup by planning an upgrade path from day one: pick a starter kit that covers your highest-risk entry point first, then choose add-ons that stay in the same ecosystem (app, storage, subscriptions) so everything looks cohesive and works together.
Under £100: start with a smart door/window contact sensor, a loud indoor siren, and a video doorbell on your main entrance. Add a motion sensor next, not another random camera.
Under £250: step up to a hub-based kit (contacts + motion + keypad) plus a doorbell or one indoor cam for the hallway. Check home insurance requirements—some policies like evidence and monitored alerts. Ignore security myths: more gadgets isn’t better; better placement and consistency is.
Upgrade Your Front Door With a Smart Lock
Upgrade your front door with a smart lock that matches your door type (euro cylinder, night latch, or multipoint) and fits your aesthetic. Then check for auto-locking, anti-snap protection, and reliable app support.
You’ll get the cleanest results with a careful install—measure backset and cylinder length, align the keypad, and keep the existing handle hardware tight and square.
Once it’s on, set access with PINs, temporary guest codes, and scheduled entry. Switch on notifications so you’ll know exactly when the door’s used.
Choosing The Right Smart Lock
Why settle for a basic deadbolt when a smart lock can tighten control over your entryway without a full door overhaul? Start by matching the lock to your door type and finish, so it looks intentional—brushed steel for modern flats, matte black for period-style doors.
Prioritise smart lock durability: check weather resistance for exposed porches, a solid metal body, and a reputable UK warranty. Choose a model with a physical key backup for peace of mind.
Then compare keyless entry options that fit your routine: keypad for families, phone control for commuters, or fob access for guests who don’t use apps.
Look for quiet motor action, clear low-battery alerts, and tamper alarms, so security feels seamless, not fussy.
Installation And Access Settings
Once you’ve picked the right model, a clean installation and sensible access settings make your smart lock feel like part of the door, not an afterthought. Start by checking your UK night latch or multipoint handle alignment, then replace the cylinder or inner thumbturn without forcing screws. Keep the exterior escutcheon flush, hide the cable path, and match finishes (brushed nickel, matte black) so it looks intentional.
Calibrate the motor with the door fully closed, and set auto-lock to 30–60 seconds.
Next, tighten access: create named codes, limit guest hours, and require 2FA in the app. Use Voice assistant integration only with a PIN. Review cloud storage options for activity logs, and disable remote unlock if you’re away.
Use a Smart Video Doorbell for Visitor Control
Ever wonder who’s really at your door before you open it? A smart video doorbell gives you instant visitor control from your phone, so you can check in without breaking your routine.
Prioritise strong Video quality (1080p or better) and a wide field of view to catch faces and parcels clearly, even in tricky porch lighting. Use motion zones to reduce street-triggered alerts and keep Visitor monitoring focused on your step.
Choose a finish that suits your frontage—sleek black or brushed metal looks sharp against UK brick and render.
Enable two-way talk to handle deliveries, tell callers you’re busy, or warn off strangers. Pair it with a chime for reliable indoor alerts when your phone’s on silent.
Place Smart Home Security Cameras at Entry Points
Although a doorbell camera covers your doorstep, you’ll get far better round-the-clock protection by placing smart security cameras on every main entry point—front door, back door, side gate, and any ground-floor patio or garage access.
Mount them under soffits or porch canopies for a cleaner look and extra weather protection, then angle lenses to capture faces, not just driveways. Choose compact, matte-finish units that blend with brickwork or render, and enable dusk-to-dawn night vision plus motion zones to cut false alerts from passing cars.
For outdoor surveillance, prioritise wide dynamic range so footage stays usable in harsh sun or streetlamp glare.
Manage privacy concerns by masking neighbours’ windows, keeping audio off where appropriate, and setting clear retention limits.
Install Smart Sensors on Doors and Windows
Add smart sensors to your doors and windows so you’ll know the moment anything opens, shifts, or breaks. Choose the right type—contact, vibration, or glass-break—and place them on your most-used entries and ground-floor windows for clean, full coverage.
Then dial in smart alerts and automations so your lights, siren, or camera recording kicks on instantly when a sensor trips.
Choosing Sensor Types
Before you buy a pile of sensors, decide what you need each door and window to tell you—open/closed status, vibration, glass-break, or motion—because each sensor type excels at a different job.
For main entrances, magnetic contact sensors give clean, instant alerts with minimal fuss.
On older sash windows or rattly frames, add vibration sensors to catch forced entry earlier, but plan on careful sensor calibration so traffic and slamming doors don’t trigger false alarms.
For large panes or patio doors, glass-break sensors cover the “smash” scenario without extra hardware.
In halls or conservatories, a compact PIR motion sensor works well, especially if you’ve got pets and choose a pet-immune model.
Prioritise sensor durability: sturdy housings, tamper alerts, and long battery life matter.
Placement For Maximum Coverage
Once you’ve picked your sensor types, you’ll get far better results by placing them where a break-in actually starts, not where installation feels easiest. Fit contact sensors to your main entry door first, then any back/side doors, then ground-floor windows.
Aim for ideal placement: mount the magnet and sensor on the opening edge, close to the top corner, so the gap stays tight and consistent. On uPVC frames, keep pieces square and avoid moulded trims that force misalignment.
Treat each ground-floor room as its own coverage zones map: patio doors count as two leaves, bay windows as multiple panels, and bathrooms often have small, overlooked openings.
Keep sensors discreet by colour-matching housings and using clean cable-free adhesive strips.
Smart Alerts And Automation
Even if you’re starting with just a couple of sensors, smart alerts turn basic door-and-window contact switches into a system that tells you exactly what opened, when, and from where. Name each sensor in the app (Front Door, Kitchen French Doors) so notifications stay instantly readable.
Set quiet hours for daytime, then escalate after dark with louder alerts and a second push to your partner. Link sensors to a voice command so you can ask, “Is the back door closed?” without checking your phone.
Build automation routines: when the door opens after 11pm, switch on hallway lights, start camera recording, and play a chime on a smart speaker. Add a low-battery alert and a weekly test reminder to keep it dependable.
Deter Break-Ins With Smart Security Lighting
Because burglars prefer darkness and predictability, smart security lighting gives you an immediate advantage by making your home look alert and occupied. Start with outdoor lighting at key entry points: front door, side passage, patio doors, and the driveway.
Choose warm-white LEDs (around 2700–3000K) for a premium look that still reads as “on duty,” and angle fittings downward to avoid glare. Use motion-triggered floods for high-risk zones and low-level pathway lights for constant, tasteful visibility.
Add dusk-to-dawn scheduling and occasional randomised on/off patterns when you’re away. For privacy concerns, set brightness limits and aim sensors inward so you’re not lighting neighbours’ windows or filming public space.
Pair lighting with tidy cabling and weather-rated fixtures for durability year-round.
Reduce False Alarms With Better Alert Settings
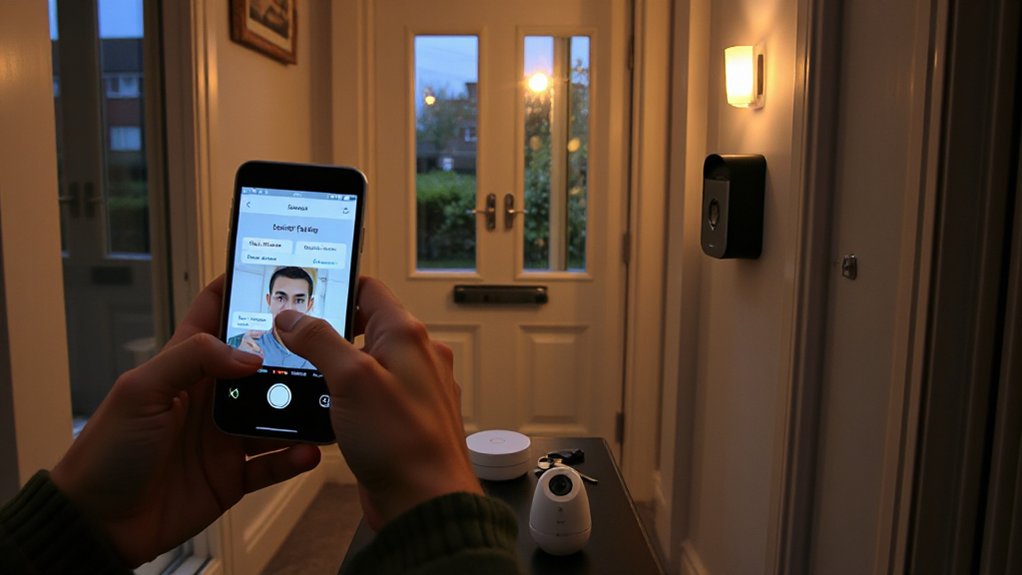
Smart lighting helps your home look awake; now make sure your phone isn’t screaming over nothing. Start with False alarm reduction: set motion zones to ignore pavements, trees, and reflective windows, and raise sensitivity only where you actually need it, like the back gate.
Use schedules so indoor sensors chill when you’re home, and switch to “away” automatically at night.
Next, lean on alert customization. Choose “person” or “package” notifications where available, and silence harmless triggers with cooldown timers between alerts.
Send critical pings as push notifications, while routing low-priority events to a daily digest.
If you share a hallway with neighbours, limit detections to your side of the frame. You’ll stay informed, not interrupted.
Secure Devices, Accounts, and Remote Access
Once your alerts behave, lock down the system behind them: change default passwords on every camera, hub, and router, turn on two-factor authentication for each app, and keep firmware and phone software updated.
Use a password manager and unique logins, so one leak can’t release your whole setup.
Enable Data encryption in device settings and your router (WPA3 where possible), and avoid public Wi‑Fi when checking feeds.
For remote access, create a guest network for smart kit, then restrict admin access to a trusted phone or laptop.
Review app permissions, disable unused cloud features, and turn off UPnP unless you need it.
Treat Cybersecurity threats like rain in Britain: routine, so dress accordingly.
Check login alerts monthly.
Conclusion
You don’t need a huge budget to make your UK home feel locked-down and lived-in. Start with a clear checklist, pick one platform, then build: door/window sensors, motion alerts, and a reliable indoor cam. Upgrade the front door with a tough smart lock and add a video doorbell for tighter visitor control. Layer in smart lighting outside. Like a good coat—zip, button, belt—each upgrade adds warmth, confidence, and control.