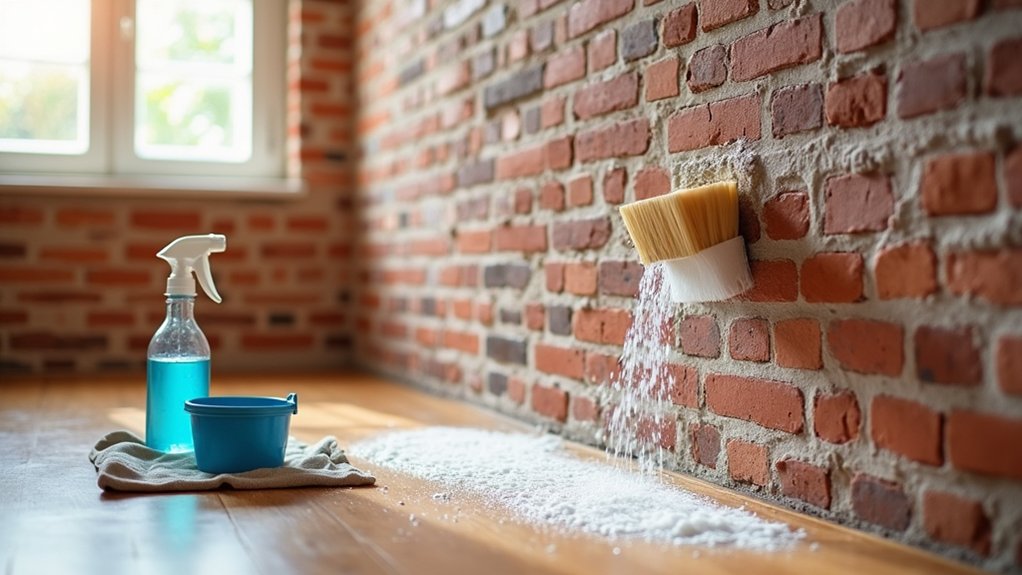

You can’t clean indoor brick well until you prep the space and know what you’re working with. Move or cover furniture, protect floors with drop cloths, and open windows for airflow. Then run a quick water test to see if the brick is sealed, because the wrong cleaner can stain, etch, or trap moisture. Once you’ve got that answer, you’ll choose the safest method for soot, dust, or white salt buildup—and that’s where things get specific.
Prep the Room and Protect Floors Before Cleaning Indoor Brick
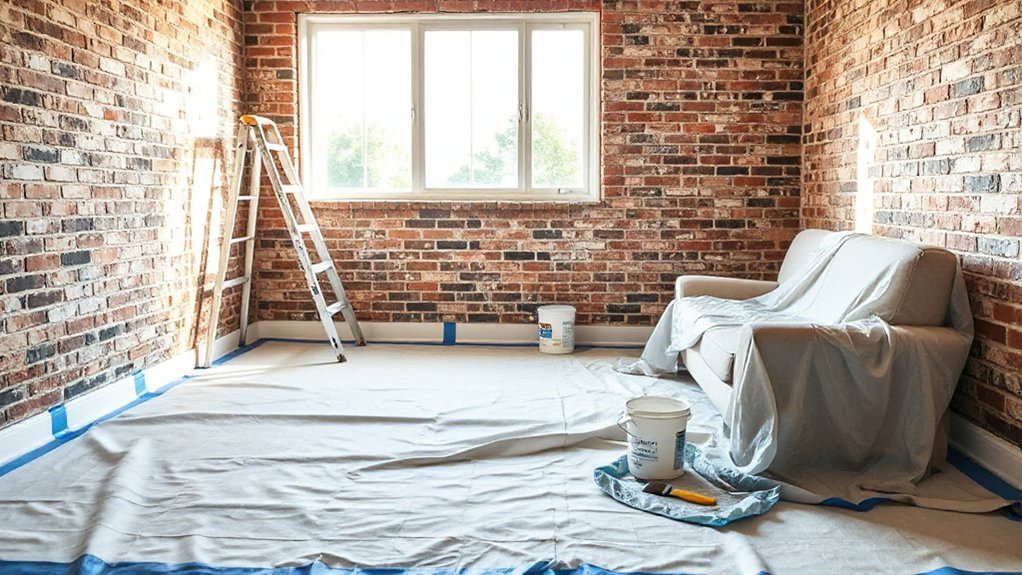
Before you touch the brick, clear and protect the area so you don’t grind soot or cleaner into nearby surfaces. Move rugs, furniture, and decorative accents away, or cover them with plastic sheeting. Tape plastic to adjacent walls and trim, and drape a drop cloth or rosin paper over floors; overlap seams and tape them to prevent slips and leaks.
Set up ventilation by cracking windows and running a fan outward, and keep pets and kids out.
Put on gloves, eye protection, and a dust mask before dry brushing. Vacuum the hearth and nearby ledges with a soft brush attachment.
For historical preservation, photograph existing mortar cracks or stained areas so you don’t “clean” away patina you want to keep.
Identify Sealed vs. Unsealed Indoor Brick (and Why It Matters)
With the room protected and ventilation running, take a minute to figure out whether your indoor brick is sealed or unsealed, because that choice dictates which cleaners you can use and how much moisture the surface can safely handle.
Start with a visual check: sealed brick often looks slightly glossy or darker and may have a uniform sheen.
Next, do a quick water-drop test in an inconspicuous spot. Place a few drops on the brick and mortar. If water beads and stays on top for a minute, you’re likely sealed. If it darkens quickly and absorbs, surface porosity is high and it’s unsealed.
Knowing this matters for safety and durability. Sealing benefits include reduced staining and less moisture intrusion, while unsealed brick can trap water, loosen mortar, and promote mildew.
Pick a Brick-Safe Cleaner for Your Indoor Brick Surface
Since indoor brick is porous and easy to discolor, you’ll want to match the cleaner to the surface and the stain while staying as gentle as possible.
For sealed brick, start with warm water plus a few drops of pH-neutral dish soap; avoid acids that can haze the finish and undermine Brick sealing.
For unsealed brick, use the mildest option that works: diluted dish soap for general grime, oxygen bleach for organic stains, or an alkaline masonry-safe degreaser for kitchen soot.
Skip vinegar, muriatic acid, and bleach unless a manufacturer explicitly approves them.
Read labels for “masonry/brick safe,” test in a hidden spot, and ventilate well.
Wear gloves and eye protection, and keep cleaning tools dedicated to brick to prevent cross-contamination.
Clean Indoor Brick Step by Step (Scrub, Rinse, Dry)
Although brick can take a firm scrub, you’ll get better results by working in small sections and controlling water so it doesn’t soak in and leave streaks. Put down drop cloths, ventilate, and wear gloves and eye protection. Gather cleaning tools: soft-bristle brush, microfiber cloths, bucket, spray bottle, and a wet/dry vacuum or towels.
Mist the section lightly, then apply your brick-safe cleaner. Scrub with the brush, focusing on mortar joints without gouging. Don’t flood the surface.
Rinse by wiping with a clean damp cloth or a lightly sprayed rinse, then immediately remove residue with towels or a vacuum.
Dry the area with fresh cloths and let it air-dry fully. After it’s dry, evaluate whether Brick sealing is needed to reduce future staining.
Remove Soot, Smoke, and Efflorescence From Indoor Brick Safely
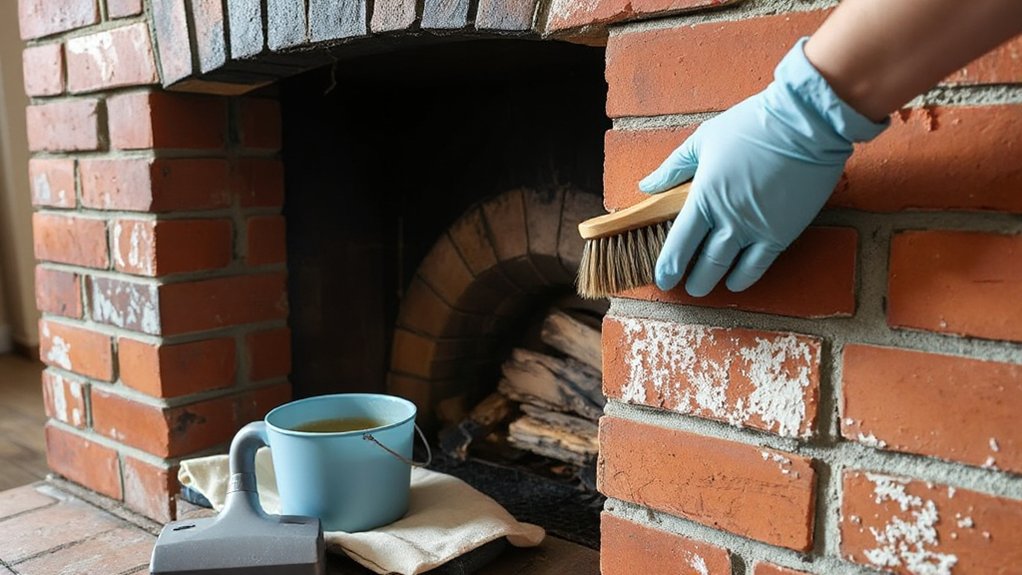
Once the brick is clean, rinsed, and fully dry, you can tackle the stains that basic scrubbing often leaves behind—soot and smoke film from fireplaces or candles, and efflorescence (that chalky white salt) caused by moisture moving through the masonry.
Start by vacuuming with a brush attachment so you don’t grind residue into pores.
For soot, wipe with a dry chemical sponge, then use a mild degreasing cleaner diluted in warm water; rinse lightly and dry fast with fans.
For efflorescence, brush with a stiff nylon brush and vacuum; avoid acids indoors unless the manufacturer approves and you’ve ventilated well.
Wear gloves, goggles, and a respirator.
After stains clear, consider Brick sealants to reduce repeat issues and simplify future cleaning methods.
Conclusion
Once you’ve prepped the room and tested for sealed versus unsealed brick, cleaning turns from messy guesswork into controlled progress. You’ll trade gritty soot for clear pores, damp haze for a dry, even finish. Stick with pH-neutral soap, gentle scrubbing, and light rinsing—don’t flood the mortar. Wear gloves and eye protection, and keep airflow moving. Dry thoroughly, then seal if needed, so today’s cleanup doesn’t become tomorrow’s stain.