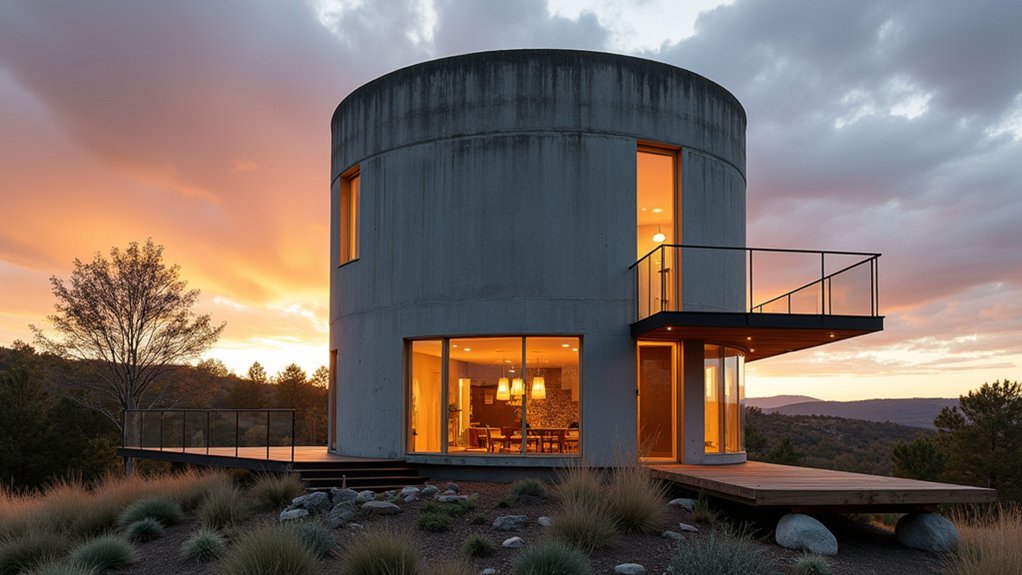

You probably don’t know that a water tower conversion often fails on condensation control, not aesthetics. You can’t treat the shell like a simple cylinder; you have to verify zoning, egress, and wind uplift before you sketch interiors. Then you map a vertical “spine” for stairs, utilities, and mechanical runs to keep usable floor area. If you get the airtightness and corrosion strategy wrong, every finish choice becomes cosmetic—so where do you start?
Confirm Zoning and Permits for a Water Tower Home
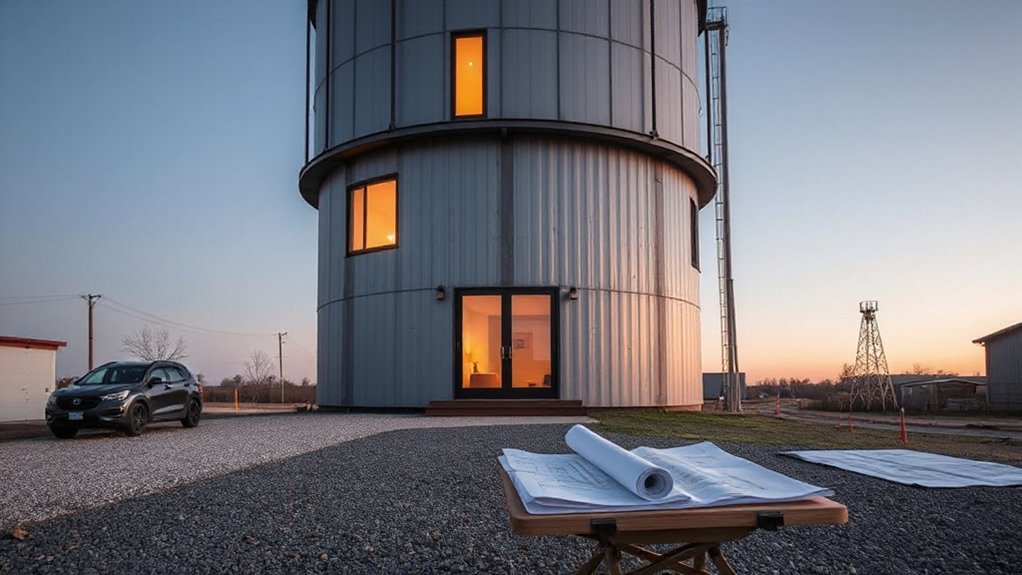
Before you sketch a floor plan or price out glazing, confirm that local zoning will even allow a water tower to function as a residence and that the approvals align with your design intent.
Start by verifying the parcel’s use classification, height limits, setback rules, and whether adaptive reuse is treated differently than new construction. Ask if the tower is nonconforming and whether you’ll need a variance, conditional use permit, or rezoning.
Review fire access, egress, parking minimums, and utility connection requirements early, because they shape entry placement and ground-level program.
If the tower is landmarked, coordinate historical preservation reviews and document how proposed openings, lighting, and cladding respect Water tower aesthetics.
Confirm inspection milestones, permit sequencing, and agency sign-offs so your concept doesn’t outpace approvals.
Engineer the Structure: Steel, Corrosion, Wind Loads
Once zoning aligns with your intent, you’ll need a structural engineer to treat the water tower like an exposed, slender high-rise: start with a full steel assessment (member sizing, weld quality, section loss), then model gravity and lateral behavior under current code wind loads to confirm drift, vibration, and connection demand.
Next, you’ll verify foundation capacity and anchor-rod condition, because overturning from wind can govern. If analysis shows overstress, you’ll specify Structural reinforcement: jacketed legs, new ring beams, diaphragm plates, or tuned bracing that preserves circular geometry.
You’ll also design load paths for added floors so new framing doesn’t introduce eccentricity. For corrosion prevention, you’ll remove failed coatings, blast to spec, detail drain/vent paths, isolate dissimilar metals, and select a high-performance paint or metallizing system with inspection intervals.
Plan Stairs, Egress, and Safe Roof Access
Your reinforced frame and corrosion strategy set the tower up to carry people, but stairs and egress determine whether it can legally—and safely—function as a home.
Start by mapping code-required exit routes from every level and aligning them with the tower’s narrow diameter. You’ll likely need a primary stair plus an alternate egress strategy, such as a rated exterior stair or compliant rescue openings where feasible.
Treat staircase design as both structure and circulation: control tread/riser geometry, headroom, landings, and handrail continuity while keeping the stair stiff and vibration-resistant.
Use fire-rated separations and self-closing doors to protect the vertical shaft.
For roof access, avoid ladders as the default; instead, integrate a stair-to-hatch or bulkhead, add guardrails, non-slip walking surfaces, and lighting.
Stop Drafts and Condensation in a Water Tower
You can’t make a water tower feel modern if you let air leak through rivet lines, hatch frames, and floor-ring joints, so you’ll start with a continuous air-sealing plan.
Then you’ll place the vapor barrier where it controls dew point for your climate and mechanical strategy, tying it cleanly into window bucks and roof junctions.
Finally, you’ll choose insulation that conforms to curved walls—spray foam, segmented rigid panels, or a framed chase—so the thermal layer stays unbroken and condensation can’t form behind the finish.
Air Sealing Strategies
Because a water tower’s curved shell and stacked penetrations create countless pressure pathways, air sealing has to work like a continuous design layer rather than a last-minute tube of caulk.
Start by mapping the pressure boundary on drawings, then choose a primary air-control material you can wrap continuously around the cylinder. Switch it deliberately at floor rings, window bucks, and stair shafts with taped membranes, liquid-applied sealants, or gasketed flanges.
Treat every penetration—sprinklers, conduits, vents—as a tested detail, not an on-site improvisation.
Use service cavities to keep wiring and plumbing inside the seal, reducing punctures.
Watch thermal bridging at steel ribs and brackets; air leaks there amplify condensation risk.
Verify airtight envelopes with blower-door tests per level and fix leaks early.
Vapor Barrier Placement
A tight air-control layer stops most drafts, but vapor control determines whether that same assembly stays dry when the tower’s metal shell swings between cold nights and solar-heated days. You’ll map where condensation can occur, then place the Vapor barrier on the warm-in-winter side of the conditioned interior for your climate zone.
In mixed or cooling-dominant regions, you’ll favor a smart membrane that changes permeability, so inward drying remains possible during summer reversals. Keep the layer continuous across floor-ring transitions, window bucks, and service penetrations, and tape it to compatible substrates to prevent hidden vapor leaks.
Detail a small, ventilated rainscreen gap behind interior finishes only where your assembly needs a dedicated drying path. That’s moisture control you can verify.
Insulation For Curved Walls
Where do drafts and condensation actually start in a cylindrical tower wall? They begin at discontinuities: steel ribs, ring beams, window bucks, and any flattened framing you add. Those hard lines create thermal bridging, chilling interior surfaces until moisture hits dew point.
Your goal is a continuous, wrapped insulation layer that follows the curve without gaps or compression.
Choose insulation materials that bend or spray to the radius: closed-cell spray foam for airtightness, or flexible mineral wool with a smart membrane for drying potential. Add thin aerogel or high-density foam at ribs and floor edges to blunt bridges.
Detail window returns with curved backer and taped transitions. Finally, verify with blower-door testing and infrared scans so you catch voids before finishes lock them in.
Route Plumbing, Electrical, and HVAC Vertically
You’ll get the cleanest layout by carving a central utility chase that runs straight through the tower, so plumbing, electrical, and HVAC stay consolidated and serviceable.
You then stack wet rooms and mechanical zones by floor to shorten runs, reduce pressure and voltage drop, and keep penetrations predictable.
You’ll also simplify firestopping, acoustic control, and
Central Utility Chase Design
Because a water tower stacks every room vertically, a central utility chase becomes the project’s organizing spine, letting you run plumbing, electrical, and HVAC in one continuous, accessible route from base to cap. You’ll place it where structure already thickens—near the core column or stair—so penetrations stay minimal and inspections stay simple.
You’ll size the chase for future service: a clear working width, removable panels, and fire-rated linings to protect adjacent rooms. Keep wet lines on one side, electrical on the other, and reserve a straight drop for condensate and vents to reduce offsets.
To maintain water tower aesthetics and support historical preservation, you’ll hide new grilles, meters, and cleanouts behind flush doors that match riveted steel rhythms and existing openings.
Stack Systems By Floors
Once you’ve established the central chase, stack each system by floor so every riser stays as straight and repeatable as the tower’s geometry allows. Align wet walls directly above one another, keeping supply, waste, and vent runs short and accessible through consistent access panels.
Place electrical feeders and data conduits in parallel trays, separating low-voltage to reduce interference and simplify future pulls. For HVAC, run a vertical duct spine with floor-by-floor takeoffs, then size dampers per level to balance stack-effect pressure.
Coordinate penetrations with structure and firestopping early, then lock locations before finishes. Use the same vertical zones to anchor interior lighting circuits and switches, and preserve clean perimeter walls for furniture placement and glazing. Keep every offset justified.
Make the Floor Plan Feel Bigger Than It Is
Although a water tower’s circular footprint can feel inherently tight, you can make it read larger by treating the plan as a sequence of clean sightlines rather than a stack of enclosed rooms. Keep your primary circulation on a clear arc, and align doorways and openings so you always catch a long diagonal view.
Use open floor plans where privacy isn’t essential, and concentrate enclosed volumes in one compact “service wedge” for bath, storage, and mechanicals. Build in curved casework to follow the shell and eliminate dead corners.
Choose multipurpose furniture: a banquette that hides drawers, a table that doubles as a desk, and a sofa with integrated storage. Maintain consistent floor levels and minimize thresholds so the eye reads one continuous field.
Mirror select walls to extend depth without adding clutter.
Warm Modern Finishes That Suit Industrial Bones
If you let the tower’s steel, rivets, and concrete read as the “structure layer,” you can warm the home without erasing its industrial character. Choose finishes that sit on top of that honesty: white-oak floors, matte plaster, and linen-textured wall panels that soften echo and glare. Use blackened steel sparingly for trim so it frames views instead of darkening rooms.
For Modern color palettes, work in controlled warmth—bone, clay, smoked olive—then anchor them with charcoal and stainless. Keep sheen low; satin and matte hide surface waviness typical of retrofits.
Add tactile contrast through wool rugs, saddle leather pulls, and ribbed glass. You’ll preserve Industrial aesthetics while making the tower feel lived-in, not museum-like.
Conclusion
When you convert a water tower, you balance rules, structure, and beauty. You’ll secure zoning, you’ll earn permits, you’ll document every condition. You’ll reinforce steel, you’ll treat corrosion, you’ll verify wind loads. You’ll design stairs, you’ll protect egress, you’ll gain roof access. You’ll seal drafts, you’ll manage condensation, you’ll insulate intelligently. You’ll stack plumbing, electrical, and HVAC efficiently. You’ll stretch tight plans with light, views, and built-ins, and you’ll finish warm against industrial bones.