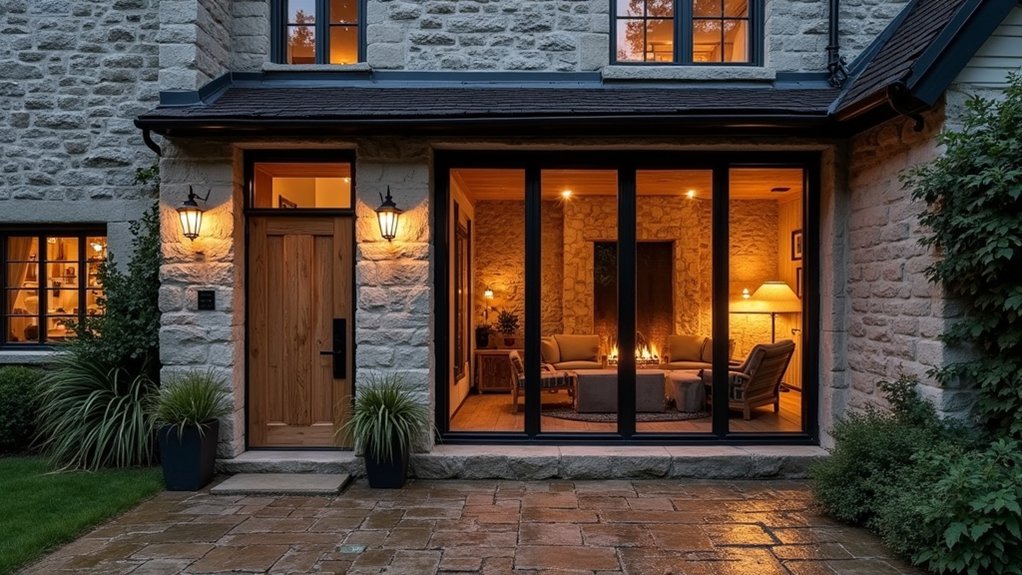

You start by testing whether the granary can realistically become a home: head height, access for materials, and budget for structural upgrades. You commission a full survey for timber decay, insect activity, lateral spread, and damp pathways, then map what must remain untouched for heritage consent. You sketch a layout that respects the original bays while planning egress, services, and breathable insulation that won’t trap moisture. The next decisions determine everything…
Check Granary Conversion Feasibility (Cost, Access, Height)
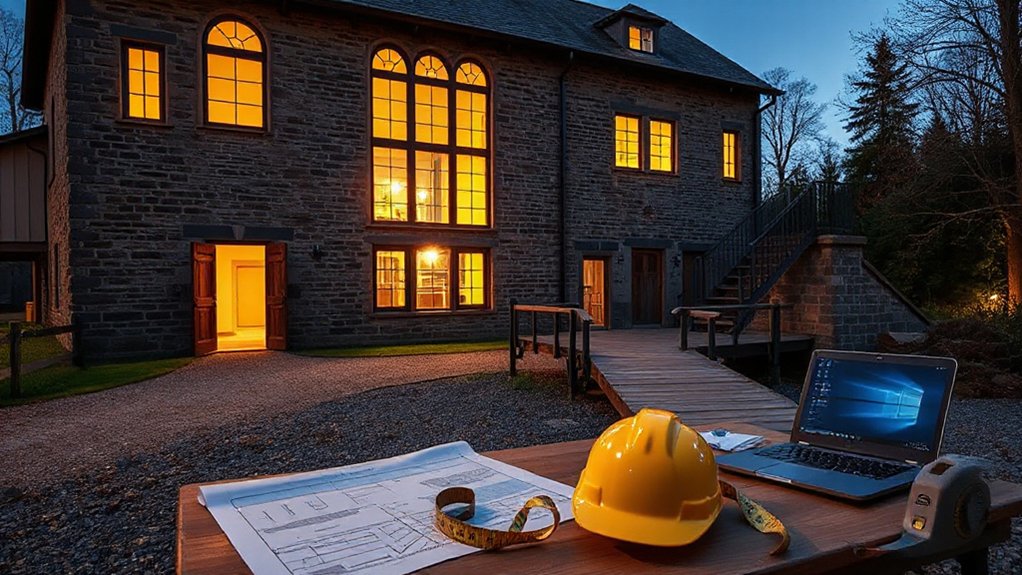
Before you fall in love with exposed beams and weathered timber, you’ll want to confirm the granary can realistically become a code-compliant home by pressure-testing three constraints: budget, access, and headroom.
Build a cost model that includes design fees, planning approvals tied to Historical significance, utility connections, insulation, fire separation, and upgraded glazing. Then add a 15–25% contingency for unknowns without erasing Cultural preservation goals.
Map access for deliveries, crane reach, and emergency egress. Verify driveway gradients, turning radii, and whether you can route water, power, and wastewater without protected-ground restrictions.
Measure clear internal height, not just ridge height: check finished floor buildup, required stair geometry, and minimum ceiling heights. Decide where you’ll use dormers or lowered services zones.
Survey the Granary: Structure, Rot, Pests, Damp
You’ll start by surveying the frame and load paths—posts, beams, floor joists, and connections—to confirm plumb, level, and deflection fall within safe limits.
You’ll probe timbers for rot with an awl, map soft spots and fungal staining, and verify any repairs haven’t masked compromised sections.
You’ll also inspect for pests and damp by checking frass, flight holes, and mud tubes, then trace moisture sources via tide marks, musty odor, and meter readings at sills, corners, and ground-contact points.
Assess Structural Integrity
Although a granary’s weathered timbers and stonework can look sound at a glance, you’ll want a systematic integrity survey that treats the building like a load path map—from roof and trusses down through posts, beams, and foundations—while you document moisture ingress, biological decay, and insect activity.
Start by measuring roofline straightness, truss bearing points, and tie connections; note any spread, sag, or racking. Check each frame bay for plumb, joint separation, and crushed fibers at tenons and mortises.
Probe masonry for settlement by mapping stepped cracks and differential movement at corners and openings. Verify sill continuity, pier alignment, and floor diaphragm stiffness with bounce tests and fastener counts.
Photograph details like granary art that carry historical significance, so structural interventions respect original craftsmanship.
Check Rot, Pests, Damp
A load-path survey tells you where the granary carries weight; the next step is confirming the material itself hasn’t been undermined by rot, insects, or chronic damp. Probe sill beams, posts, and floor joists with an awl; sound wood resists, while decay crumbles or feels spongy. Map discoloration, fruiting bodies, and checking around old grain storage chutes, where condensation often lingered.
You’ll also inspect for pests: frass piles, pinholes from beetles, mud tubes from termites, and gnawing at eaves where rodents nested. Use a moisture meter on timber ends, masonry pockets, and plank seams; readings above ~20% signal risk.
Trace damp to broken gutters, splashback, rising damp, or blocked vents, and plan repairs that respect historic preservation.
Secure Planning Permission and Heritage Consent
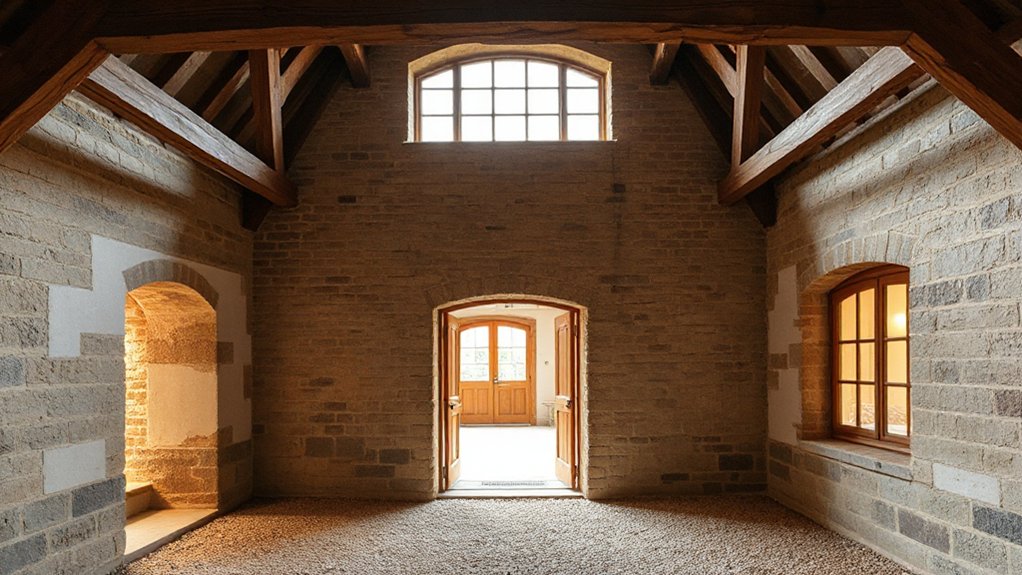
Before you sketch floor plans or order materials, map out the approvals route for a historic granary, because heritage constraints will dictate what you can change, how you can change it, and which documents you’ll need to justify every intervention.
Start by confirming listing status, curtilage implications, and any conservation area controls, then request pre-application advice with the local planning authority and conservation officer.
Commission a heritage impact assessment that explains the building’s Historic significance, character-defining elements, and proposed mitigation, aligning methods with architectural conservation principles.
Prepare measured drawings, a photographic condition survey, and a schedule of repairs specifying lime mortar mixes, timber splice details, and reversible fixings.
Submit planning, listed building consent, and building regulations in parallel where allowed, and keep a decision log to track conditions and discharge requirements.
Plan a Granary Layout: Floors, Stairs, Egress
Once you’ve pinned down what you’re allowed to alter, start the layout by treating floor structure, stair geometry, and means of escape as one coordinated system rather than three separate design tasks. Verify joist spans, bearing points, and allowable point loads before fixing room zones; you’ll prevent bounce under heavy furniture placement and avoid awkward posts in circulation lines.
Set stair pitch, riser/going, and headroom early, then align landings with door swings and sightlines.
Plan egress by mapping two independent routes where required: a protected stair to final exit and an alternative via escape window or secondary door with compliant sill heights and clear opening sizes.
Use interior lighting to emphasize paths, illuminate tread edges, and keep exits legible under low power.
Insulate a Granary Without Trapping Moisture
Because granaries were built to breathe rather than to seal up tight, you’ll need an insulation strategy that controls vapor drive and air leakage without cutting off the drying paths the original timbers, boards, and masonry relied on.
Start by mapping wetting risks: roof leaks, wind-driven rain, and capillary rise at sill beams. Air-seal first with reversible gaskets, tapes, and fluid-applied membranes at junctions, then choose vapor-open assemblies.
For Historical preservation, keep exterior cladding and framing able to dry outward; add Modern insulation to the interior using dense-pack cellulose, wood fiber batts, or mineral wool, paired with a smart vapor retarder.
Avoid interior polyethylene and spray foam against old boards unless you can verify drying capacity.
Detail a drained, ventilated rainscreen and maintain controlled indoor humidity year-round.
Add Windows and Doors Without Weakening Walls
You’ll lay out new window and door openings to respect the granary’s existing post spacing, beam bearing points, and load paths so you’re not cutting through primary structure.
You’ll transfer loads with properly sized lintels, doubled studs, and tight, anchored frames that tie back into sound members.
You’ll also keep shear-wall capacity by limiting opening widths, maintaining full-height panels at corners, and adding approved bracing or sheathing where you remove original material.
Plan Openings Around Structure
Although a granary’s shell looks straightforward, its load paths rarely forgive casual window or door cuts, so you need to map structure first and place openings where the building already “wants” to move. Start by tracing joist direction, stud bays, and any diagonal bracing; then align new glazing with existing bay rhythm and plank seams.
Keep cuts out of corner zones and away from post bearings, and favor former chute doors, vent slots, or patched apertures to support Historical preservation. Probe for hidden rot and insect damage before layout, because compromised boards shift loads unpredictably.
Let material selection follow what you find: match species, thickness, and fastener type so the wall’s stiffness stays consistent and movement joints remain continuous throughout.
Reinforce With Lintels And Frames
Once you’ve locked in each opening’s position, build a dedicated load-transfer frame so the wall keeps working as a wall. Cut back to sound timber or masonry, then set king studs or jamb posts plumb and tight to the header seat.
Specify a sized lintel—steel angle, flitch beam, or engineered timber—based on span and tributary load, and provide full bearing at both ends with packers or grout.
For Lintel reinforcement, bolt plates through existing members, add hanger straps, and stitch cracked masonry with helical bars before you install the lintel.
Tie the new jambs to adjacent framing with screws or resin anchors to prevent slip.
Check Frame stability by shimming, squaring, and locking corners with gussets so your new window or door operates cleanly.
Preserve Shear Wall Strength
With your lintels and jamb frames now carrying vertical loads cleanly, the next risk shifts to lateral loads: every new window or door cuts into the wall’s shear path.
You’ll keep the granary stable by preserving continuous sheathing lines and limiting opening widths between corners and existing braced bays. When you must interrupt a panel, you’ll create a new braced segment: add plywood or structural sheathing inside, tie it into top and bottom plates, and nail per schedule to restore racking resistance.
Use hold-downs at panel ends, and run straps across headers to maintain load transfer.
For Historic preservation, hide shear wall reinforcement behind reversible interior finishes, and keep original boards intact where possible. Seal gaps without stiffening joints excessively.
Install Granary Services: Heating, Water, Power, Waste
Before you insulate walls or hang plasterboard, map and install the granary’s core services—heating, potable water, electrical supply, and waste—so every run can follow clean, accessible routes without cutting through primary beams or compromising the historic envelope.
You’ll protect the granary aesthetic and its historical significance by routing pipework through floor voids, service chases, or freestanding studs set off the original cladding.
Specify low-temperature emitters (underfloor loops or slim radiators) and site the plant in a ventilated, fire-rated cupboard with condensate fall.
Bring in a bonded water main with isolation, pressure reduction, and acoustic clips to limit structure-borne noise.
Run armoured supply to a new consumer unit; segregate data, lighting, and power circuits.
Grade waste with rodding access and trapped ventilation.
Finish the Granary: Keep Character, Add Comfort
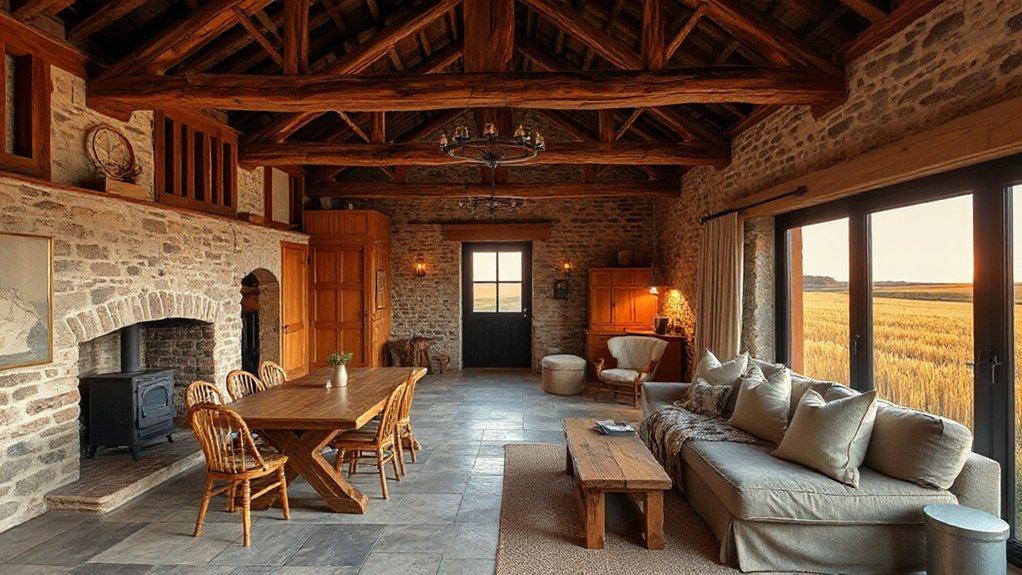
After you’ve pulled in the services and signed off the routes, treat the finish as a controlled layer-by-layer build-up that preserves the granary’s weathered structure while tightening comfort and performance.
You’ll start with vapour control: tape membranes at junctions, seal penetrations, and run airtightness tests before you hide anything. Insulate between studs with wood fibre or mineral wool, then add a service cavity so cables and pipes don’t puncture your air layer.
Keep vintage charm by cleaning, not sanding away, patina; limewash boards to diffuse light without plastic sheen. Specify rustic finishes that can move: breathable oils on timber, lime plaster on infill, and flexible sealants at frame-to-wall interfaces.
Finish floors with underlay and acoustic breaks, and you’ll cut drafts, noise, and heat loss.
Conclusion
When you convert a historic granary, you’ll prove or disprove the common theory that “more insulation always equals more comfort.” In practice, you’ll find comfort depends on hygrothermal balance: vapour-open build-ups, capillary breaks, and continuous air-sealing that won’t trap moisture in timbers. You’ll keep loads within reinforced frames, cut openings with proper lintels, and route services discreetly. When planning, structure, and moisture strategy align, the granary stays authentic—and genuinely warm.