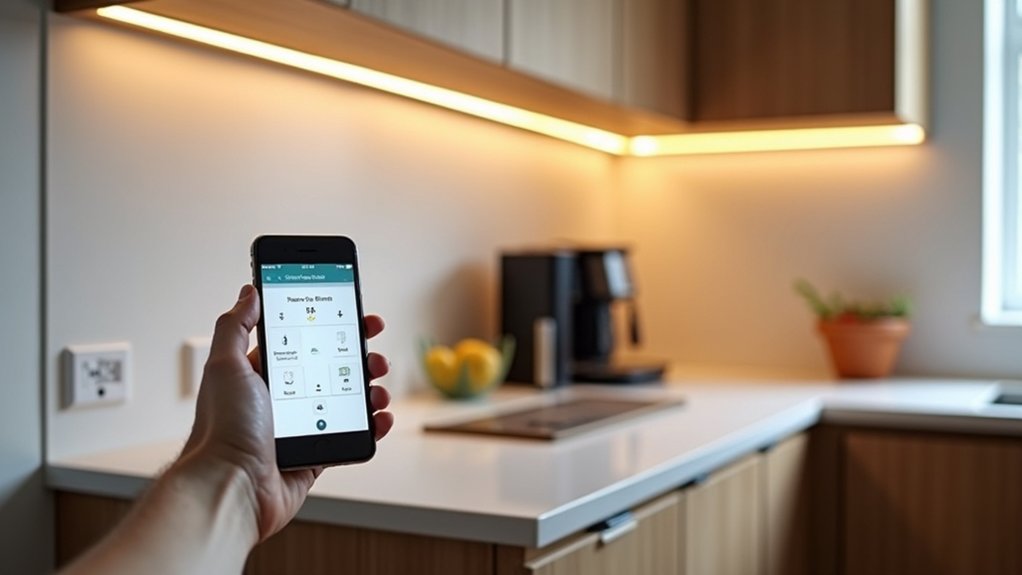

You probably don’t know that many “smart” kitchen upgrades don’t need wiring, hubs, or permanent mounts to work well. You can start under $50 with motion-sensor LED strips, a smart plug to schedule a coffee maker, and battery leak sensors under the sink, then tie it together with a simple routine in your chosen platform. The small setup choices you make first will decide whether it feels seamless or annoying, and that’s where things get interesting.
Smart Kitchen Upgrades: Quick Wins Under $50
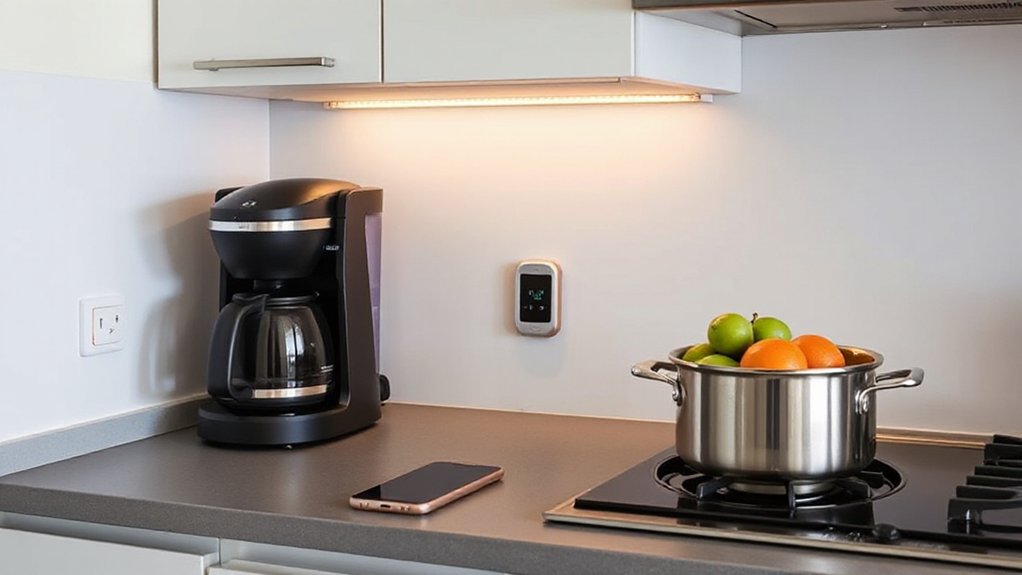
Why wait for a full remodel when a few under-$50 swaps can make your kitchen feel instantly smarter? Start with motion-sensor LED strip lights for under cabinets; you’ll get hands-free task lighting and a modern glow.
Add smart plugs to your coffee maker or lamp so you can schedule on/off times and cut standby power.
Swap in a touchless soap dispenser by the sink to keep prep cleaner and reduce cross-contamination.
Install a magnetic knife strip or rail system to free counter space and streamline Smart kitchen design.
Finally, try adhesive cable clips to tame charger cords for tablets and speakers.
These Budget friendly upgrades install in minutes, look intentional, and improve daily flow without drilling or rewiring. You’ll notice the difference immediately.
Set a Budget for Smart Kitchen Upgrades
Before you add anything to your cart, set a clear smart-kitchen budget so you don’t end up with a pile of gadgets that don’t work together. Start with Budget planning: decide your total cap, then split it into tiers—essentials (lighting, plugs), convenience (sensors, timers), and “nice-to-have” (displays, premium appliances).
Do quick cost analysis on install needs: batteries, hubs, mounts, and replacement filters can quietly add 20–30%. Check your kitchen’s pain points and assign dollars to the ones you’ll feel daily, like hands-free lighting or leak alerts.
Build in a 10% buffer for price swings and returns. Finally, track spending in a simple list so you stop when you hit the cap.
Pick a Smart Home Platform for Your Smart Kitchen
Next, you’ll want to pick a smart home platform that fits your kitchen habits: compare Alexa, Google Assistant, and Apple Home for voice control, app experience, and ecosystem perks.
Check device compatibility before you buy, so your plugs, lights, sensors, and appliances all work together without extra hubs.
Then plan simple automations and routines—like “Cooking Mode” or “Good Night”—to save time and keep your upgrades feeling seamless.
Compare Alexa, Google, Apple
Three smart home platforms dominate most affordable smart-kitchen setups—Alexa, Google Assistant, and Apple HomeKit—and the best pick depends on what you already use every day (Echo speakers, Android/Chromecast, or iPhone/Apple TV/HomePod).
If you want hands-free timers, unit conversions, and step-by-step prompts for cooking techniques, Alexa feels frictionless and widely supported by low-cost speakers.
Google Assistant shines when you rely on Search: you’ll get faster answers, smarter recipe follow-ups, and strong voice recognition in a noisy kitchen.
HomeKit prioritizes privacy and tight iPhone control, which helps when you’re building kitchen organization routines like “Prep,” “Clean,” and “Groceries” with dependable automation.
Pick the ecosystem you’ll actually talk to daily, not the one you’ll configure once and forget.
Check Device Compatibility
How do you avoid buying a “smart” gadget that won’t talk to the rest of your kitchen? You check compatibility before you hit Buy. Start with your chosen platform’s “Works With” list, then confirm the exact model number; brands often split features by region or hub requirement.
Look for Matter support to keep options flexible, but verify Thread or Wi‑Fi needs so it’ll actually pair on your network. Scan reviews for deal-breakers like laggy voice control, missing timers, or flaky sensors.
Also check whether the device supports Device calibration in-app, since kitchen scales, probes, and air-quality sensors drift over time. Finally, confirm the vendor pushes regular firmware updates and doesn’t lock key features behind subscriptions.
Plan Automation And Routines
Before you buy your first smart plug or connected oven accessory, pick a smart home platform and map the routines you actually want in the kitchen, because automation works best when everything shares the same “brain.” Start with the ecosystem you already use—Apple Home, Google Home, Amazon Alexa, or SmartThings—then list 3–5 high-impact flows (like “Morning Coffee,” “Cooking Timer + Vent Fan,” “Away Mode,” or “Leak Detected”) and confirm your platform can trigger them reliably with the sensors and devices you can afford.
Next, pressure-test each flow: does it need a motion sensor, contact sensor, smart switch, or leak puck? Prioritize Meal planning automations (calendar reminders, grocery list prompts) and appliance integration basics (dishwasher done alerts, oven preheat notifications). Keep routines simple, name them clearly, and log failures so you can tweak triggers.
Install Smart Kitchen Plugs for Instant Control
If you want instant control without rewiring your kitchen, smart plugs are one of the fastest, cheapest upgrades you can make. Plug one into any outlet, connect it to Wi‑Fi, and you’ll control small appliances like a coffee maker, kettle, or slow cooker from your phone.
Look for models that support voice commands through Alexa, Google Assistant, or Siri, so you can start brewing hands-free while you prep breakfast. Use remote control to shut devices off if you forgot, or to preheat a countertop oven on your way home.
Choose compact plugs that won’t block a second socket, and check wattage ratings for high-draw appliances. Bonus: many apps track energy use, so you’ll spot waste fast.
Add Smart Under-Cabinet Lighting in Minutes
You can upgrade your counters fast with smart under-cabinet lighting—just pick strips or puck lights with the right brightness, color temperature, and voice-app support.
You’ll stick or screw them in place, plug into a nearby outlet, and hide the cable path for a clean, modern look.
Then you’ll pair them to your app to set schedules, motion triggers, and scenes so task lighting turns on exactly when you need it.
Choose The Right Lights
While overhead fixtures keep the kitchen bright, smart under-cabinet lights deliver the focused task lighting that makes chopping, cooking, and cleanup easier—without a pricey remodel.
Start by choosing LED strips or puck lights with high CRI (90+) so food colors look true. Pick tunable white (2700K–5000K) if you want cozy evenings and crisp prep light, or RGB if you’re chasing weekend hosting vibes.
For clean lighting design, match brightness to your counters: about 200–400 lumens per linear foot for most kitchens, more for dark stone.
Decide on diffusers to prevent dotting on glossy backsplash.
Finally, coordinate finishes and color temperature with your cabinets and hardware to keep an intentional aesthetic ambiance throughout.
Install And Automate Quickly
Once you’ve picked the right strips or puck lights, the fastest win comes from a peel-and-stick install that doesn’t require an electrician. Clean the underside with isopropyl alcohol, dry it, then test-fit before you commit. Press firmly for 30 seconds per section, and route the cable along cabinet edges with included clips for cleaner Kitchen organization. Plug into a nearby outlet or a slim under-cabinet power strip.
Next, automate. Pair the lights in their app, name zones like “Prep” and “Coffee,” and set warm-white evening scenes plus brighter task lighting for mornings. Add motion activation near the sink, and schedule auto-off after 5 minutes to save power. Voice control keeps hands free, boosting culinary creativity.
Use a Smart Switch for Kitchen Ceiling Lights
If overhead lighting controls the mood and function of your kitchen, a smart switch is one of the cheapest upgrades that feels genuinely modern. You’ll keep a familiar wall control, but you’ll gain schedules, timers, and scenes for cooking, dining, or late-night snacks.
Pick a switch that supports your platform (Alexa, Google, HomeKit) for reliable voice control, and confirm it matches your wiring—neutral required for many models.
Install it like a standard switch: shut off the breaker, label line/load, tighten terminals, then pair it in the app. Set lights to turn off after 20 minutes for better energy efficiency, or ramp brightness at sunset.
Bonus: remote control helps when your hands are messy.
Add Smart Kitchen Leak and Smoke Sensors
Because kitchens mix plumbing, heat, and a lot of unattended “just one minute” moments, smart leak and smoke sensors give you cheap insurance that actually buys you time.
For leak detection, tuck a puck-style sensor under the sink, behind the dishwasher, and near the fridge water line; choose models that alert your phone, sound a siren, and log moisture events. Look for replaceable coin batteries and an IP rating if your cabinet gets damp.
For smoke sensors, swap in a smart-compatible alarm or add a listener that hears your existing detector; either way, enable push alerts and shared notifications for your household.
Test monthly, label device locations in the app, and keep a spare battery set nearby.
Add a Smart Faucet Adapter for Hands-Free Water
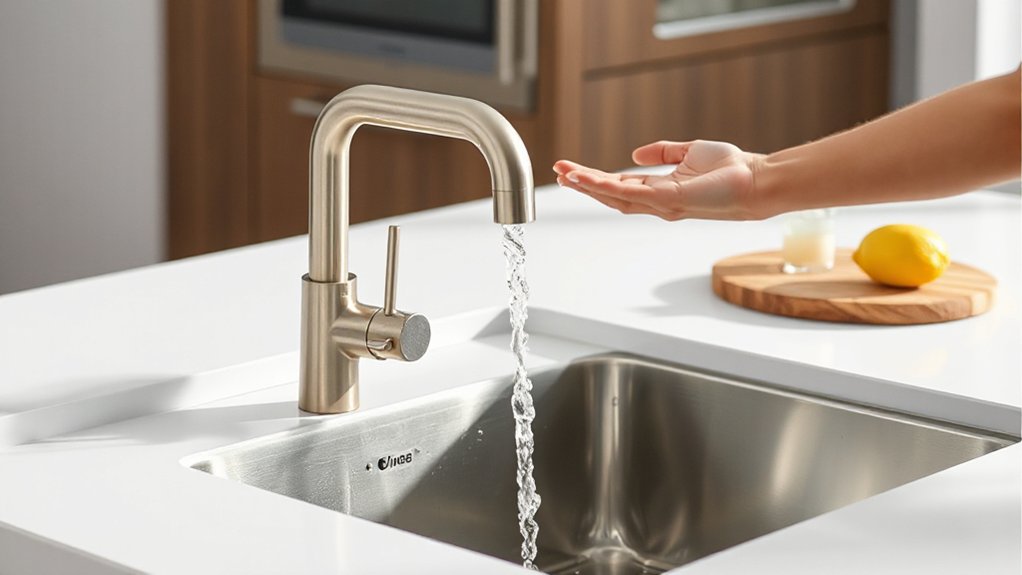
Sensors can warn you when something’s wrong; a smart faucet adapter helps prevent the mess in the first place by cutting down on touched handles and runaway water. You’ll get Hands free water on any standard sink by swapping the aerator for a motion-sensing or touchless adapter—no plumber, just a wrench and 5 minutes.
Look for adjustable auto-shutoff (like 15–60 seconds), splash control, and a manual override so you can fill pots without constant re-triggering. Many models run on AA batteries or USB recharge and keep a steady flow rate, so you won’t waste water while you soap up.
Faucet automation also helps with cross-contamination when you’re handling raw meat or sticky dough. Install it, calibrate the sensor distance, and you’re set.
Use a Smart Thermometer for Perfect Doneness
Pick the right smart thermometer for your setup—instant-read for quick checks or a probe-style model for oven and grill sessions. Ideally, choose one with a solid app and Bluetooth/Wi‑Fi range.
Set your target temperatures in the app (like 165°F for chicken or your preferred steak finish), then let it handle the reminders so you don’t overcook.
You’ll monitor doneness in real time on your phone, making last-minute timing and resting easier to nail.
Choose The Right Thermometer
Ever wonder why your chicken turns out dry or your steak misses that perfect medium-rare sweet spot? The fix often starts with choosing the right smart thermometer for your cooking techniques, not guessing.
If you grill or roast big cuts, pick a leave-in probe with a heat-safe cable and a base that won’t drift out of range. For weeknight sautéing and thin proteins, go for an instant-read model with a 2–3 second response and a slim tip for minimal juice loss.
Prefer gadgets? Look for Bluetooth plus app charts, but make sure it still works fast without your phone. Don’t ignore kitchen ergonomics: a backlit, auto-rotating display and one-handed controls make checks safer and quicker.
Set Target Temperatures
Once you’ve got a smart thermometer you trust, set a target temp before you cook so you can pull food at the exact moment it hits your doneness goal. Start with proven endpoints: chicken breast 165°F, salmon 125–130°F, steaks 125°F rare/135°F medium, pork 145°F, and bread 200–205°F.
Then account for carryover cooking—set the target 3–10°F lower for thick cuts and roasts so they finish while resting.
Do quick Temperature calibration monthly (ice bath 32°F, boiling 212°F at sea level) so your targets stay meaningful.
Make seasonal adjustments too: in winter, colder meat and kitchens slow heat rise, so plan longer preheat and slightly earlier pull points.
Save presets for your go-to proteins and thicknesses.
Monitor In Real Time
With your target temp locked in, real-time monitoring turns it into a repeatable finish instead of a guess. Clip a smart probe into chicken, steak, or bread, then watch the live graph on your phone while you prep sides. You’ll catch stalls, overshoots, and carryover heat, so you can pull food early and rest it with confidence.
Choose a Bluetooth model for weeknight cooking, or Wi‑Fi if you grill outside or multitask upstairs. Set high/low alerts, name probes, and save cook profiles for your go-to cuts.
If you’re doing recipe substitution (thighs for breasts, convection for standard), adjust the target and let the thermometer validate timing. Better Kitchen ergonomics: fewer door opens, less hovering, cleaner workflow, and safer doneness every time.
Automate Your Smart Kitchen With Simple Routines
Because most kitchens run on habits, you can get big smart-home wins by turning those habits into simple routines that fire automatically. In your smart kitchen design, start with three triggers: time, motion, and appliance status.
Set a morning routine that turns on under-cabinet LEDs at 20% when you enter, starts the kettle smart plug, and reads today’s weather on a display speaker.
Create a “cook mode” that boosts task lighting, starts a vent fan, and pauses music when a smoke alarm chirps.
For culinary automation, link a smart thermometer to a timer: when food hits temp, you’ll get a phone alert and the oven plug can shut off.
Add an “away” routine that checks doors, kills countertop plugs, and flags leaks.
Conclusion
With a few sub-$50 tweaks, you’ll turn your kitchen into a command center that feels absurdly futuristic. Set your budget, pick your platform, then drop in smart plugs to boss appliances around on a schedule. Stick on under-cabinet LEDs and suddenly midnight snacking looks like a cooking show. Add leak and smoke sensors for ninja-level peace of mind, a faucet adapter for hands-free rinsing, and a smart thermometer—because “almost done” is basically a myth.