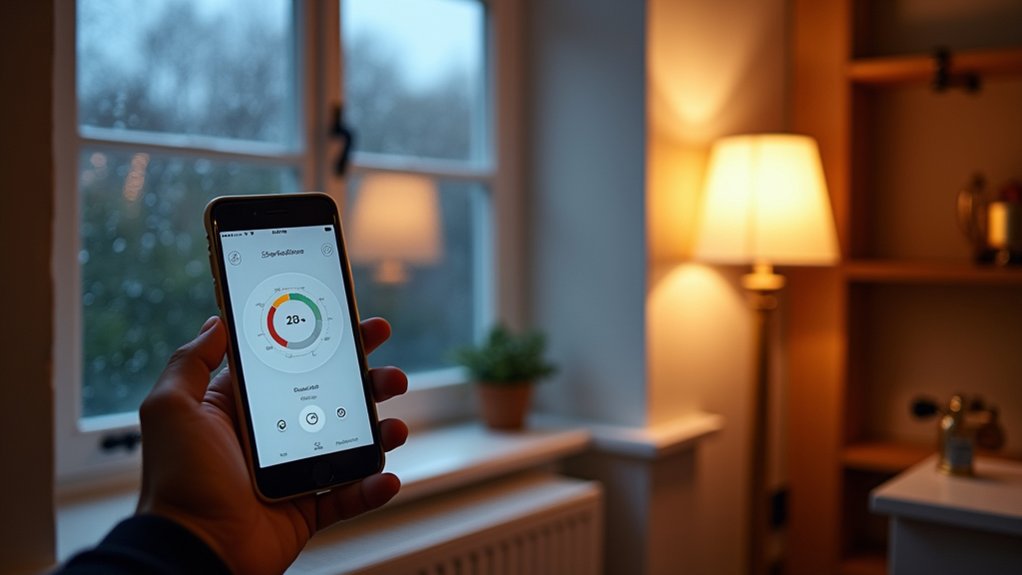

You start by checking what you’ve actually got—combi, system boiler, or heat pump—because that decides which smart controls will play nicely. Then you map your home into zones, add a thermostat, smart TRVs, and a couple of well-placed room sensors to stop hallways and sunny rooms lying to the system. Layer in schedules, geofencing, and weather compensation so flow temps track UK swings. The key choice comes next…
Check Boiler Compatibility (Combi, System, Heat Pump)
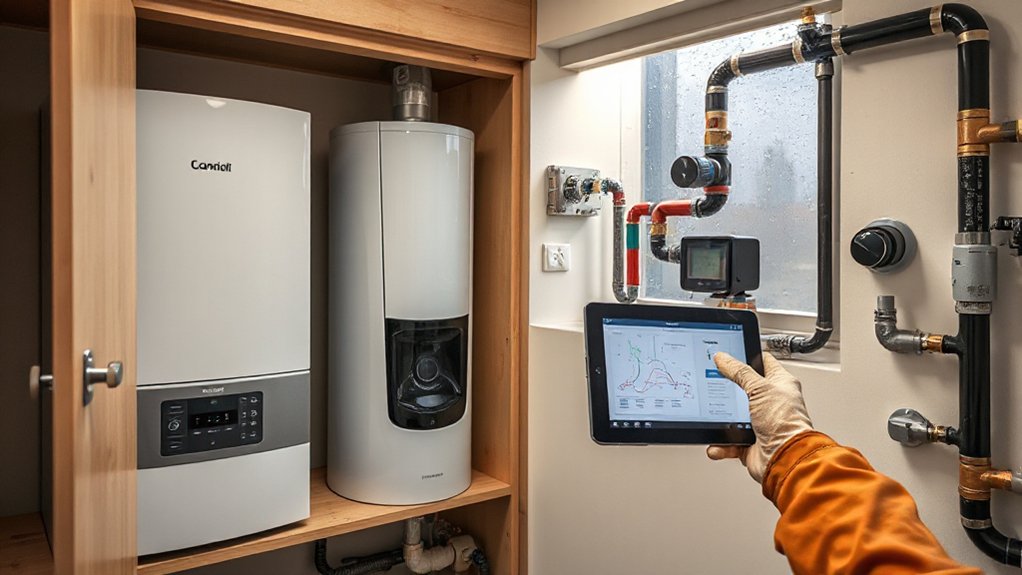
Before you buy any smart thermostat or zoning kit, check what heat source you’ve actually got, because UK setups behave very differently under smart control.
With a combi boiler, you usually need a single-channel thermostat (heating only) plus TRVs if supported. Hot water’s on-demand, so don’t pay for cylinders features you can’t use.
With a system boiler and cylinder, pick a two-channel controller that can schedule hot water and confirm you’ve got a compatible motorised valve and wiring centre, or your installation costs jump fast.
If you’re on a heat pump, choose a controller that supports weather compensation and low flow temperatures. Aggressive on/off switching hurts Energy efficiency.
Also verify OpenTherm/eBUS support and your boiler’s bridge requirements before buying.
Plan Your Heating Zones Room by Room
Start by mapping your home into zones and flagging the high-use rooms (kitchen, living room, home office) that actually need heat every day.
Set clear temperature targets per zone—warmer where you sit still, cooler in bedrooms and hallways—to suit UK’s changeable swings without wasting energy.
Then match each zone’s schedule to real occupancy using app-based routines or geofencing, so heating ramps up only when you’re in and drops back when you’re out.
Identify High-Use Rooms
Because your heating budget gets burned in the rooms you actually live in, map your high-use spaces first and zone everything else around them. Track where you spend mornings, evenings, and weekend hours: kitchen-diner, lounge, home office, nursery. Note door habits, draughts, and how often you close blinds—UK wind exposure matters.
Walk the house at 7am, 6pm, and 10pm for three days and log occupied rooms. Prioritise spaces with long dwell time, electronics heat gain, or frequent external-door use.
Pair zoning with Energy efficient insulation checks: loft hatch seals, radiator foil, window gaps, and thick curtains. Where zoning can’t reach, consider alternative heating methods like a small infrared panel or heated throw for spot comfort without warming unused rooms.
Set Zone Temperature Targets
Once you’ve flagged your high-use rooms, set clear temperature targets for each zone so your system heats to comfort—not habit. Start with UK norms: living areas 19–21°C, bedrooms 16–18°C, bathrooms 21–23°C, and hallways 16–18°C to reduce drafts without wasting heat.
Get Thermostat placement right: mount sensors about 1.5m high, away from radiators, sunny windows, fireplaces, and external doors. If you use TRVs, ensure the head isn’t boxed in by curtains or furniture.
Then run Temperature calibration: compare each zone sensor to a reliable thermometer for 30 minutes, adjust offsets in-app, and recheck after a cold snap. Fine-tune targets by zone size, insulation, and radiator output.
Match Schedules To Occupancy
Although your temperature targets set the “what,” your schedules decide the “when,” so match each zone’s heating to real occupancy rather than a one-size-fits-all timer.
Start by mapping weekdays vs weekends and typical room use: bedrooms need a pre-heat before wake-up, then setback; kitchens follow breakfast and dinner peaks; home offices run steady during working hours; living rooms ramp up for evenings only.
Use shorter boosts instead of long blocks, and add geofencing or motion triggers where they’re reliable.
In UK shoulder seasons, schedule lower baselines and let weather compensation handle spikes.
If you’ve got Energy storage or a heat pump, pre-heat slightly when the Smart grid is greener or tariffs dip, then coast through peak rates.
Review monthly and iterate.
Choose Your Setup: Smart Thermostat, TRVs, or Both
If you’re upgrading your heating for the UK’s stop-start weather, you’ll get the best results by picking the right control mix: a smart thermostat, smart radiator valves (TRVs), or both.
Choose a thermostat if you mainly want whole-home control, simpler setup, and steady comfort when the weather flips hourly.
Choose TRVs if your rooms behave differently: a sunny kitchen, a chilly north-facing box room, or a home office you only heat on weekdays.
Look for Manual override so you can quickly boost a radiator without opening an app, and prioritise aesthetic design if valves will sit in plain view.
Use both when you want a “zones plus backbone” approach: thermostat sets the base, TRVs fine-tune each room, and you cut waste fast.
Pick a Smart Thermostat That Works in UK Homes
Start by checking the thermostat supports your UK boiler type (combi, system, or heat-only) and the controls you’ve already got, like OpenTherm or basic on/off.
Next, confirm the wiring and power setup—some need a permanent live at the wall plate, while others run on batteries with a wireless receiver by the boiler.
Finally, make sure the app fits your routines and that voice control (Alexa, Google Assistant, Siri) works reliably in your home setup.
UK Boiler Compatibility
Because UK heating setups vary wildly between combi, system, and heat-only boilers (plus the wiring they use), you’ll get the best results by choosing a smart thermostat that explicitly supports your boiler type and control method—on/off relay, 230V switched live, OpenTherm, or a manufacturer bridge like Vaillant eBUS.
Start by checking your boiler model and whether it supports modulation; OpenTherm or brand buses can improve boiler efficiency by matching flow temperature to demand, which suits changeable UK weather.
If you’ve got a hot-water cylinder, pick a thermostat that also controls DHW, not just space heating.
Look for UK installer-friendly ecosystems (Hive, Tado, Nest) with clear compatibility lists and support.
Finally, align features like frost protection and fault alerts with your maintenance schedules so small issues don’t become winter breakdowns.
Wiring And Power Needs
Where do smart thermostat installs in UK homes usually go wrong? You assume the old wall stat has “spare” wires and enough power, then discover you’ve only got a 2‑core cable or a 230V switch line where the new hub expects low‑voltage.
Before you buy, check if your system uses a wiring centre, a combi boiler with volt‑free contacts, or a 230V switched-live setup.
Prioritise Wiring safety: isolate at the consumer unit, label conductors, and confirm earth continuity where required. Match terminals (COM/NO/NC) and don’t mix mains and SELV in the same back box.
Confirm Power capacity too: some thermostats need a permanent live and neutral, others run on batteries, and some require a fused spur or USB supply near the receiver.
App And Voice Control
Once you’ve nailed the wiring, app and voice control become the make‑or‑break features that decide whether you’ll actually use your smart heating.
Choose a thermostat with reliable app integration on iOS and Android, fast loading, and clear schedules for weekdays vs weekends—UK routines change with school runs and hybrid work.
Check it supports geofencing so you don’t heat an empty house, and look for per-room control if you’ve got TRVs.
For voice command, confirm it works with Alexa, Google Assistant, or Siri/Apple Home, not just one.
Test common phrases like “set the hall to 19” and “boost for 30 minutes.”
Make sure it handles multiple users and UK boiler modes, including hot water and frost protection.
Add Smart Radiator Valves to Balance Cold Rooms
If one room’s always chilly while the rest of the house feels fine, smart radiator valves (TRVs) give you a targeted fix without cranking the whole boiler. Fit a Smart radiator TRV on each radiator you want to control, then set room-by-room schedules so Cold rooms get a boost during occupied hours, not all day.
Start by capping hotter zones (like south-facing lounges) a degree lower, so flow naturally shifts to the struggling spaces. Use geofencing or “away” modes to drop temps automatically, and enable open-window detection to stop wasting heat when you’re airing out.
Choose models that support your hub (Matter/Thread, Zigbee, or proprietary) and check valve compatibility (M30x1.5 adapters).
Place Room Sensors Where Temperatures Lie
Smart TRVs only work as well as the temperature they “see,” and in a typical UK home that’s rarely the middle of the room. Your radiator valve sits in a warm pocket by the rad, so it can shut down early while your sofa zone stays chilly.
Fix that with better sensor placement. Put a room sensor at seated head height (about 1.1–1.5m), away from radiators, fireplaces, sunny bay windows, and draughty external doors. Don’t hide it behind curtains or on a cold outside wall; both wreck temperature accuracy.
In bedrooms, place it near the bed, not the radiator. In open-plan spaces, choose the area you actually occupy, and consider one sensor per zone if layouts are split.
Calibrate in-app if readings drift by a degree or two.
Build Schedules Around Real UK Routines
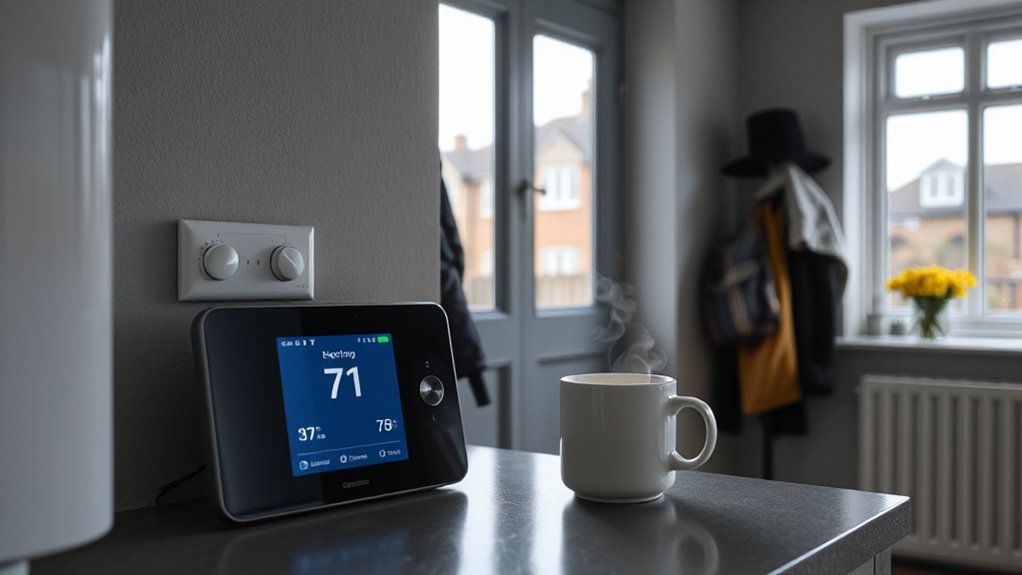
Because UK days rarely run like a neat 9–5, you’ll get better comfort and lower bills by scheduling heat around what actually happens in your home—school runs, hybrid office days, dog walks, and the evening “heat-on” spike after 6pm.
Create weekday and weekend profiles, then add short pre-heat blocks (20–40 minutes) before wake-up, returns, and bath time, followed by gentle set-back periods instead of full off.
Use smaller steps (0.5–1°C) to avoid boiler cycling and keep radiators responsive.
On WFH days, schedule a midday top-up for the office only, then drop it after lunch.
Tie your plan to Energy efficient upgrades like TRVs and weather compensation, and support renewable integration by shifting demand to daytime solar or cheap overnight tariffs.
Use Geofencing and Occupancy to Avoid Heating Empty Rooms
While your schedule handles predictable routines, geofencing and occupancy control stop you wasting heat when the house doesn’t follow the plan. Set phone-based geofencing so the system drops to setback when everyone leaves, then pre-warms only when you’re within a chosen radius.
Add room sensors (PIR, mmWave, or smart TRVs with occupancy) so unused bedrooms and home offices stay low, while lived-in zones hold comfort. Use “vacancy timers” to avoid false-offs during quiet activities, and define exceptions for pets or cleaners.
Pair this with Outdoor insulation so setback temperatures don’t feel draughty and recovery stays quick. If you’ve got Solar integration, prioritise warming occupied zones when surplus power is available, not empty rooms, improving self-consumption without waste.
Automate With Weather + Optimise to Cut Bills
When the forecast flips from a mild drizzle to a sharp easterly in a few hours, you can let weather data drive your heating so it stays comfortable without overshooting. Connect your hub to a UK forecast API, then set rules: pre-heat only when temperature drops below your threshold and wind chill spikes, and ease back when solar gain rises.
Use optimiser features to learn your home’s heat-up curve, then cap flow temperature and trim boiler cycling. If you’ve got a heat pump, schedule defrost-aware setbacks and align run times with cheap tariffs.
For Renewable energy integration, prioritise heating when PV output peaks or your battery’s full.
Pair this with CO₂ and humidity sensors to protect Indoor air quality while minimising ventilation heat loss.
Conclusion
You’ll get the best results when you match your boiler or heat pump, zone each room, and layer a smart thermostat with TRVs and well-placed sensors. Build schedules around your weekday routine, then let geofencing and weather compensation do the fine-tuning. For example, a two-bed semi in Manchester set a 45°C flow on mild days, pre-heated the office at 7am, and skipped heating when everyone left—cutting gas use about 15% without cold spots.