If you’re turning a basement into usable living space — a home office, a gym, a guest room, or anything that people will actually spend time in — a bathroom becomes less of a luxury and more of a basic requirement. Trekking upstairs every time someone needs the loo, or before and after a workout, is the kind of friction that quickly makes an otherwise excellent basement room feel less useful than it should. Finding the cheapest way to put bathroom in basement without cutting corners on what actually matters is the focus of this guide.
The cheapest way is not the same as the worst way. There’s a meaningful distinction between where money can be saved without real consequence and where it genuinely can’t — and getting that distinction right is what separates a budget basement bathroom that works well from one that causes damp problems, building regulations headaches, or a maintenance nightmare within two years.
This guide works through every element of a basement bathroom with cost-saving options clearly separated from the things you simply shouldn’t scrimp on.
The Starting Point: What Makes a Basement Bathroom More Expensive Than a Normal One
Before looking at how to save money, it’s worth understanding why a basement bathroom costs more than fitting one on the ground or first floor. The extra costs come from three sources:
Drainage: Waste from a basement can’t drain downhill to the sewer — it has to go up. This requires either a macerator pump system or a sewage lifting station, neither of which is needed in a standard bathroom installation. Our guide to putting a toilet in a basement covers the drainage options in detail — understanding which approach is right for your situation is the first and most important decision in the whole project.
Waterproofing: Basements are below ground level and inherently more prone to moisture ingress than any room above it. The walls and floor need adequate protection, and the bathroom itself — with its additional moisture from showers, basins, and steam — creates an intensified demand for waterproof finishes throughout.
Ventilation: Without a window to the outside, a basement bathroom needs mechanical extract ventilation ducted to the exterior. This is a Building Regulations requirement, not optional.
Everything else — the fixtures, finishes, tiling, and fitting — is broadly the same as any other bathroom. The saving strategies here target both the basement-specific costs and the general bathroom fit-out costs.
The Single Biggest Saving: Macerator Over Breaking Out the Slab
If your basement floor is a concrete slab — as most UK basement floors are — the cheapest drainage solution by a significant margin is a macerator toilet system rather than breaking out the slab to install conventional gravity drainage below it.
Breaking out a concrete basement slab, excavating to install below-slab drainage, and reinstating the slab afterwards typically costs £1,500–£3,500 in labour and materials for the drainage work alone — before a single bathroom fixture is fitted. In a finished or part-finished basement, the disruption and making-good costs add further.
A macerator system — a self-contained unit that grinds waste and pumps it through small-bore pipe to the soil stack above — requires no concrete breaking, no excavation, and minimal structural interference. A mid-range macerator unit from Saniflo or similar capable of handling a toilet, basin, and shower typically costs £400–£900 to buy, with installation adding £600–£1,500 depending on the pipe run required.
Total installed drainage cost with a macerator: £1,000–£2,500 versus £1,500–£3,500+ for slab break-out. The macerator wins on cost, on disruption, and on installation time.
The important caveat: under Approved Document G of the Building Regulations, a macerator toilet can only be installed where there is also access to a WC that drains by gravity. In other words, if your property already has at least one conventional toilet elsewhere — as virtually every UK house does — a macerator basement toilet is permitted. If the basement bathroom would be the only toilet in the building, a different drainage solution is required. For a full explanation of the rules and all three drainage options, see our basement toilet installation guide.
Choosing Budget-Friendly Fixtures Without Compromising Function
Bathroom fixtures vary enormously in price, and the functional difference between a budget suite and a premium one is smaller than the price difference suggests. For a basement bathroom where cost control is the priority, smart fixture choices can save hundreds without any real compromise on daily use.
Toilet
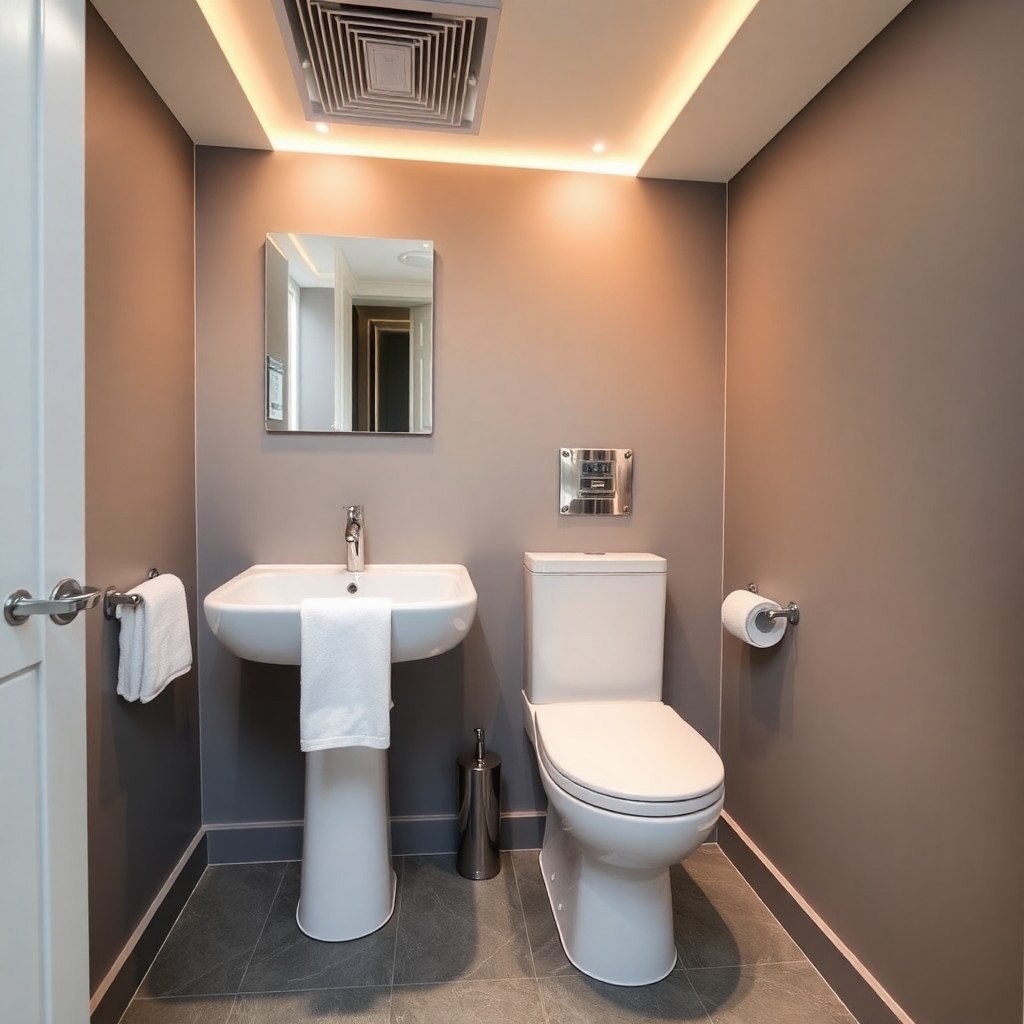
A close-coupled toilet (cistern sits on top of the pan) is the cheapest to buy and the cheapest to fit. Wall-hung toilets look more contemporary and make cleaning easier, but the concealed cistern frame adds £150–£400 to the cost before the toilet itself is bought. For a budget installation, close-coupled wins clearly.
Budget close-coupled toilet: £80–£200. Decent quality is available at the lower end — B&Q, Screwfix, and Victorian Plumbing all sell functional, warrantied close-coupled toilets under £150.
For a macerator system, choose a toilet pan specifically designed or confirmed as compatible with the macerator unit — most macerator manufacturers sell matched toilet pans, and using a non-compatible pan can cause connection issues.
Basin
A pedestal basin is the cheapest option to buy and install — no vanity unit required, no worktop to cut, and the installation is straightforward for any competent plumber. Wall-hung basins are slightly more expensive to fit (wall fixings need to be into solid masonry or a structural board). Vanity units with integrated basins add £200–£600 compared to a pedestal but offer storage, which in a small basement bathroom can be worth it.
Budget pedestal basin: £40–£120. Complete with taps (mixer tap, not separate pillar taps, which are harder to use): add £30–£80 for a functional budget mixer.
Shower
A shower enclosure with a tray is typically cheaper than a wet room — wet rooms require full floor and wall tanking, specialist drainage, and a screeded or lowered floor, all of which add cost and complexity. A standard 800mm × 800mm or 900mm × 900mm shower tray with a 1,200mm sliding or pivot door enclosure, installed by a competent plumber, is a simpler and more affordable option.
Budget shower tray (acrylic, 800mm × 800mm): £60–£150. Budget shower enclosure (sliding door, chrome frame): £100–£250. Thermostatic shower valve and head: £80–£200 for a functional mid-range unit.
Skip the bath entirely in a compact basement bathroom unless there’s a specific reason for it. A bath takes up a minimum of 1.7m × 0.7m of floor space, costs £150–£500, and adds significantly to the plumber’s fitting time. In a basement bathroom used primarily for functional purposes — post-gym shower, guest facilities, home office convenience — a shower-only configuration saves space, money, and installation time.
Walls: Panels Over Tiles for Budget Installations
This is one of the most impactful cost-saving decisions in any bathroom, and it applies particularly well in a basement context where speed and moisture resistance are both priorities.
Full-height ceramic or porcelain tiling is the traditional approach — durable, attractive, and genuinely good over the long term, but expensive in labour. A competent tiler charges £25–£50 per square metre for standard tiles, and a typical small bathroom has 15–25m² of wall area. Tile labour alone can run to £600–£1,200 before a single tile has been purchased.
PVC or acrylic waterproof wall panels — available in a wide range of finishes including convincing stone and tile effects — install in a fraction of the time. A single installer can typically panel a small bathroom in a day. The panels are 100% waterproof (no grout joints to maintain or clean), compatible with both plasterboard and direct fixing to the substrate, and available at trade from £8–£25 per m² for materials. Total material and fitting cost for wall panels in a small basement bathroom: £400–£900 versus £1,200–£2,500 for tiles. That’s a real and meaningful saving.
The perception that wall panels are a cheap-looking alternative to tiles has shifted significantly in the last five years. Mid-range panel ranges — Multipanel, Shower Panel Company, and others — produce finishes that read as genuinely sophisticated. For a basement bathroom, functional year-round and not the room guests will be photographing for Instagram, the aesthetic difference is minimal and the practical advantages are real.
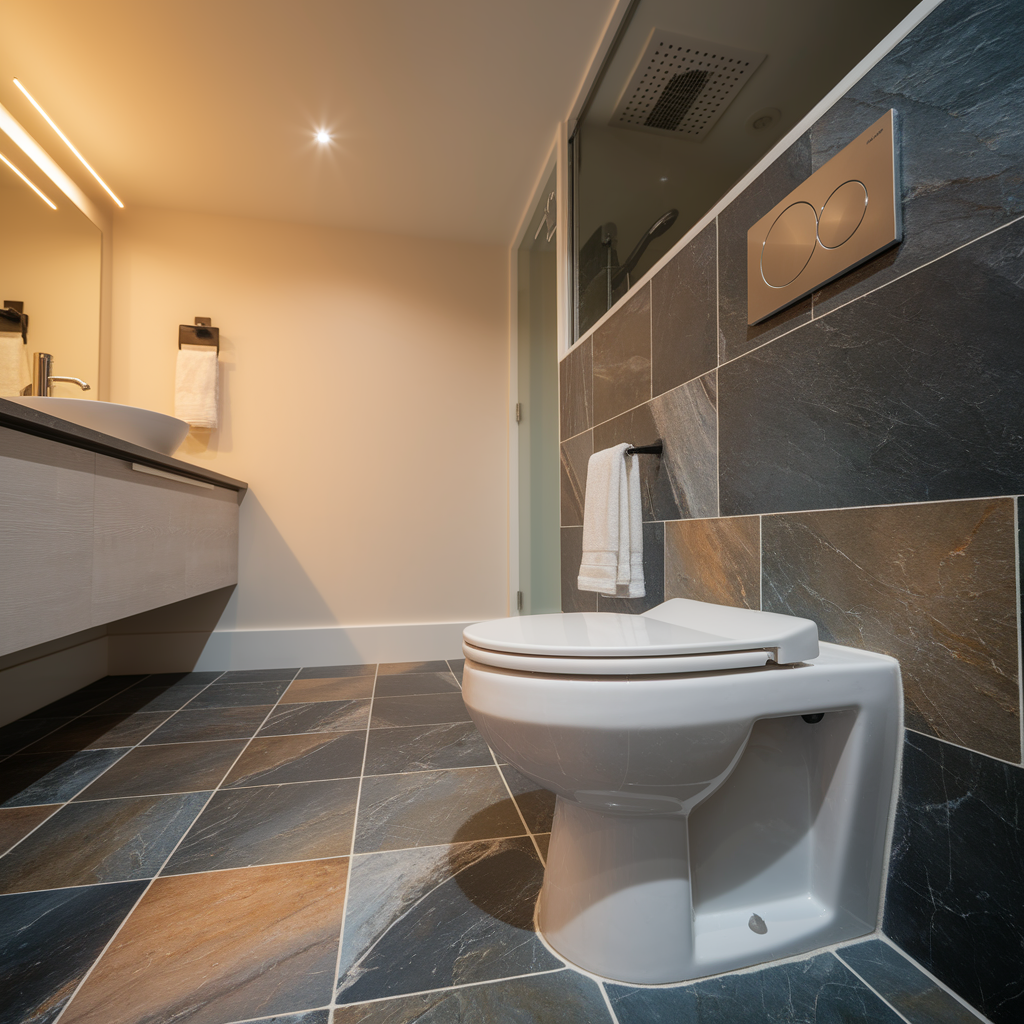
For the floor, large-format vinyl floor tiles (SPC/LVT — stone-plastic composite or luxury vinyl tile) are the budget-friendly alternative to porcelain floor tiles. They’re completely waterproof, warm underfoot compared to ceramic, and can be installed by a competent DIYer. Budget SPC floor tile: £10–£20 per m² for materials, versus £15–£50 per m² for porcelain. Fitting cost is lower too — no levelling compound required on a reasonably flat slab, and no tile adhesive or grouting.
Waterproofing: Where Not to Scrimp, and Where the Cheapest Option Is Fine
This section is the most important in the guide, because waterproofing is the area where false economy causes the most damage.
A basement bathroom that’s inadequately waterproofed doesn’t just fail the bathroom — it fails the whole basement. Moisture penetrates into the floor slab and walls, encourages mould growth, deteriorates finishes, and eventually causes structural damage that costs far more to remediate than the waterproofing would have cost to do correctly.
The Shower Zone: Never Cut Corners
The shower enclosure walls and floor must be fully tanked — a waterproof membrane applied to the substrate before any tiles, panels, or other finish goes on. This applies regardless of which wall finish you choose: even 100% waterproof panels need a tanked substrate behind them if the substrate itself is masonry or plasterboard, since water vapour can still penetrate through panel joints and edges over time.
In a basement, the tanking compound also needs to address the risk of moisture ingress from the ground through the wall behind the shower — not just water from the shower itself. A cementitious tanking slurry (brands include Mapei Mapelastic, Ardex 8+9, or Weber floor) applied to the masonry before any first fix is the appropriate specification for a basement shower zone. Cost for materials: £150–£400 for a small shower enclosure — not something to value-engineer out.
Outside the Shower Zone: Moisture-Resistant, Not Waterproof
Outside the shower enclosure — on the general walls of the bathroom, the ceiling, and areas that receive only occasional splashing — the requirement steps down. Moisture-resistant plasterboard (often called aquaboard or MR board, the pink or green plasterboard used in bathrooms) is sufficient for these zones, finished with a moisture-resistant paint. This is significantly cheaper than full tanking across the whole bathroom.
Moisture-resistant plasterboard: £8–£14 per sheet (no more expensive than standard board). Moisture-resistant bathroom paint: £15–£40 per 2.5L, which will cover a small bathroom twice.
The distinction is: full tanking in the wet zone (shower), moisture-resistant board and paint everywhere else. This is the specification that passes Building Control inspection and performs adequately for years, at lower cost than tanking the whole room.
The Basement Floor Moisture Question
Before any floor finish goes down, the basement slab should be assessed for moisture. A simple capacitance meter reading or an ASTM calcium chloride test will tell you whether the slab is dry enough for direct adhesion of floor finishes. In most existing basements that have been dry for some years, the slab will pass. In basements with any history of damp or water ingress, a moisture-tolerant floor system is needed.
The cheapest adequate solution for a damp-prone basement floor is an SPC floor tile (as mentioned above) over a 6mm foam or cork underlayment — the underlayment provides a slight moisture break and acts as a compression layer over any minor floor irregularities. A more robust solution where damp is a real concern is a DPM (damp-proof membrane) sheet — 1,200 gauge polyethylene, widely available, cost £0.50–£1 per m² — taped to the walls and covered with the floor finish. Not glamorous, but effective.
Ventilation: The Non-Negotiable Budget Item
A basement bathroom without mechanical extract ventilation will develop condensation, odour, and mould problems within weeks. The Building Regulations (Approved Document F) require a minimum extract rate of 15 litres per second intermittent (or 6 l/s continuous) for a bathroom, ducted to outside.
There is no cheap workaround here. The fan and duct run must be installed. The saving opportunity is in how the duct is routed: a shorter, straighter duct run costs less in materials and fitting time than a long, complex route through multiple walls. At the design stage, position the bathroom as close to an external wall as possible to minimise the duct length — this is a free design decision that can save £100–£300 in duct materials and fitting time.
Budget axial or centrifugal extract fan with humidity sensor (prevents running costs by operating only when needed): £30–£80. Duct and fittings: £30–£100 for a short, simple run. Installation by an electrician (Part P notification required): £150–£300.
A humidity-controlled fan that switches on automatically when the room is in use and runs until humidity drops is worth the modest extra cost over a simple switched fan — it prevents both the user forgetting to run it and the unnecessary electricity cost of leaving it on when the room is unoccupied.
Lighting: Simple, Adequate, and Compliant
Lighting in a bathroom must meet the IP (Ingress Protection) rating requirements for the relevant zone. In Zone 1 (over the shower and basin, up to 2.25m height) a minimum of IP45 is required; in Zone 2 (extending 0.6m from Zone 1) IP44 minimum applies.
The cheapest compliant option is a standard IP65-rated LED downlight or a surface-mounted IP44 bathroom light fitting — both widely available from electrical wholesalers and online retailers for £10–£30 per fitting. Fitting four IP65 downlights in a small basement bathroom ceiling, all on a single switched circuit, provides adequate light at a total material cost of £40–£120.
All bathroom electrical work must be done by a Part P registered electrician. This isn’t a saving opportunity — it’s a legal requirement and a safety one. The cost is usually absorbed within the broader first-fix electrical work for the basement.
What You Can Realistically DIY (and What You Can’t)
Legitimate DIY scope in a budget basement bathroom:
- Painting walls and ceiling (after boarding and priming by the trades)
- Fitting flat-pack vanity units or mirror cabinets
- Laying SPC/LVT floor tiles on a prepared, flat slab
- Fitting accessories (towel rails, toilet roll holders, hooks)
What must be done by qualified tradespeople:
- All plumbing connections (drainage, supply, macerator installation) — a competent plumber
- All electrical work (fan, lighting circuits, heated towel rail) — a Part P registered electrician
- Waterproof tanking in the shower zone — this can be DIY with the right product, but the consequence of getting it wrong is significant; a competent tiler or bathroom fitter is strongly recommended
- Any structural work (partition walls, opening for the bathroom if the space isn’t already defined) — builder or carpenter
Attempting to DIY the plumbing or electrical work without the relevant qualifications creates two problems: it’s likely illegal (electrical work without Part P notification is a Building Regulations offence), and the lack of a completion certificate will surface as a problem when you sell the property.
The Budget Breakdown: What a Basic Basement Bathroom Actually Costs in 2026
For a compact basement bathroom (approximately 3–4m²) — WC, basin, and shower — using the cost-saving strategies throughout this guide:
| Element | Budget Range |
|---|---|
| Macerator unit (toilet + basin + shower capable) | £400–£800 |
| Toilet pan (close-coupled) | £80–£150 |
| Basin and mixer tap | £70–£200 |
| Shower tray, enclosure, and thermostatic valve | £240–£600 |
| Wall panels (materials) | £150–£350 |
| SPC floor tiles (materials) | £40–£80 |
| Tanking compound (shower zone) | £80–£200 |
| Moisture-resistant board (non-shower walls) | £60–£120 |
| Extract fan, duct, and fittings | £60–£180 |
| Lighting fittings | £40–£120 |
| Materials total | £1,220–£2,800 |
| Plumber (drainage installation, fixtures) | £800–£1,800 |
| Electrician (fan, lighting, Part P) | £300–£600 |
| Bathroom fitter (boarding, tanking, panels, floor) | £400–£900 |
| Labour total | £1,500–£3,300 |
| Project total | £2,720–£6,100 |
The lower end of this range — achievable with careful fixture sourcing, trade material pricing, and straightforward access to the soil stack — represents a genuinely functional, compliant basement bathroom at a realistic budget. The upper end applies where the pipe run is complex, the basement needs more preparation, or specifications are slightly better throughout.
For comparison: a mid-range new bathroom without any basement-specific complications costs an average of £6,600 in 2026 according to multiple UK trade surveys. The basement premium (primarily the macerator and the additional waterproofing) adds £500–£1,000 to what an equivalent above-ground bathroom would cost. It’s a modest addition for the functionality it delivers.
The Costs You Shouldn’t Cut
Three elements where the cheapest option is a false economy:
Shower zone waterproofing — a failed shower tanking in a basement causes moisture damage to the floor slab and walls that costs many times the tanking cost to remediate. Use the right product properly.
The macerator unit — a cheap unknown-brand macerator that fails after eighteen months, in a room with no floor drain and a finished floor, is an expensive disaster. Saniflo or an established equivalent. The extra cost is real; so is the reliability difference.
Building Regulations notification — skipping the Building Control process saves a few hundred pounds and creates a problem at every future mortgage, insurance claim, or property sale. Notify, let them inspect, get the certificate. It’s not optional.
Everything else is a legitimate cost management opportunity.
One Final Thought
A basement bathroom that costs £3,500–£4,500 all-in, built to a functional standard with correct drainage, adequate waterproofing, compliant ventilation, and a completion certificate, is a genuinely valuable addition to a house. It makes the basement room it serves dramatically more usable. It adds to the property’s value — resale data consistently shows basement bathrooms recovering 50–75% of their build cost in added value. And it does all of this without requiring the kind of budget that a high-specification bathroom demands.
The cheapest way to put bathroom in basement is not the corner-cut version — it’s the budget-smart version. Know where the money genuinely has to go, spend wisely on everything else, and the result is a room that works properly for years.