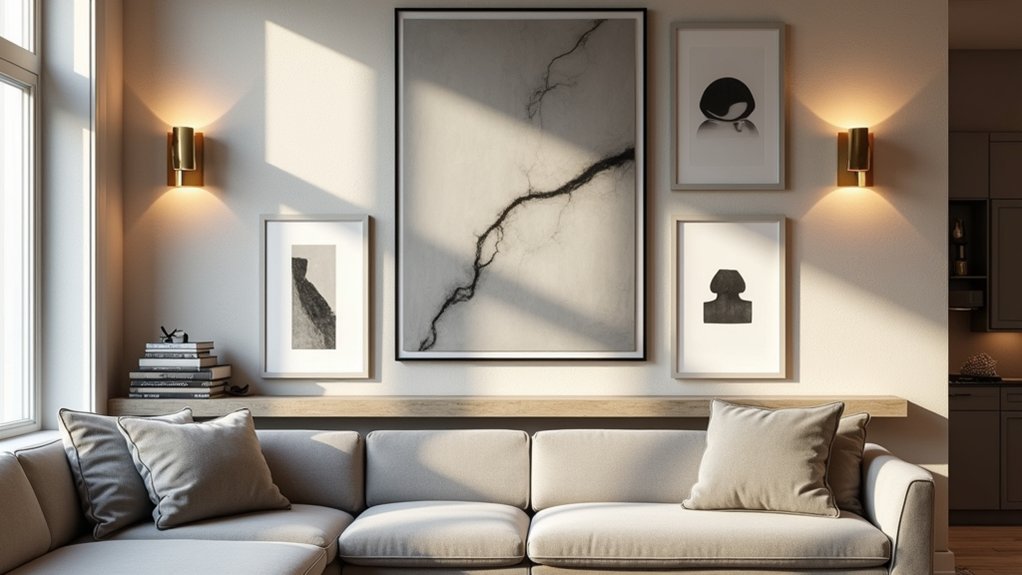

In a small rental living room, you can hang one oversized canvas above the sofa and instantly make the space feel curated. You’ll get the best result when you match scale to wall width, keep art centered at eye level, and repeat a tight color palette across frames, textiles, and accessories. Add a mirror to lift the light, then layer shelves for depth and storage—but the difference comes down to a few placement rules most people miss…
Pick the Right Wall Decor Size and Height
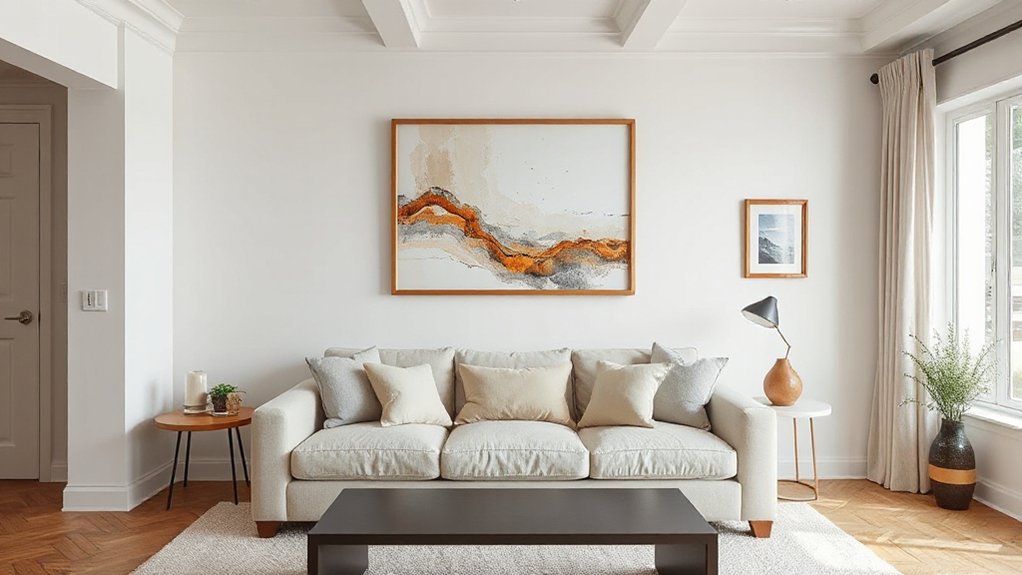
While your wall decor’s style sets the mood, its size and placement determine whether the whole room feels polished or awkward. Anchor pieces to furniture: choose art that spans about two-thirds to three-quarters of a sofa, console, or bed width, and keep the bottom edge 6–10 inches above the top of the furniture.
Hang most pieces so the center sits at 57–60 inches from the floor, then adjust for tall headboards or low seating. Use furniture positioning to avoid “floating” frames; align edges with lamps, shelves, or credenzas for a tailored look.
For wall color coordination, match undertones: warm walls favor brass, walnut, and earthy art; cool walls pair with black metal, ash wood, and crisp neutrals.
Gallery Wall Decor Ideas (Layouts, Spacing, Frames)
Because a gallery wall reads as one curated statement, you’ll get a cleaner, more designer look when you lock in the layout and spacing before you ever pick up a hammer. Start with paper templates or painter’s tape to map the footprint, then choose a grid for modern rooms or an organic salon style for relaxed spaces.
Keep gaps consistent—2–3 inches feels current—and align at least one edge or centerline to prevent visual drift. Use frame pairing to balance weight: mix thin metal with warm wood, or repeat one profile to unify eclectic art.
Nail color coordination by echoing two to three hues across prints, mats, and frames. Finish by staggering sizes, keeping the overall silhouette cohesive, and placing most detailed pieces at eye level.
Oversized Wall Art Ideas for a Focal Point
You’ll get instant impact by choosing a statement-size piece—think large-scale canvas, framed print, or textile—with a bold palette, strong contrast, and clean framing.
Hang it where your eye naturally lands, then size it to the wall: aim for about two-thirds to three-quarters of the sofa or console width and keep the center near eye level (around 57–60 inches).
Balance the scale with breathing room and minimal surrounding decor so the oversized art reads as the room’s focal point, not visual noise.
Choosing Statement-Size Pieces
How do you make a room feel instantly intentional? You choose a statement-size piece that reads as design, not decoration.
Start with Color coordination: pull one dominant hue from your sofa, rug, or drapery, then echo it in the artwork’s main field or frame to lock the palette.
Next, focus on material selection to match the room’s vibe—linen-wrapped canvases and matte paper feel modern and calm, while lacquered panels, metal prints, or glass-fronted photography add sharp, city polish.
Look for high-contrast compositions, oversized line work, or museum-scale abstracts, all trending now.
Prioritize quality: archival inks, solid stretcher bars, and refined framing keep big art from looking cheap.
If you want texture, choose woven tapestries or dimensional relief pieces.
Placement And Scale Tips
Even if you’ve found the perfect oversized piece, it won’t land as a focal point unless the scale and placement match the room’s architecture. Anchor it where sightlines naturally pause: above a sofa, console, or bed, not floating on an empty expanse.
Aim for art that spans 60–75% of the furniture width, and hang the center at 57–60 inches from the floor, adjusting slightly for tall ceilings.
Keep edges aligned with nearby moldings, door casings, or window trim to make it feel built-in.
For Color coordination, pull one dominant hue from upholstery or a rug, then echo it in small accents.
Drive Lighting enhancement with a picture light or adjustable spots, angled to avoid glare and flattening shadows.
Mirror Wall Decor Ideas to Add Light and Depth
You’ll get more light and visual depth fast when you place mirrors with intent—opposite a window, beside a lamp, or at the end of a narrow hallway to bounce brightness and extend sightlines.
You can also build a high-impact look with layered mirror arrangements, mixing sizes and shapes in a tight grid or an organic cluster for a gallery-style statement. Keep frames consistent (thin black metal, warm wood, or brass) and align top edges or spacing so the composition reads polished, not chaotic.
Strategic Mirror Placement
Because mirrors manipulate both light and sightlines, strategic placement can instantly brighten a room and make it feel deeper without changing a single wall. Position one opposite a window to bounce daylight across reflective surfaces, or angle it toward a lamp to double warm evening glow.
Hang a full-length mirror near an entry or narrow hallway to create clean spatial illusions and improve flow. In dining rooms, center a mirror behind the table to amplify candlelight and add polish. Keep the bottom edge 8–10 inches above a console so the vignette reads intentional, not floating.
Choose thin metal frames for modern spaces, or arched tops to soften sharp architecture. Avoid reflecting clutter; curate the view first.
Layered Mirror Arrangements
Strategic placement sets the foundation, but layering multiple mirrors turns reflection into a styled focal point with more light and visual depth. Start with one anchor mirror, then overlap smaller pieces around it, keeping a consistent 2–4 inch spacing so the cluster feels intentional, not scattered.
Mix shapes—arched, round, and rectangular—to break up rigid lines while still echoing your room’s geometry.
Choose reflective surfaces with varied finishes: a clean polish for crisp brightness, plus antiqued or smoked glass for softness and mood.
Unify the arrangement through decorative frames in a shared tone—brass, matte black, or warm oak—then vary width to add hierarchy.
Hang the heaviest mirror first, then build outward, aligning top or center lines for a designer-grade look.
Shelf Wall Decor Ideas That Double as Storage
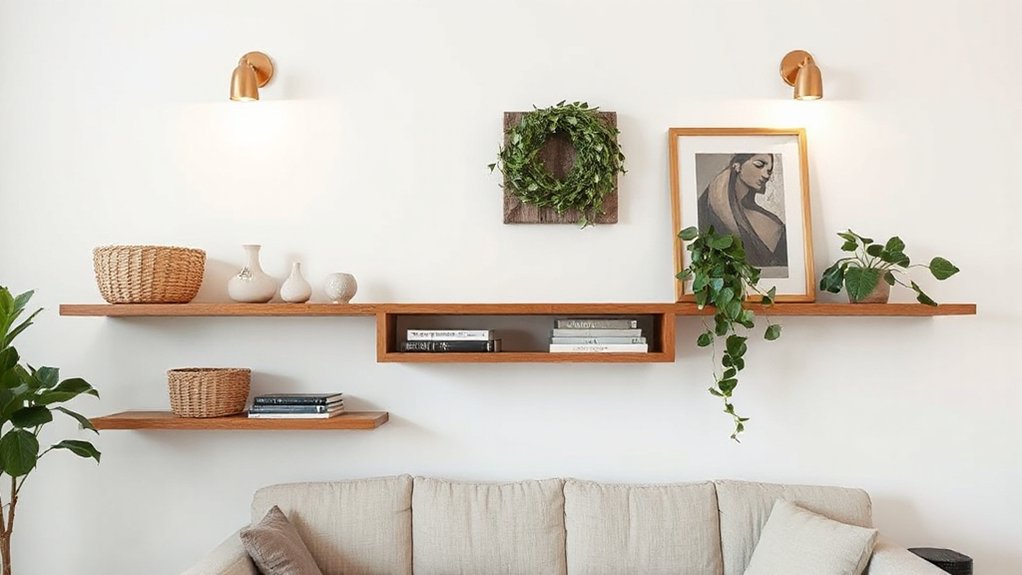
When your walls need to look styled but also work harder, shelf décor that doubles as storage delivers both. Start with Floating shelves in staggered heights to create rhythm and keep sightlines open. Anchor them over a console, desk, or bed to turn dead space into usable real estate.
Choose shelf depths intentionally: 6–8 inches for display, 10–12 for baskets and bins. Mix matte brackets with warm wood or stone-look laminates for a current, high-contrast finish.
Use lidded boxes, woven cubes, or matching canisters as decorative storage, then layer a few books, a sculptural vase, and one framed print for polish. Keep items in tight color families and repeat metals so the wall reads curated, not cluttered.
Textile Wall Decor Ideas (Tapestries, Quilts, Hangings)
Although paint and prints get most of the attention, textile wall décor brings instant warmth, texture, and sound-softening performance to a room. You can anchor a sofa with an oversized tapestry, then echo its colors through pillows for a cohesive story.
Lean into Textile textures by mixing flat-woven kilims with nubby macramé or boucle hangings; the contrast reads curated, not busy. Quilts are trending as gallery-scale art—hang one on a simple rod, let the drape show, and keep it off direct sunlight to prevent fading.
For modern impact, choose Fabric patterns with oversized geometrics, block prints, or muted botanicals, and treat them like a focal panel. Finish cleanly: steam creases, hide hardware, and hang at eye level for polish.
Budget Wall Decor Ideas: Paint, Molding, Renter-Friendly Tricks
Even if you’re decorating on a tight budget (or can’t put holes in the wall), you can get a high-end look fast with paint, peel-and-stick molding, and removable hardware. Start with a color-blocked arch, striped accent, or “painted panel” rectangle behind your sofa; use low-VOC satin for crisp edges and wipeable durability.
Next, add peel-and-stick picture-frame molding to mimic custom millwork—measure, level, and keep spacing consistent for a designer rhythm. Paint molding and wall the same tone for a modern monochrome, or go two shades deeper for depth.
For art, use Command hooks, poster strips, or magnetic rails on metal strips. These affordable upgrades rely on repeatable DIY techniques, and they photograph like built-ins without the landlord drama.
Conclusion
Treat your walls like a runway: scale decor to eye level, then let a gallery wall march in with crisp spacing and mixed frames. Drop in one oversized piece as the headliner, and use mirrors like sunlight catchers to stretch the room. Float shelves as sleek stages for curated objects, while textiles drape in warmth like a tailored coat. If you’re budgeting, paint, molding, and renter-friendly hacks deliver designer impact.