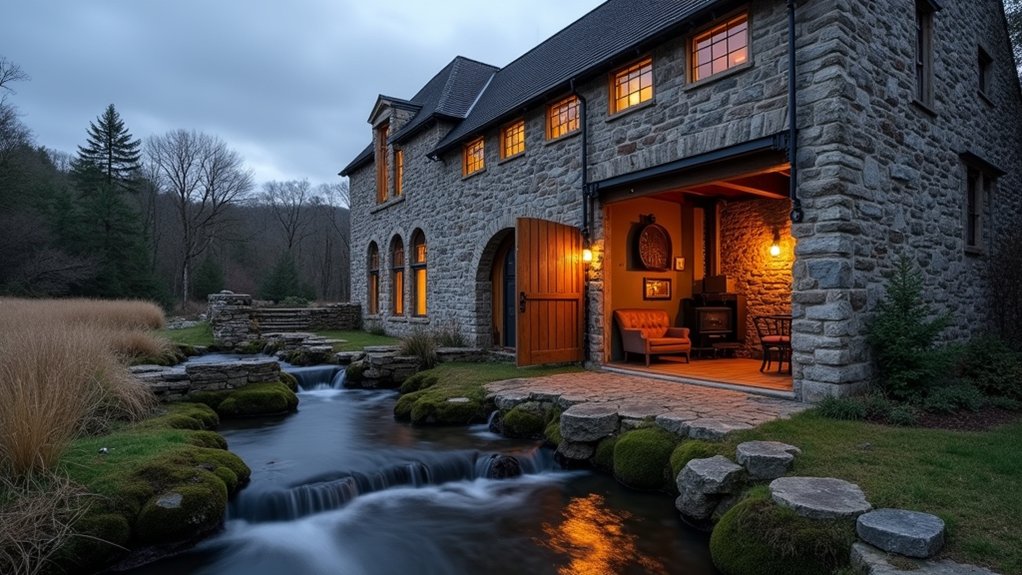

When you convert a disused Cornish watermill, you start by propping the sagging oak lintel and stripping back cement render to let the stone breathe. You’ll map damp paths, check the roof’s slate laps, and price in permissions before you sketch a single room. Inside, you keep the wheel pit, hand-hewn beams, and worn flagstones, then run new services in floor voids and boxed ducts. The key choice comes next: what you restore, and what you leave raw…
Survey the Old Mill: Permissions, Risks, Budget
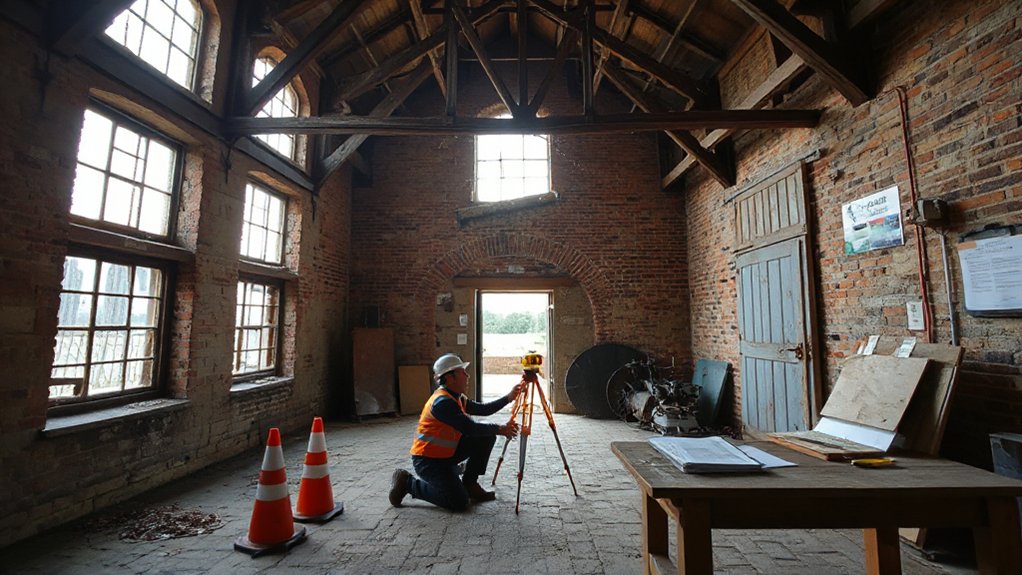
Where do you start with a disused mill—before the romance, before the floor plans? You commission a measured survey and a condition report, then map every room’s volume, headroom, and access pinch-point for future deliveries. You check listing status, easements, and water rights, and you speak early with planners about heritage preservation constraints.
You run risk checks: asbestos in flues, lead paint on joinery, vermin in voids, unstable stair runs, and concealed services. You sample mortar, timber, and stone to understand repairable fabric versus replacement triggers.
You price enabling works, professional fees, insurance, and temporary utilities, and you add contingency for surprises. You keep a permissions timeline so legal compliance doesn’t stall cashflow.
Fix the Mill Envelope: Structure, Damp, Weatherproofing
Before you chase finishes and joinery, stabilise the envelope so the mill stops moving and taking on water: shore any racked walls, stitch cracks, and replace failed lintels or joist ends while you can still see the structure.
Rake out loose mortar, repoint with a breathable lime mix, and avoid hard cement that traps moisture.
Track damp pathways: clear gutters, repair downpipes, and set ground levels to fall away from walls. Add perimeter drains only where you can discharge safely.
For envelope renovation, patch roofs with like-for-like slates, renew flashing in lead, and fit discreet eaves trays.
Improve airtightness with compressible seals and taped membranes behind linings, not impermeable coatings.
Mill preservation means you’ll ventilate voids, cap chimneys, and detail sills to shed water.
Keep Standout Mill Features (Stone, Beams, Machinery)
Once the mill’s dry and stable, you can choose which original elements earn their keep and build the layout around them rather than sanding the place into anonymity.
Start with the stone: rake out loose mortar, keep tool marks, and let one wall stay exposed as a thermal, visual anchor.
Treat beams like structure and sculpture—clean them gently, retain adze scars, and frame circulation so headroom works, not fights you.
If there’s machinery, keep one complete assembly where it reads clearly; lock it off, light it simply, and use it to define a sitting nook or threshold.
This is Historical preservation with purpose.
Your Modern adaptation comes from proportion, sightlines, and joinery that respects the old geometry.
Add Mill Insulation, Heating, Electrics, and Plumbing Quietly
Those kept walls, beams, and bits of machinery set the rhythm, so run the new services as a quiet second layer that doesn’t compete. Start with insulation installation that respects breathability: wood-fibre or mineral wool behind lime plaster, and aerogel blankets where headroom’s tight.
Treat floors with cork or insulated limecrete, keeping thresholds slim and edges neat.
Thread low‑temperature heating through minimal build-up: underfloor in new zones, slim radiators tucked to returns, and a small plant room boxed in ply.
For electrical upgrades, chase only in sacrificial layers, use surface-run metal conduit aligned to joists, and hide junctions in cupboards.
Route plumbing in service voids, stack wet rooms, and add acoustic wraps so water and pumps stay hushed.
Shape Light and Finishes for a Warm Mill Retreat
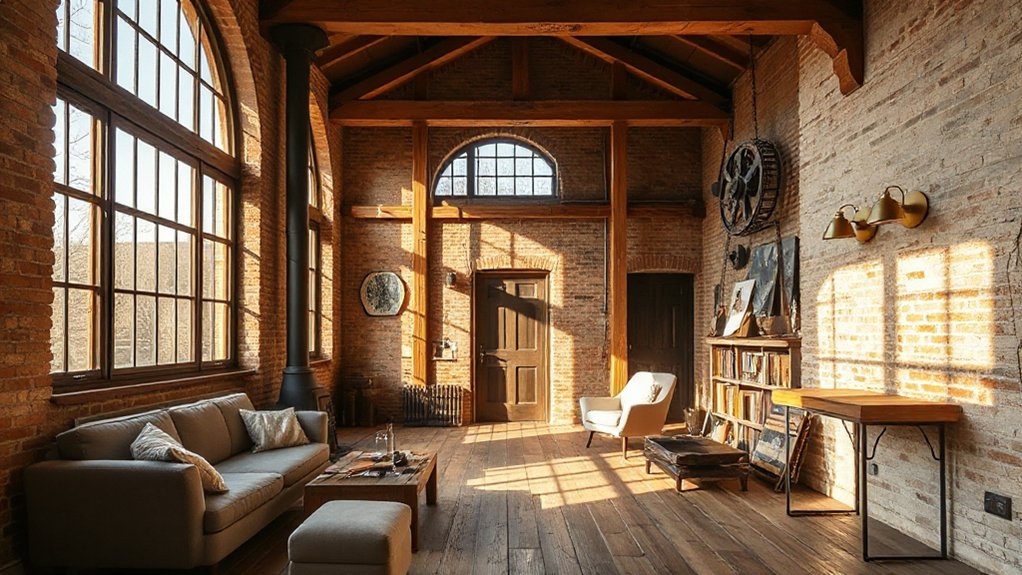
Although the mill’s bones already set the mood, you can make it feel like a retreat by shaping light and finishes to soften hard edges and pull warmth into the volume. Layer Lighting ambiance: hang slim pendants low over the table to compress scale, tuck linear LEDs along beams to graze brick, and add wall washers to lift shadowy corners without glare. Choose warm-dim lamps and shielded sconces that bounce light off limewashed plaster.
Dial in Finish textures to quiet the industrial shell. Oil-saturate original boards, then inlay wool runners to temper footfall. Use microcement in wet zones for seamless durability, but break it with oak thresholds and brushed brass trims. Keep cabinetry matte, handle-free, and tight to walls so the room reads larger. Finish edges with rounded reveals to reduce harsh lines.
Conclusion
You’ve walked the mill like a map, won permissions, priced risks, and set a budget that won’t buckle. You’ve stitched the envelope tight—stone pinned, timbers braced, damp turned back, roof and openings made weather‑sure. You’ve kept the soul: beams, worn gears, rough walls left to speak. You’ve threaded heat, electrics, and plumbing like quiet veins, then shaped light and lime‑washed finishes so the retreat glows—old grit, new calm.