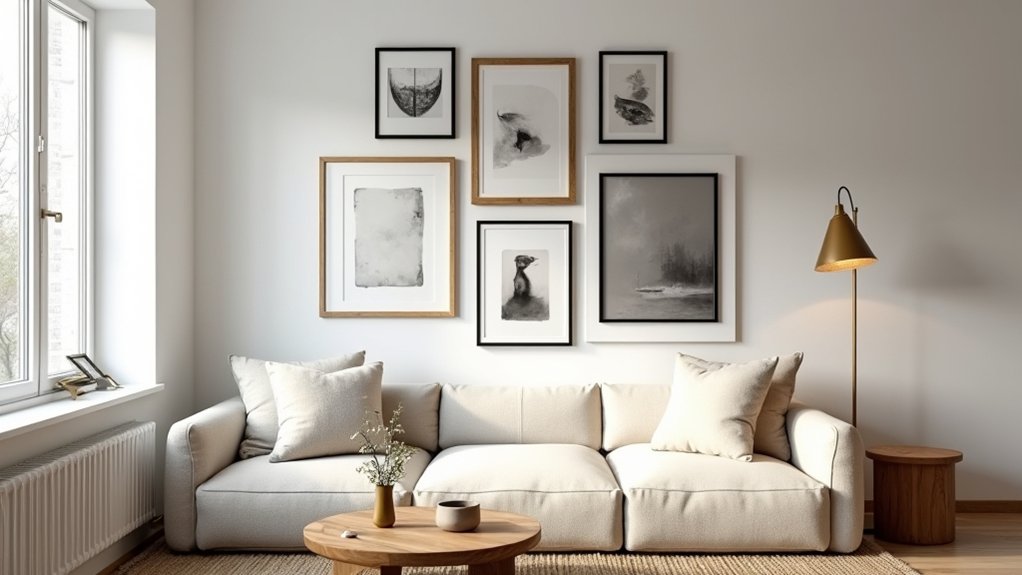

You don’t need an interior designer (or a massive budget) to pull off a gallery wall that looks intentional. You just need a clear style and a tight color theme pulled from your room’s biggest surfaces. Then you pick a layout that fits your wall—grid, salon, or stair-step—and commit to consistent spacing. If you’re tired of frames that feel random, the next step fixes that fast…
Pick a Gallery Wall Style and Color Theme
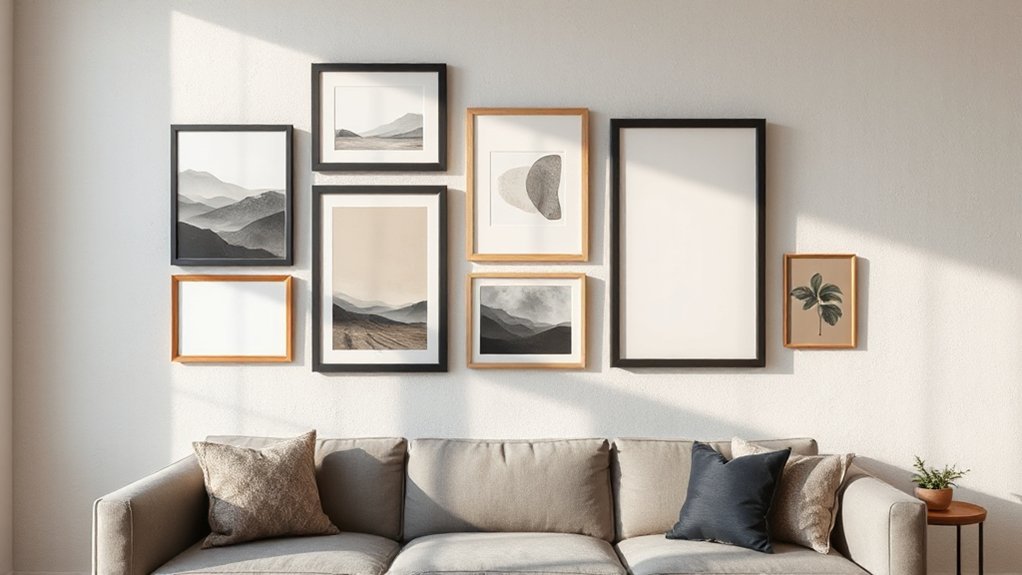
Before you hammer in a single nail, decide on the gallery wall style and color theme you want to live with every day. Start by choosing a vibe: modern minimal, vintage eclectic, coastal, or monochrome.
Then lock in style consistency by repeating 2–3 frame finishes (black, oak, brass) and one mat color. For trend-aware color coordination, pull hues from your room’s largest surfaces—sofa, rug, curtains—and limit art to a tight palette: black/white plus one accent, or warm neutrals with muted greens.
Mix mediums (photos, line art, textiles) but keep one unifier, like similar contrast levels or paper texture. If your art clashes, recolor prints, swap mats, or spray-paint mismatched frames for quick cohesion.
Choose a Gallery Wall Layout (Grid, Salon, Stairs)
Once you’ve nailed down your style and palette, choose a layout that fits your wall shape and how “structured” you want the display to feel: go grid for clean, modern symmetry; salon-style (aka eclectic cluster) for a layered, collected look; or stair-step for a layout that tracks an angle and guides the eye upward.
Start by measuring the wall and marking a centerline at eye level (about 57–60 inches). For a grid, keep equal gaps (2–3 inches) to lock in layout symmetry; use painter’s tape to map rows and columns.
For salon-style, anchor one “hero” piece, then build outward in a loose rectangle, keeping outer edges aligned.
For stairs, match the angle of the railing and keep consistent spacing.
Your color coordination reads strongest when the overall shape stays intentional.
Mix Frames and Art So It Looks Cohesive
Even if you’re mixing wood tones, metals, and art styles, you can make the wall feel cohesive by repeating a few “rules” on purpose—think a consistent mat color (bright white or warm ivory), a limited frame finish range (all black + oak, or brass + walnut), and one unifying element in the artwork (a shared color, subject, or line weight).
Then build smart frame combinations: pair thin metal with chunky wood, or mix vintage gilt with modern black, but keep profiles in two “weights” (slim and bold). Use color coordination to connect pieces—echo one accent hue across prints, photos, and textiles, or repeat a neutral background tone.
Vary mediums for texture (line art, photography, oil, woven) while staying inside one palette. If a piece feels off, swap its mat or frame first before replacing the art.
Plan Sizes, Spacing, and Placement on the Floor
Because a gallery wall lives or dies by proportion, map it out on the floor first so you can dial in sizes, spacing, and placement without committing to nail holes.
Start by measuring your wall proportions (width, height, and furniture below), then translate that footprint with painter’s tape on the floor.
Lay your biggest piece first as an anchor, then build the art arrangement outward, alternating horizontals and verticals for an updated, collected look.
Keep spacing consistent—2 to 3 inches reads intentional and trend-right—then break the rule once for a statement gap around a standout piece.
Step back often, snap a photo, and check for “stair-stepping” corners.
Adjust until the outer edge feels balanced, not boxy or lopsided.
Hang Your Gallery Wall With Templates and a Level
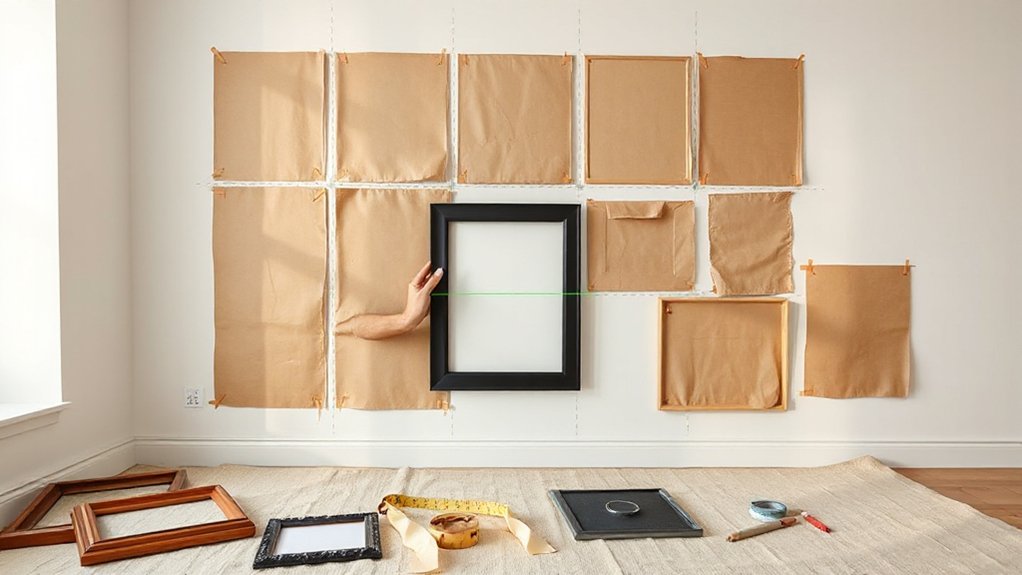
After you’ve nailed down the layout on the floor, transfer it to the wall with paper templates so you can hang fast and avoid extra holes. Trace each frame onto kraft paper, mark the hanger position, and tape the sheets up with painter’s tape. Use a level to align the top edges or centerlines, then step back and tweak for that modern, slightly organic “collected” look.
Next, punch through the paper where nails or screws go, and hang from there. If you’re mixing weights, use anchors for larger pieces and picture hooks for smaller ones. Keep a small kit of gallery wall accessories—rubber bumpers, wire, D-rings, and extra hooks—nearby so adjustments don’t stall you.
These hanging techniques save time and keep spacing consistent.
Conclusion
You’ve built your gallery wall like a small city: you set the zoning with a color theme, choose the street plan (grid, salon, or stairs), and vary the buildings with mixed frames and mediums—while repeating key details for unity. You lay everything out on the floor, measure spacing, and mark with tape before you drill. Then you hang with templates and a level, step back often, and let the whole block feel intentional.