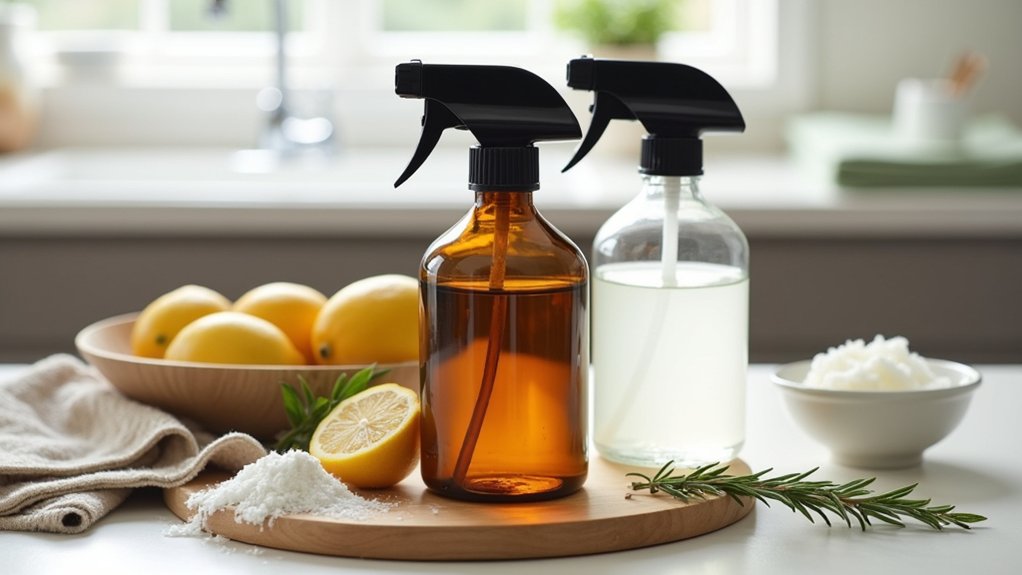

You don’t need a cabinet full of harsh sprays to keep every room genuinely clean—you need a few staples, the right ratios, and a clear list of what you can’t mix (because “natural” can still go wrong). Once you’ve got three base cleaners dialed in, you can tweak them for greasy stovetops, soap-scummed showers, dull floors, and stale fabrics with small, smart swaps. Start with the one mistake most people make…
DIY Cleaner Safety: What to Never Mix
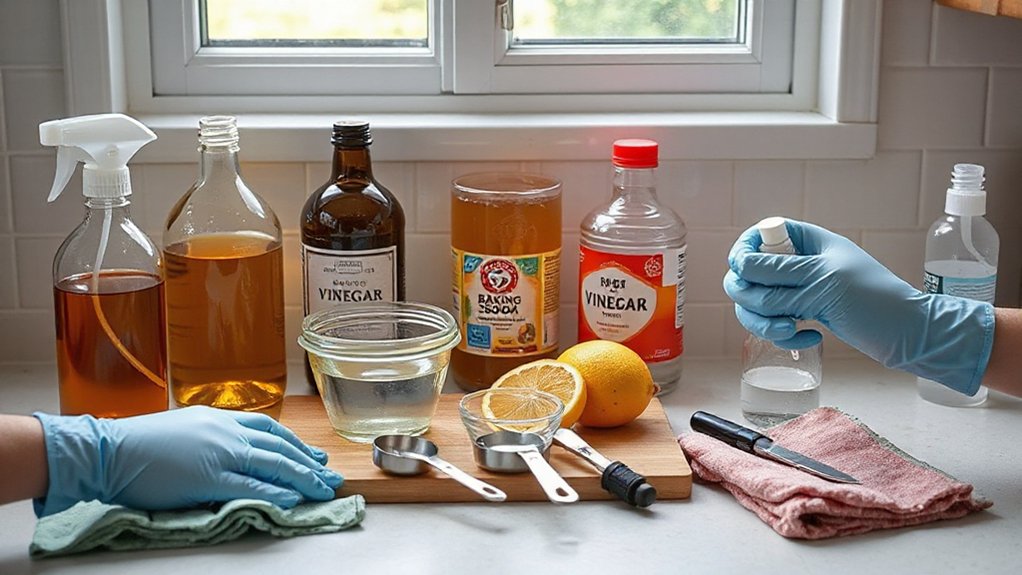
Even if you love mixing DIY cleaner recipes like a kitchen experiment, you shouldn’t combine certain everyday products because the fumes and reactions can turn dangerous fast. Never mix bleach with ammonia (chloramine gas), vinegar or any acid (chlorine gas), or rubbing alcohol (chloroform risk).
Don’t mix hydrogen peroxide with vinegar in the same bottle; it can create peracetic acid that irritates lungs and skin. Avoid combining different drain or toilet cleaners; their chemical reactions can spike heat and fumes unpredictably.
For storage safety, label every bottle with contents and date, keep products in original containers when possible, and never reuse food jars. Work with ventilation, gloves, and cold water, and cap containers immediately to limit vapor buildup.
DIY Cleaner Ingredients: The Only Staples to Buy
Now that you know what you can’t mix, you can stock a tight, reliable kit of DIY cleaner ingredients. Start with core vinegars and acids for descaling and deodorizing.
Then add essential alkalis and salts for scrubbing power and grease cutting.
Finish with a few surfactants and solvents so your sprays actually lift soil and rinse clean without leaving residue.
Core Vinegars And Acids
When you want one reliable base for DIY cleaners, start with a small set of vinegars and mild acids that cut mineral buildup, dissolve soap scum, and neutralize odors without adding fragrance or residue. Keep distilled white vinegar for glass, tile, and faucets; it dries clear and tackles hard-water rings.
Use cleaning-strength vinegar (around 6%) when buildup’s stubborn, but spot-test stone and sealed surfaces first. Add apple cider vinegar for softer scent in fabric refreshers, and save your good balsamic for flavor pairing and culinary uses, not countertops.
Stock food-grade citric acid to descale kettles, showerheads, and humidifiers; it works faster than vinegar and leaves less odor. For rust spots, reach for lemon juice or powdered citric paste, then rinse well.
Essential Alkalis And Salts
Acids handle scale and soap scum, but you’ll want a few alkalis and salts for greasy grime, sticky residues, and deodorizing jobs acids don’t touch. Stock baking soda for gentle scrubbing and odor control; it buffers formulas so they stay steady.
Keep washing soda for heavier soil—its stronger alkali reactions cut through kitchen film and laundry buildup fast, so measure carefully and wear gloves. Add borax to boost cleaning power and neutralize funky smells, especially in bins and bathroom corners.
For salts, buy plain table salt for abrasion on cast iron and cutting boards, and Epsom salt for soak mixes. Lean on salt properties to thicken pastes, lift stains, and discourage musty odors.
Store everything airtight, labeled.
Surfactants And Solvents
Why do some DIY sprays wipe away greasy fingerprints while others just smear them around? You need surfactants and the right solvent. A gentle surfactant (like castile soap or decyl glucoside) breaks the bond between oil and surface, so grime lifts and rinses clean. Use it sparingly—too much leaves haze, especially on glass.
Solvents dissolve what water can’t. Rubbing alcohol speeds drying and cuts oils; high-proof vodka works in a pinch. For heavier kitchen grease, add a small splash of d-limonene or a plant-based solvent, then label clearly.
Buy concentrates in Eco friendly packaging, and store mixes in dark bottles. Since water-based formulas can spoil, choose natural preservative options like sodium benzoate/potassium sorbate blends when you batch larger amounts.
Three Base DIY Cleaners (With Exact Ratios)
A solid DIY cleaning routine starts with three versatile base formulas you can mix in minutes and use across most rooms: an all-purpose spray, a soft scrub paste, and a streak-free glass cleaner.
For the spray, combine 1 cup distilled water + 1/2 cup white vinegar + 1 tsp castile soap; shake gently and label.
For the scrub, mix 1/2 cup baking soda + 2 tbsp castile soap + 1 tbsp water to a toothpaste texture; store in a wide-mouth jar.
For glass, use 1 cup distilled water + 1/4 cup rubbing alcohol + 1 tbsp vinegar; mist lightly and wipe with microfiber.
Choose Eco friendly packaging like amber glass bottles, plus DIY cleaning tips: patch-test surfaces and refresh weekly.
Kitchen DIY Cleaner Recipes for Grease + Stovetops
When grease builds up, you’ll cut through it fast with a citrus degreasing spray that clings to cabinets, backsplash, and range hoods without leaving a sticky film.
For the stovetop itself, you’ll switch to a scrub paste that grips splatters, polishes enamel or stainless, and wipes clean with minimal rinsing.
And when the mess is baked on, you’ll use a grout and burner soak to loosen carbon and grime so you can lift it off instead of scraping.
Citrus Degreasing Spray
If greasy splatters have dulled your stovetop and left tacky fingerprints on cabinets, a citrus degreasing spray cuts through the mess fast without harsh fumes. Fill a 16-ounce glass spray bottle with 1 cup water, 1 cup white vinegar, and 10–15 drops lemon or sweet orange essential oil.
Add 1 teaspoon castile soap last, then swirl gently. You’ll get Citrus benefits—bright oils help lift oily residue—plus natural fragrances that make cleanup feel polished, not chemical.
Mist onto cool surfaces, wait 30–60 seconds, then wipe with a microfiber cloth, flipping to a clean side. For heavy buildup, re-spray and wipe again.
Avoid natural stone and unfinished wood, and label the bottle clearly for safety.
Stovetop Scrub Paste
How do you tackle cooked-on spills and ringed burner marks without scratching your stovetop? Mix a chic, low-tox scrub paste: 2 tablespoons baking soda, 1 tablespoon castile soap, and just enough water to form a thick frosting-like spread. Add 3 drops lemon essential oil if you want a fresh finish.
Spread the paste over cool, dry messes, then let it sit 5 minutes to soften grease. Scrub with a damp microfiber or non-scratch sponge, working in small circles along the grain. Wipe clean with warm water, then buff dry for a streak-free shine.
For smart stovetop maintenance, use this weekly and spot-treat splatters daily as part of your cleaning schedule.
Grout And Burner Soak
Although your scrub paste handles daily splatters, a dedicated grout-and-burner soak lifts the baked-on grease that settles into tile lines and under burner parts.
Mix 2 cups hot water, 1/2 cup white vinegar, 1 tbsp dish soap, and 1 tbsp baking soda (add last).
Soak removable burner caps and grates in a basin 20–30 minutes; keep igniters dry.
For grout, saturate lines with the solution using a squeeze bottle, wait 10 minutes, then scrub with a stiff brush.
Rinse with warm water and buff dry so surfaces stay sleek.
For burner maintenance, wipe ports with a damp cloth and air-dry before reassembly.
After everything’s fully dry, finish with Grout sealing to block future stains and make wipe-downs faster.
Bathroom DIY Cleaner for Soap Scum + Mildew
When soap scum teams up with mildew, your shower starts looking dingy fast—and most store-bought sprays don’t cut through both problems without harsh fumes.
Mix 1 cup white vinegar, 1 cup warm water, and 1 tablespoon dish soap in a spray bottle; add 10 drops tea tree or eucalyptus for a natural scent and extra mildew-fighting power.
Spray generously on tile, glass, and fixtures, then wait 10 minutes.
Scrub with a non-scratch sponge; use an old toothbrush for corners and caulk lines.
Rinse hot, then squeegee dry to slow regrowth.
Work it into your cleaning schedules: quick spray-and-wipe midweek, deeper scrub every two weeks.
Always ventilate, and don’t mix with bleach.
DIY Floor Cleaner for Tile, Wood, and Laminate
Ever notice your floors look dull even right after you mop? Mix a sleek, streak-free cleaner that matches the surface.
For tile: combine 2 cups warm water, 1/2 cup white vinegar, and 1 tsp castile soap; mop, then rinse with clean water for shine.
For wood: skip vinegar—use 2 cups water plus 1/2 tsp castile soap, wring your mop nearly dry, and buff with a microfiber pad.
For laminate: use 2 cups water, 1/4 cup rubbing alcohol, and 1 drop dish soap; mist lightly and mop.
Store in a glass spray bottle with Eco friendly packaging refills.
Add natural scent options: 5 drops lemon, pine, or lavender essential oil.
DIY Fabric Refresher and Odor Remover (Bedrooms)
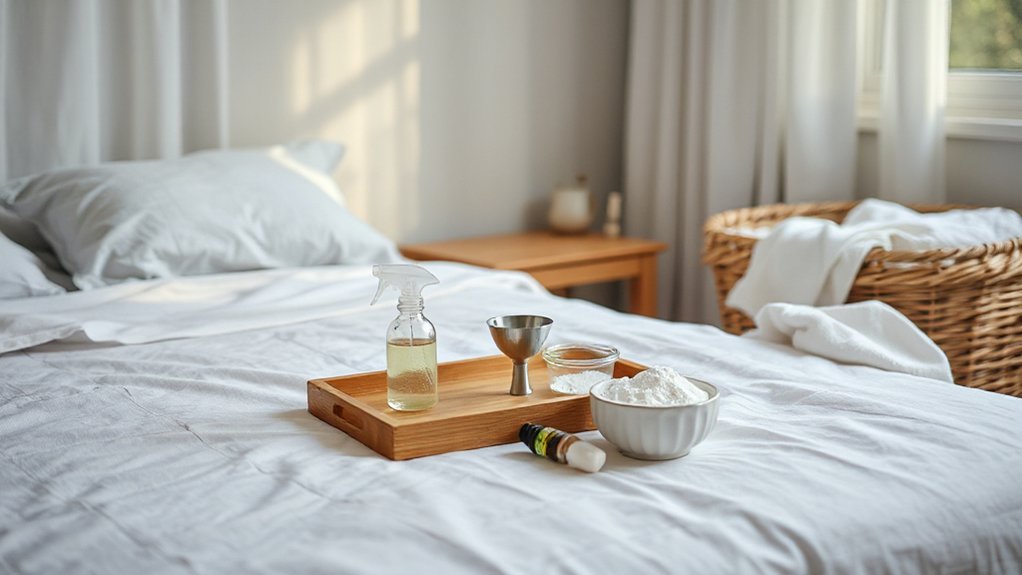
Even if you wash your sheets regularly, soft furnishings in the bedroom—pillows, upholstered headboards, curtains, and rugs—trap odors that make the whole space feel stale.
Mix 1 cup distilled water, 1/2 cup vodka (or witch hazel), and 1 tablespoon baking soda in a spray bottle; shake well. Add 10–15 drops essential oil (lavender or bergamot) for scent longevity without heaviness. Lightly mist from 12 inches away—don’t soak—then open a window for 10 minutes.
For rugs, sprinkle baking soda, wait 20 minutes, then vacuum slowly.
To protect fabric softness, skip vinegar on delicate textiles and test a hidden spot first.
Refresh weekly, and re-mist throw pillows after flipping them.
Conclusion
When you swap store-bought sprays for your own vinegar, castile soap, and baking soda blends, you’re not just cleaning—you’re editing the air your family breathes. Here’s the kicker: studies have found that using conventional cleaning products can create indoor air pollution levels comparable to busy roads. With a few labeled bottles, exact ratios, and “never-mix” rules, you’ll cut grime room by room while keeping your home polished, fresh, and toxin-light.