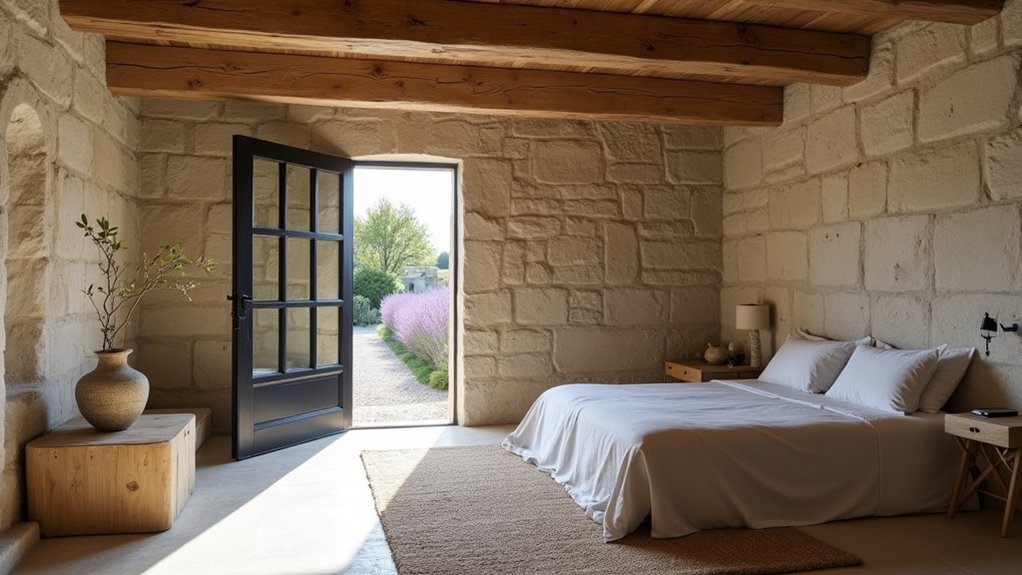

Turning a stone outbuilding into a guest suite is like polishing a weathered heirloom until it catches the light again. You’ll start by checking the structure, mortar, roofline, and drainage, because every design choice depends on a dry, stable shell. You can keep the stone’s texture with breathable finishes while planning a layout that protects privacy and feels calm. Then you’ll face the tricky part: adding wiring, ventilation, and windows without breaking the spell…
Check If Your Stone Outbuilding Can Be Converted
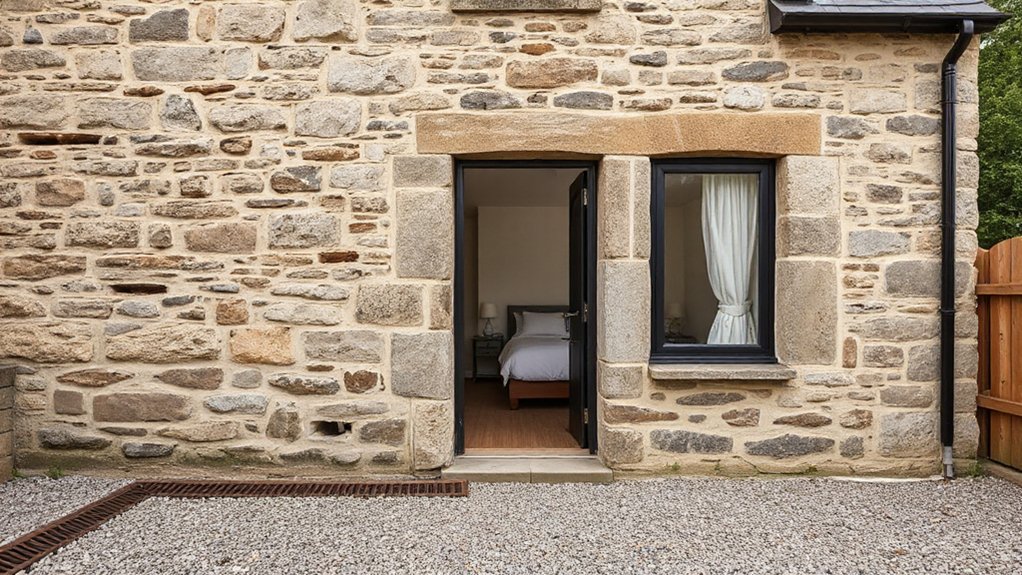
Before you fall in love with paint colors and cozy lighting, confirm that your stone outbuilding can legally and structurally become habitable space.
Walk the perimeter and note bulging walls, missing mortar, and damp staining; these signal movement or moisture that you’ll need to solve first.
Check the roofline for sagging rafters, failed flashing, and blocked gutters that dump water onto foundations.
Inspect the floor: if it’s bare earth or cracked slab, plan for drainage, insulation, and a vapor barrier.
Measure ceiling height and window openings to see if you can bring in light without weakening masonry.
Prioritize Stone preservation with lime-based repointing and breathable finishes that protect texture.
Keep outdoor aesthetics intact by matching stone, joints, and trim colors.
Permits, Zoning, and Code Rules to Confirm
Before you sketch built-ins or pick limewash, confirm your local zoning rules—setbacks, allowable use, parking, and whether a guest suite counts as an ADU.
Then line up the permits you’ll need (change of use, building, electrical, plumbing, septic) so inspections don’t stall your timeline.
Finally, make sure your plan meets current code for egress, insulation, fire separation, and ceiling heights, so the stone charm stays intact and the space’s safe.
Local Zoning Restrictions
Although that stone outbuilding already feels “meant” to be a guest suite, local zoning and code rules decide what you’re actually allowed to build—and they’ll shape everything from the footprint you can expand to the windows you can add.
Start by confirming whether your parcel allows an accessory dwelling or only “habitable accessory space,” since that changes kitchens, parking, and rental limits.
Check setbacks, height caps, lot coverage, and impervious-surface thresholds before you sketch additions or terraces.
If you’re in a district with Historical preservation oversight, match openings, rooflines, and mortar repairs to approved standards, or you’ll lose time redesigning.
Also verify easements and flood, wildfire, or septic constraints.
Plan landscaping integration early: screen views, manage drainage, and keep new paths and lighting within required yard rules.
Permit Types Required
Once you’ve confirmed what your zoning district allows, map out the exact permits you’ll need so the project moves from “charming idea” to a legal, insurable guest suite.
Start with a building permit for the change of use, plus separate trade permits for electrical, plumbing, and mechanical work if you’re adding a bath, kitchenette, or heat pump.
If you’ll alter grade, add a patio, reroute drainage, or install a new walkway, ask about sitework approvals tied to Outdoor landscaping and stormwater rules.
Any new driveway cut, curb work, or utility trenching may trigger right-of-way permits.
If the outbuilding sits in a landmark district or has notable masonry, you’ll likely need Historical preservation review for windows, doors, mortar, and exterior lighting before you order materials.
Building Code Compliance
Where do most outbuilding-to-guest-suite projects stall—at the pretty finishes or at the paperwork? Before you pick limewash and linen, confirm you can legally change “storage” to “habitable.” Check zoning for accessory dwelling limits, setbacks, height, parking, and short-term rental rules. Verify utilities: water, septic capacity, and electrical service upgrades often trigger plan review.
Then meet code: insulate without trapping moisture in stone, add egress-sized windows, safe stairs, and tempered glass near doors. Provide smoke/CO alarms, GFCI/AFCI protection, and bathroom ventilation. If you’re in a district, coordinate historical preservation so new openings, roofing, and mortar match approvals.
Finally, tie Landscaping design to compliance: manage drainage, accessible paths, and exterior lighting that meets dark-sky ordinances.
Plan the Guest Suite Layout and Privacy
Before you start framing walls or picking finishes, map the guest suite’s layout around comfort and discretion, not just square footage. Prioritize Guest privacy by placing the sleeping zone farthest from the main house path and any shared driveway view. Use a compact entry vestibule or mudroom-style drop zone to buffer sound and create a calm arrival.
Refine your Room layout by keeping bathroom plumbing on one wall and lining storage, mechanical closets, and built-ins along noisier sides. Angle the bed so it doesn’t face the door, and reserve the best window for a small sitting nook. Add a pocket door or solid-core swing door between sleep and bath, and plan lighting in layers: dimmable overhead, bedside, and warm task light at the mirror.
Fix Stone, Roof, and Drainage Before Remodeling
Even if your
Control Moisture: Ventilation and Vapor Strategy
You’ll keep the new guest suite crisp and comfortable by balancing fresh-air ventilation with insulation that doesn’t trap damp against the stone. Choose a vapor strategy that fits your climate—often a smart membrane—so the walls can dry without sacrificing a clean, finished look.
Then manage condensation at the cold surfaces with controlled airflow and clear drainage paths, so moisture exits quietly instead of staining plaster or warping trim.
Balance Airflow And Insulation
Because thick stone walls store moisture as readily as they store coolness, your guest suite needs a deliberate plan that balances fresh-air movement with the right insulation and vapor control.
Start by sizing continuous ventilation for real occupancy: quiet bathroom extract, low-sone supply to the main room, and a short, straight duct run to reduce condensation risk. Keep air moving behind furniture and drapery so cold corners don’t trap dampness.
Insulate in a way that respects Stone preservation: use breathable, capillary-friendly materials where the stone must dry, and avoid burying timbers in cold pockets.
Detail airtightness at junctions—window reveals, eaves, service penetrations—so warm indoor air can’t leak into the wall. You’ll get steadier comfort and subtle aesthetic enhancement without moldy odors.
Choose Smart Vapor Barriers
While stone can handle intermittent damp, your new guest suite can’t rely on “breathing walls” alone—so choose a vapor strategy that lets the masonry dry safely while stopping indoor moisture from migrating into cold layers.
Use smart vapor barriers (variable-perm membranes) on the warm-in-winter side of your insulation, where they tighten up when humidity rises and open up when conditions dry.
Tape seams, gasket edges, and detail around sockets and joists so you control air leakage as well as diffusion—quiet, invisible moisture control that protects finishes.
Pair the membrane with hygroscopic insulation like wood fiber or mineral wool, and leave a small service cavity so you don’t puncture it with wiring.
Keep interior linings vapor-open (lime plaster, clay paint) for a calm, breathable look.
Manage Condensation And Drainage
Once you’ve tightened the air and vapor layers, focus on where moisture will actually condense and where it will drain so the suite stays crisp, dry, and quiet year-round. Assume cold stone will be the dew-point magnet; keep insulation continuous and leave a small capillary break so damp can’t wick into finishes.
Pair smart vapor barrier materials with a service cavity so you don’t puncture them with wiring and fixtures.
Set clear ventilation strategies: a quiet, continuous exhaust in the bath, a balanced HRV for the main room, and a boost switch for wet coats and cooking.
Slope the floor subtly to a discreet linear drain in the entry or bath, and route exterior grade away from walls.
Finish with lime-based plaster or clay paint for a matte, breathable look.
Insulate Stone Walls Without Moisture Traps
Even if your stone outbuilding feels solid and timeless, its walls still breathe, moving moisture in and out with every season, so your insulation plan must respect that rhythm. Skip foil-faced boards and interior polyethylene that can lock dampness into masonry.
Instead, level the wall with a thin lime-based parge coat, then use vapor-open insulation such as wood fiber boards or mineral wool with a smart vapor retarder. Create a service cavity for wiring so you don’t puncture the control layer, and tape seams carefully at corners and around openings.
For Stone wall aesthetics, keep reveals deep at windows and consider a limewash finish where stone stays exposed. For Guest privacy considerations, add dense batts and resilient channels to quiet voices without sealing the wall.
Heating and Cooling Options for a Stone Guest Suite
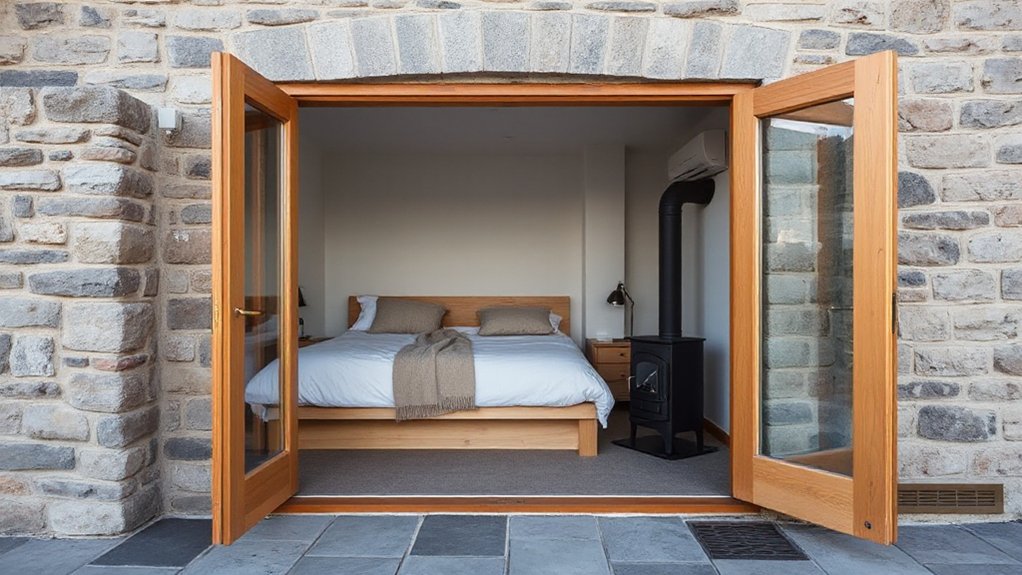
Because stone holds onto heat and coolth like a battery, you’ll get the best comfort by pairing gentle, steady heating with a system that can also handle shoulder-season humidity. Radiant floor heat or low-profile panel radiators suit the slow, even warmth stone loves, and they keep walls visually calm.
For cooling, a slim ductless mini-split gives efficient air conditioning and dehumidification without bulky chases; tuck the outdoor unit behind planting and choose a matte indoor head.
Add Smart thermostats to learn occupancy patterns and prevent overcorrection as the masonry lags. Use zone control so sleeping, sitting, and entry areas don’t fight each other, and you can shut down unused corners.
Finish with quiet fans for air movement and a soft, steady feel.
Plumbing Routes for a Guest Suite Bathroom and Kitchenette
If you plan the plumbing routes before you lock in finishes, you can keep the guest suite’s stone character intact while still getting a full bath and a tidy kitchenette.
Cluster the bathroom and kitchenette on one “wet wall” to shorten supply runs and simplify venting. Route new lines through a discreet floor trench or along interior stud furring
Safe Wiring, Outlets, and Lighting in Stone Walls
While stone walls look timeless, they don’t forgive sloppy electrical work, so plan the wiring like you’d plan cabinetry—clean, intentional, and easy to service.
For Electrical safety, keep all runs in conduit or listed raceway; don’t bury loose cable in mortar. Chase only where you must, then set metal back boxes flush to your finished surface, not the stone’s irregular face. Use GFCI/AFCI protection where code requires, and bond/ground every box to avoid hidden shocks.
Follow wiring best practices by spacing outlets for furniture layouts, not random convenience. Add a few floor-level receptacles and a dedicated circuit for heat or kitchenette loads.
For lighting, combine warm, dimmable sconces with discreet uplights to graze the stone texture without glare. Keep transformers accessible, label circuits.
Add Windows and Doors Without Losing Character
Even when you need more light and a better entry, you can cut new openings in a stone outbuilding without making it look “remodeled” by treating every window and door as part of the original composition. Start by mapping existing proportions: align new heads with nearby lintel heights and keep vertical spacing consistent with original joints.
Choose locations that respect structural piers, then shore and cut with a saw to avoid shattering faces. Reuse salvaged stone to tooth in jambs, and set a simple stone or steel lintel that echoes local detailing.
For architectural preservation, pick frame profiles that feel period-plain, not bulky. Prioritize material compatibility: timber or thermally broken steel suits rugged masonry better than shiny vinyl. Finish with deep reveals and dark hardware.
Floors, Wall Finishes, and Durable Trim Choices
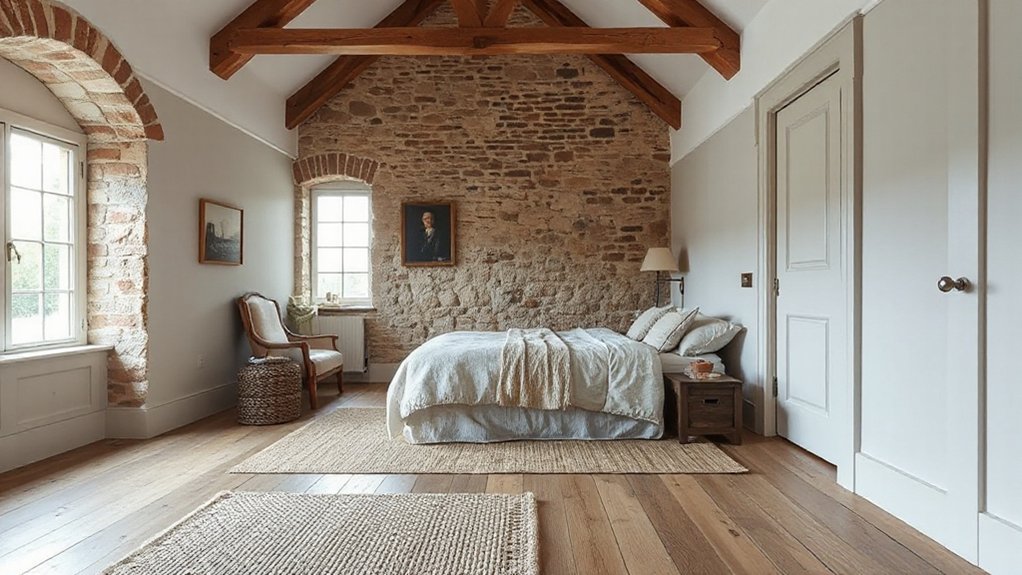
Once your windows and doors are set, you’ll choose finishes that suit stone’s temperature swings and occasional dampness without looking utilitarian.
You can ground the suite with stone-friendly flooring like breathable limecrete, sealed brick pavers, or engineered wood over a vapor-managed subfloor.
Then keep walls crisp with lime plaster or mineral paint that lets moisture migrate.
Finish the edges with moisture-resistant trim—PVC or treated hardwood with back-primed faces, shadow gaps, and lifted baseboards—so splashes and condensation don’t wick into joints.
Stone-Friendly Flooring Options
How do you choose finishes that respect old stone and still feel polished underfoot? Start by reading the room’s tones: warm limestone loves honeyed oak, while cool granite pairs with ash or slate.
For Stone aesthetics, pick matte or softly honed surfaces that echo the wall’s texture instead of competing with it.
Prioritize Flooring durability with dense materials and stable assemblies—engineered wood over radiant heat, porcelain tile with a decoupling membrane, or limecrete topped with stone or tile for breathability.
Keep grout lines tight and colors muddy-neutral.
If you want softness, layer a flatwoven wool rug rather than plush pile.
Finish edges cleanly with slim thresholds that sit flush and don’t interrupt sightlines.
Moisture-Resistant Trim Details
Beautiful stone-friendly floors set the tone, but your trim details decide whether the room stays crisp when humidity rises. Choose PVC or finger-jointed primed trim rather than MDF, and leave a tiny expansion gap above tile or limewashed concrete so edges don’t wick water. Seal end-grain cuts with polyurethane or shellac before installation, then caulk with a high-quality paintable elastomeric bead.
On walls, use a breathable plaster or moisture-tolerant drywall, then finish with moisture resistant paint in a soft eggshell to wipe clean without glare. Add Decorative corner trims at vulnerable outside edges to prevent dents and hide hairline movement.
For baseboards, pick a taller profile with a simple backband; it reads refined yet sheds splashes. Keep casings slightly proud for shadow lines.
Sound Control and Furnishing for a True Retreat
Even if your stone walls feel solid and serene, sound can still travel through hard surfaces and turn a guest suite into an echo chamber. Start with Soundproofing techniques: add mineral-wool insulation in studded interior walls, hang resilient channel under the ceiling, and seal every gap with acoustic caulk.
Swap hollow doors for solid-core, add perimeter gaskets, and lay a thick felt underlayment beneath oak or tile-look LVP.
Then choose Furnishing essentials that soften the room without clutter. Anchor the bed with an upholstered headboard, layer a dense wool rug, and install lined linen curtains that puddle slightly for quiet luxury.
Bring in a small sofa with textured fabric, a round table, and a dimmable reading sconce to keep the mood hushed.
Conclusion
You’re close to a guest suite that feels calm, authentic, and effortless. Especially, about 90% of homeowners report renovating boosts their enjoyment of home—so this retreat will pay you back daily. Keep the stone breathing with lime-based finishes, seal drafts without trapping moisture, and layer warm lighting to flatter the texture. Prioritize quiet with dense insulation and solid-core doors, then finish with durable floors, simple trim, and soft, restful furnishings.