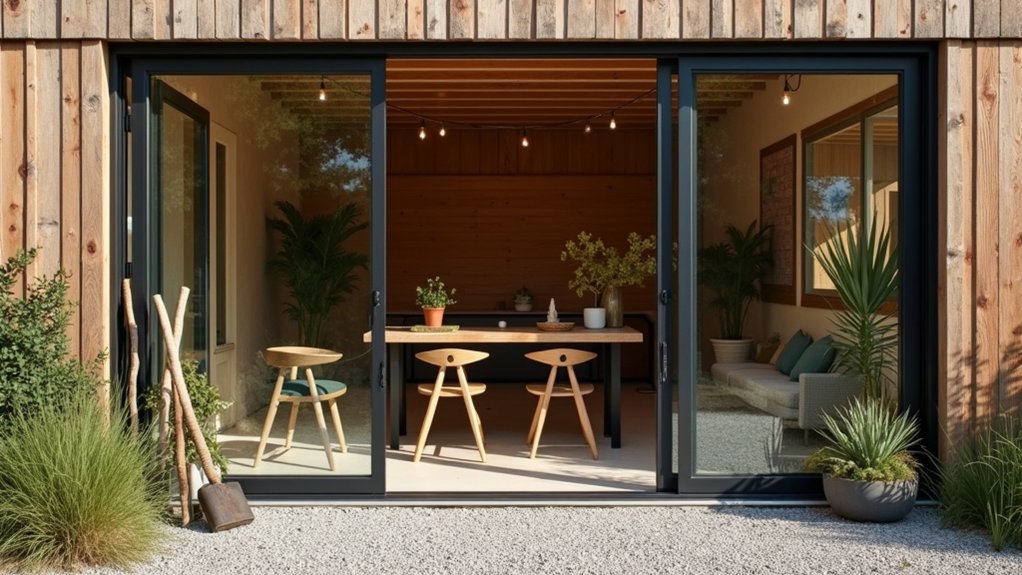

By coincidence, you’ll notice the outbuilding’s best studio potential right when you’re checking the roofline after a rain. Start by confirming the shell is sound, then map your zones—work, storage, and an occasional guest corner—so every outlet and window earns its keep. You’ll want airtight insulation, moisture control, and an ERV/HRV for clean air, plus modern glazing that still feels barn-authentic. Next, one permit detail can change everything…
Check If the Outbuilding Can Become a Studio
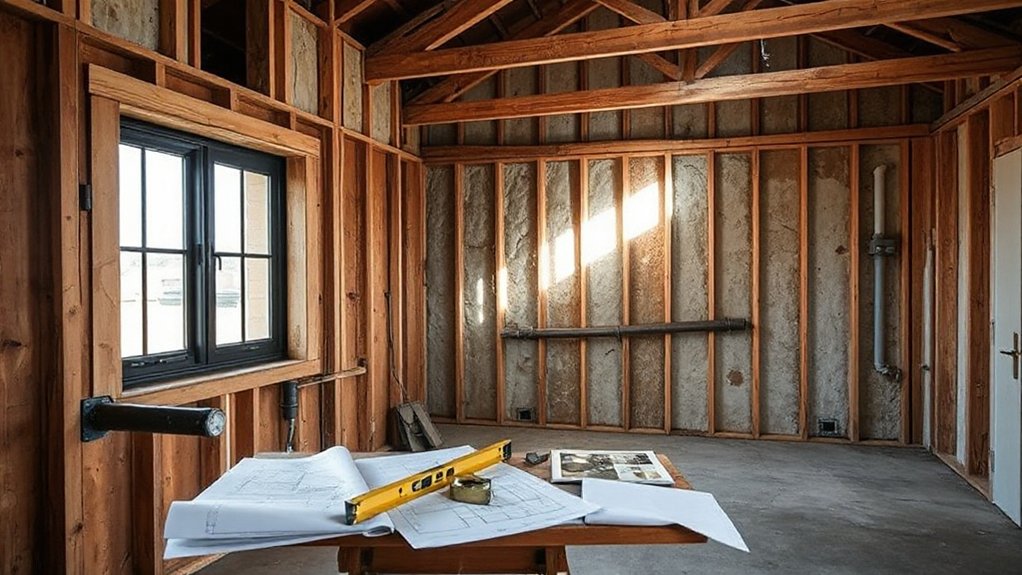
Before you fall for paint swatches and Pinterest boards, take a hard look at whether the outbuilding can legally and physically function as a studio. Call your planning office to confirm zoning, use permits, setbacks, and driveway access for emergency vehicles.
Verify utilities: electrical capacity, trenching routes, water, septic eligibility, and internet options.
Inspect the shell like a builder—foundation cracks, rot, insect damage, roof sag, and framing spans that won’t meet loads. Check moisture paths and drainage so you don’t trap humidity behind insulation.
Measure ceiling height, window egress, and fire separation needs.
If it’s protected, factor historical preservation rules and approvals.
Finally, assess Exterior aesthetics limits—siding, doors, and openings may be restricted to match the farm’s character and neighborhood expectations.
Decide the Studio Use, Budget, and Timeline
Start by nailing down how you’ll use the studio—home office, art space, guest suite, or content room—because that choice dictates insulation, plumbing, lighting, and sound control.
Set a realistic budget by prioritizing must-haves (weatherproofing, electrical upgrades, efficient HVAC) before splurges like skylights, polished concrete, or built-ins.
Then map a renovation timeline with permit lead times, contractor availability, and seasonal farm demands so you’ll finish on schedule without costly stop-and-starts.
Define Studio Purpose
Once you’ve settled on what the studio needs to do—guest suite, art workshop, home office, yoga retreat, or content-creation space—you can make smart decisions about layout, utilities, and finishes without blowing the budget.
List the must-haves: sleeping loft, sink, sound control, storage walls, or open floor space.
Map daily flow from entry to work zone to cleanup, and note where you’ll need outlets, data, and ventilation.
For artistic inspiration, plan view lines to windows and a dedicated display or pin-up area.
Prioritize lighting design early: layer ambient, task, and accent light, and choose fixtures that suit filming or fine-detail work.
Set a realistic timeline by sequencing inspections, moisture fixes, insulation, then interiors, so you don’t redo work.
Set Budget Priorities
Even if you’re aiming for a “simple studio,” your budget needs clear priorities so the money lands on the upgrades you can’t fake later. Start with a realistic all-in number, then split it into must-haves and nice-to-haves for tight budget allocation.
Put first dollars into structure and safety: roof repairs, moisture control, insulation, electrical capacity, and code-required egress. Next, fund comfort and function based on your use—quiet HVAC for recording, task lighting for art, or extra outlets and data lines for office work.
For expense prioritization, reserve a small contingency for surprises like rot or outdated wiring, and cap finish spending until core systems are done. Trend-aware tip: choose durable, minimal finishes (sealed concrete, plywood walls, black hardware) that look intentional without custom millwork.
Map Renovation Timeline
With your budget priorities locked in, you can map a renovation timeline that matches how you’ll actually use the studio and when you need it finished. Start by defining the studio’s job: guest suite, office, or art space. That choice sets permitting, insulation, plumbing, and egress needs, so schedule design and code review first.
Next, sequence structural repairs, roof, and weatherproofing before any interior finishes. If you’re pursuing historical preservation, line up specialty trades and reclaimed materials early, since lead times can stall you.
Plan utilities rough-ins, then drywall, flooring, and built-ins. Reserve a week for punch-list fixes and inspections.
Finally, coordinate landscape integration—paths, lighting, drainage, and native planting—after heavy equipment leaves, but before final styling.
Sketch Zones: Work Area, Storage, and Guests
Because a studio has to work hard in a small footprint, you’ll get the best results by sketching clear zones for making, stashing, and hosting before you buy furniture or hang lights. Mark your work area first: place the main table where you’ll get the steadiest daylight, then plan lighting schemes—task lamps for detail, a dimmable overhead for photos, and warm accent light for mood. Add creative decor only after the workflow feels right.
Next, draw storage as a buffer: tall shelving along one wall, closed cabinets for visual calm, and labeled bins under benches. Keep a 36-inch path clear.
For guests, sketch a compact lounge: two stackable chairs, a slim sofa, and a fold-down table that doubles as a landing strip.
Inspect and Repair the Shell (Roof, Walls, Slab)
Before you spend a dime on finishes, walk the building like an inspector and fix the shell—roof, walls, and slab—so your studio stays dry, warm, and crack-free.
Start up top: check sheathing for soft spots, replace curled shingles or rusted metal panels, and add modern peel-and-stick underlayment at valleys and penetrations. Reflash chimneys, skylights, and eaves; clean gutters and extend downspouts to protect exterior durability.
On walls, probe for rot at sill plates, tighten loose fasteners, and seal gaps with backer rod and high-quality exterior sealant. If siding’s tired, consider rainscreen battens for a contemporary look and better drying.
Finally, map slab cracks, confirm drainage slopes away, patch with epoxy, and address settling to restore foundation stability.
Confirm Zoning, Permits, and Utility Hookups
A tight, weatherproof shell sets you up for success, but paperwork and services decide whether your studio can legally operate and comfortably function year-round.
Start with the county planning desk: confirm your parcel’s zoning regulations, allowable use (art studio, office, rental), setbacks, parking, and septic limits. Ask if an ADU or “accessory structure conversion” triggers design review, fire separation, or accessibility requirements.
Pull permits for structural changes, electrical, plumbing, and HVAC, and schedule inspections early to avoid delays.
Next, map utility connections. Price a new electrical service, trenching, and panel capacity for modern loads like induction, mini-splits, or EV charging.
Verify potable water source, wastewater method, and internet options; rural fiber, fixed wireless, or Starlink all affect layout.
Air-Seal and Insulate for Four-Season Comfort
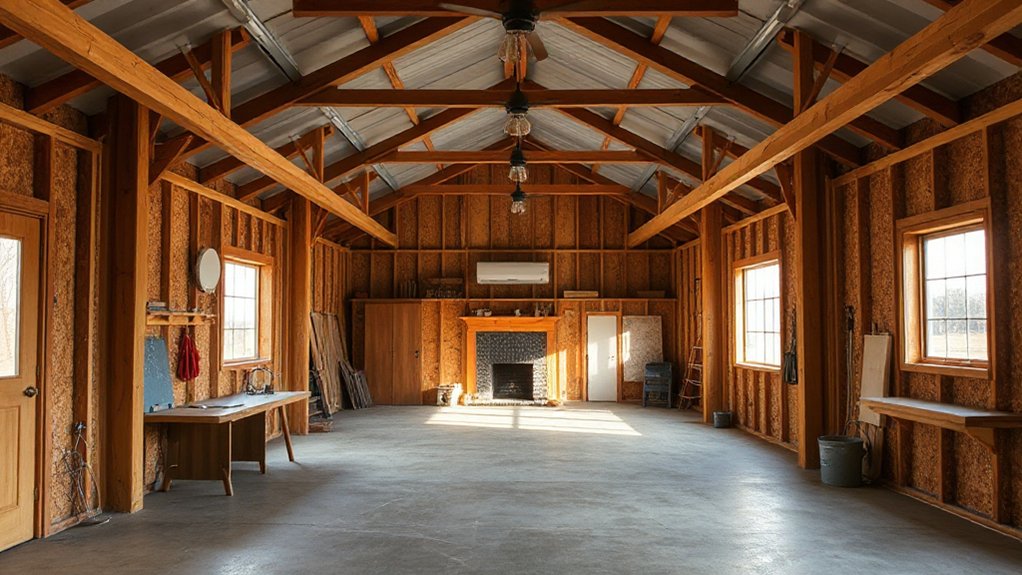
Start by hunting down air leaks at sill plates, rim joists, door thresholds, and around windows, then seal them with tape, gaskets, caulk, or spray foam so your heat and AC don’t bleed out.
Next, pick high-performance insulation that fits your assembly—closed-cell spray foam for tricky cavities, dense-pack cellulose for walls, or rigid foam for continuous exterior control—so you hit modern comfort targets without sacrificing floor space.
Finally, manage moisture with a smart vapor retarder where appropriate and balanced ventilation like an ERV, so the studio stays dry, quiet, and comfortable in every season.
Identify Air Leakage Paths
Even if the framing looks tight, hidden gaps around sill plates, rim joists, window and door rough openings, and roof-to-wall seams can leak enough air to make your studio feel drafty in winter and muggy in summer.
Start with leakage detection on a windy day: run your hand along trim, baseboards, and outlets, and watch for flickering from an incense stick or smoke pencil.
At dusk, aim a bright work light across surfaces to spot fluttering cobwebs and dusty “tracks” that mark airflow.
Use a thermal camera attachment or an IR thermometer to confirm cold streaks around corners and framing connections.
Photograph problem zones and label them so you can sequence air sealing efficiently, prioritizing big bypasses before tiny cracks.
Choose High-Performance Insulation
Once you’ve mapped the drafts, pair that air-sealing plan with insulation that can handle real seasonal swings without trapping moisture or losing R-value over time.
In walls and rooflines, aim for a continuous thermal layer—no gaps at corners, eaves, or around framing—and choose products that fit your cavity depth without over-compressing.
For a studio, dense-pack cellulose is a strong pick: it’s made from Eco friendly materials, fills irregular bays, and boosts sound control.
If you want a sleeker, high-R option in thinner assemblies, consider mineral wool boards or batts; they’re fire-resistant, dimensionally stable, and excellent Acoustic insulation between work zones.
Use rigid foam only where it solves specific details, and protect it with proper covers.
Control Moisture And Ventilation
Because a tightly insulated studio changes how your outbuilding “breathes,” you’ll need a moisture-and-ventilation plan that manages indoor humidity before it can condense inside walls or rooflines. Start with aggressive air-sealing: tape sheathing seams, gasket top plates, foam around penetrations, and weatherstrip doors.
Then tune moisture control by installing a smart vapor retarder on the warm-in-winter side and keeping bulk water out with flashing and a capillary break under slabs.
For ventilation strategies, avoid leaky “natural” airflow and add a continuous, quiet ERV/HRV sized to the space. Run spot exhaust in the bath and kitchenette, ducted outdoors, on timers.
Monitor with a hygrometer; aim for 30–50% RH year-round, adjusting runtimes seasonally.
Add Daylight With Windows, Doors, and Skylights
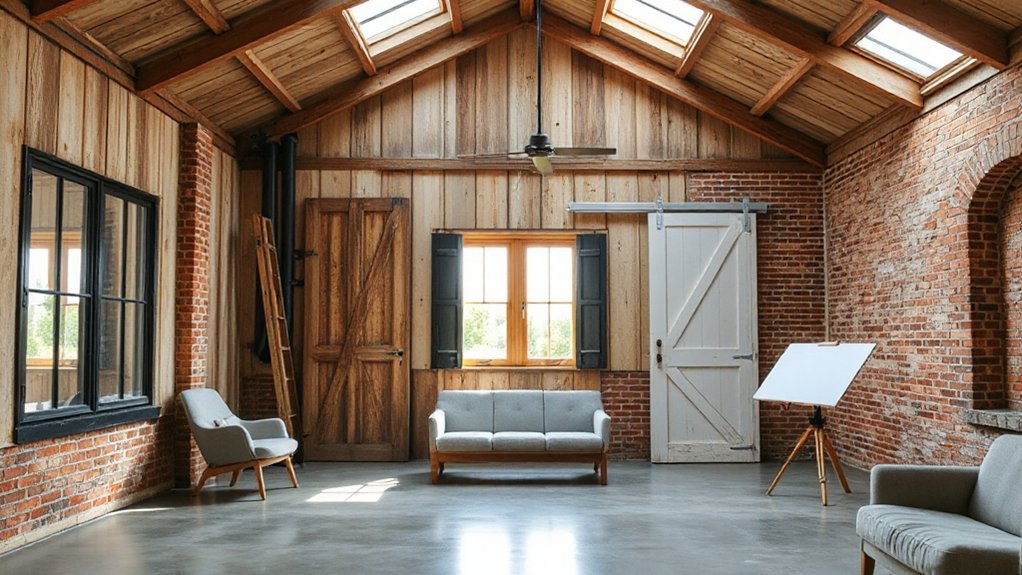
While you’re framing out the studio, plan your daylight strategy so the space feels open without sacrificing insulation or privacy. Map sun angles and sightlines, then place larger windows on the best exposure and smaller units where neighbors or driveways face you.
For strong natural light and smart daylight integration, choose high-performance, low-E, double-pane windows, and flash them meticulously to protect the wall assembly. Add a glazed door or French doors for a modern indoor-outdoor feel, but pair them with insulated frames and a tight threshold.
If roof structure allows, install a curb-mounted skylight or a slim roof window, and specify factory blinds to control glare. Finish with light-reflective paint and deep interior sills for a built-in look.
Plan HVAC and Ventilation for Clean Air
All that new daylight will make the studio feel bigger, but it can also expose stale air, hot spots, and winter chill if you don’t size HVAC and ventilation correctly. Start with a room-by-room load calc, then choose a ducted mini-split or compact heat pump that can handle shoulder-season humidity without short-cycling. Seal and insulate first so you don’t pay to condition leaks.
Add balanced fresh-air exchange with an ERV to keep temperatures steady while meeting modern indoor-air expectations; it’s a trend because it works. Plan ventilation systems with dedicated bath and kitchenette exhaust, backdraft dampers, and quiet inline fans. Specify air filtration at MERV 13 when compatible, and keep return paths clear with transfer grilles or undercuts.
Place supplies to avoid drafts across desks.
Choose Rustic-Meets-Modern Finishes and Furnishings
Once you’ve nailed comfort and air quality, you can lean into a rustic-meets-modern palette that keeps the outbuilding’s history visible without making the studio feel dark or dated. Preserve original beams, plank walls, or brick, then brighten them with limewash or a matte clear sealer for Rustic charm without grime.
Choose wide-plank engineered oak or polished concrete floors for durability and easy cleanup. Add Modern accents with slim black metal hardware, track lighting, and a simple sofa in performance fabric.
Balance textures: pair a reclaimed-wood worktable with a lacquered cabinet, or mix vintage stools with a sculptural task chair. Keep colors warm-neutral—clay, oat, and soft charcoal—then pop in one saturated note like forest green. Use layered lighting and a large rug to soften echoes and define zones.
Conclusion
When you convert a farm outbuilding into a studio, you’re not just finishing a room—you’re building a four-season tool for your life. Check the shell, lock in permits, then air-seal and insulate so comfort doesn’t leak away. Bring in daylight with well-placed glazing, and keep air fresh with an HRV/ERV and right-sized HVAC. Finish with rustic-meets-modern textures and flexible storage. Measure twice, build once, enjoy daily.