
Nearly 60% of home renovation overruns trace back to early-stage scope and condition surprises, and barn annex conversions are prime candidates. You’ll start by checking head height, access, and budget, then verify the structure and solve damp before you touch finishes. You’ll map zones for TV, homework, play, and guests, and you’ll plan insulation, airtightness, and HVAC for year-round comfort. But the real make-or-break decision comes when you lay out electrics, data, and lighting circuits…
Feasibility Checklist: Budget, Access, Head Height
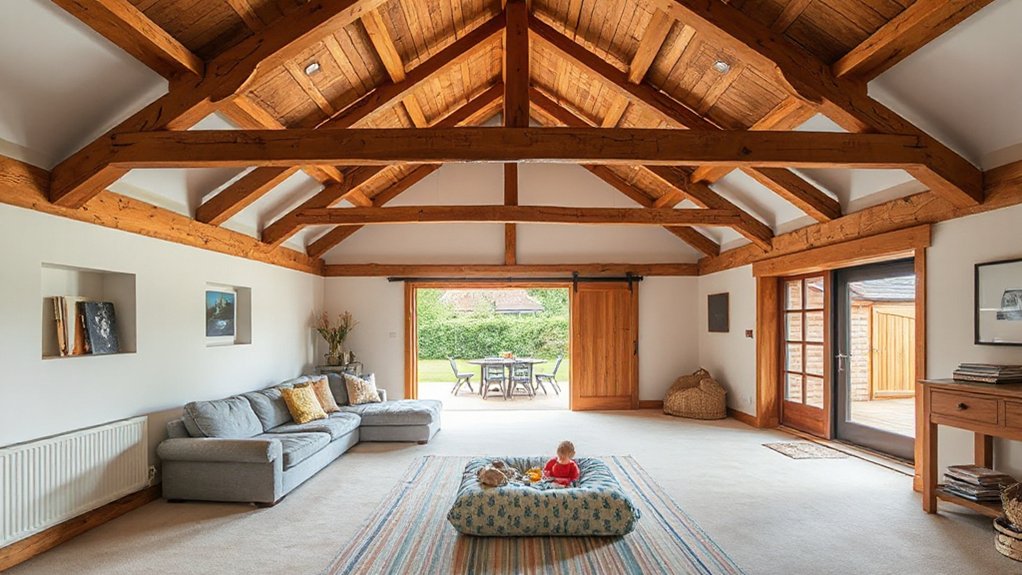
Before you fall in love with layouts and finishes, run a feasibility checklist that pressure-tests three constraints that typically make or break a barn annex conversion: budget realism, practical access, and usable head height.
Start with Budget planning: price the full scope, including services upgrades, insulation strategy, glazing, fire separation, and contingency (10–15%) to match today’s labor volatility.
Validate access considerations next: confirm delivery routes for steel, plasterboard, and glazing; measure gateways, turning circles, and internal openings; and plan compliant egress, stroller-friendly circulation, and safe step geometry.
Then verify head height where you’ll actually live: map finished floor build-ups, acoustic layers, and ceiling service zones, and check clearances at ridge, eaves, and stair landings.
If headroom’s marginal, redesign circulation before you redesign finishes.
Confirm Structure and Fix Damp First
Although you can usually rework layouts later, you can’t “design around” a failing frame or persistent moisture, so confirm the structure and fix damp issues first. Start with a close inspection of rafters, purlins, posts, and masonry for rot, beetle damage, deflection, and cracked joints; probe timber ends at bearings and check floor joists for bounce.
If spans feel marginal, plan Structural reinforcement early—steel flitch plates, sistered joists, discreet portals, or new pad foundations—so the annex can take modern loads and open-plan ambitions.
Then tackle moisture: identify source (rising damp, leaking gutters, wind-driven rain, condensation) and remove it, not just the symptoms. Add drainage, repair pointing, improve ventilation, and install a continuous moisture barrier beneath slabs and behind insulated linings.
Permits and Building Regs to Confirm Early
Once you’ve proved the annex is sound and dry, lock in the permissions route early—because “barn annex” can trigger different rules depending on use, heritage status, and how much you alter the envelope.
Start by confirming whether it’s classed as ancillary space, a new dwelling, or change-of-use; each shifts fees, timelines, and inspections. Check zoning regulations for parking, access width for fire appliances, and any restrictions on glazing, external lighting, or noise.
Then map Building Regulations impacts: structural alterations, Part L energy upgrades, Part B means of escape, and ventilation rates.
If you’re in a conservation area or listed curtilage, align drawings with Historic preservation expectations—retain openings, document repairs, and specify reversible interventions.
Get written pre-application advice, then sequence approvals before ordering materials.
Zone the Space: TV, Homework, Play, Guests
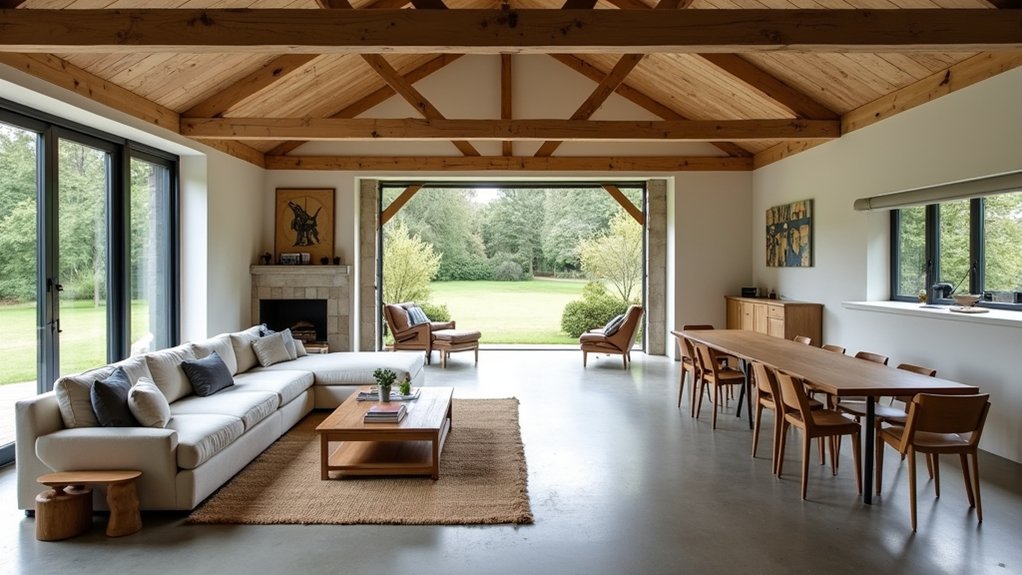
With your permissions path and Building Regs constraints pinned down, you can plan the annex layout so each activity runs without friction. Place the TV zone on an internal wall to control glare and simplify cable routes. Then set seating at a 30–40° viewing angle with dimmable task lights nearby.
Create a homework bay by a window, but add acoustic panels and a hardwired data point; you’ll avoid Wi‑Fi dead spots in thick barn fabric. Keep the play zone central with resilient flooring, low storage, and clear sightlines to the TV.
For guests, use a pocket door or glazed screen to separate a daybed nook and allow borrowed-light. Tie outdoor landscaping to access: a mudroom threshold aligns with paths.
Respect historical preservation by retaining openings and reversible partitions.
Insulation and Airtightness for Year-Round Comfort
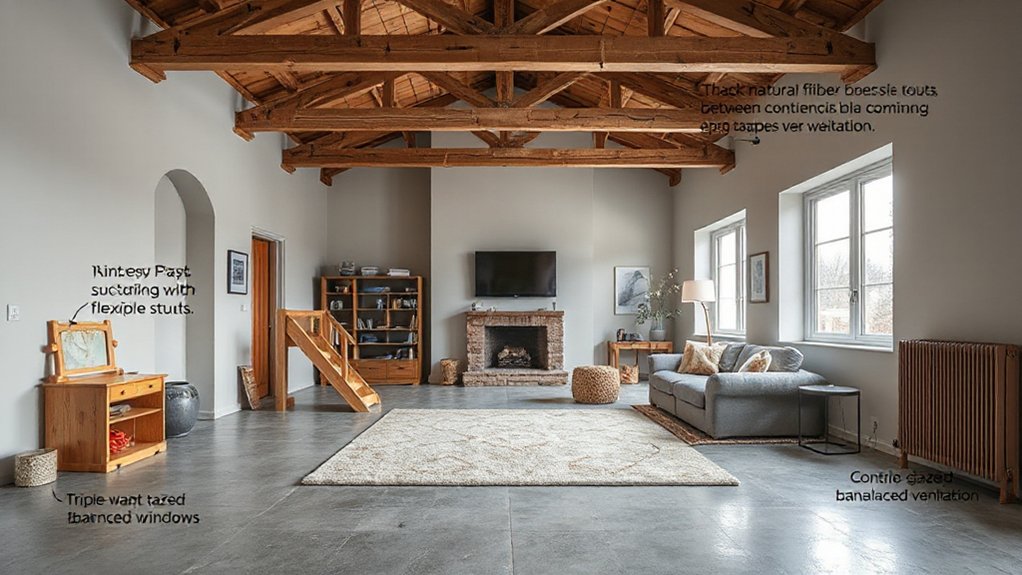
Because barns were built to breathe, you’ll need to add insulation and airtightness as a paired system—otherwise you risk cold bridging, wind-wash through gaps, and interstitial condensation that rots timbers and undermines comfort.
Start by mapping your thermal envelope and choosing a continuous layer: between and over rafters, or inside studs with a service cavity to protect seals.
Use rigid wood-fibre or PIR to cut Thermal bridging at posts, steelwork, and junctions; add insulated plasterboard only where you can maintain continuity.
Tape and gasket every seam, then wrap with airtight membranes on the warm side, lapping onto windows, doors, and floor slabs with compatible primers.
Specify blower-door targets early so trades don’t “value-engineer” away detailing.
Ventilation Plan to Avoid Condensation and Smells
Now that you’ve tightened up the envelope, you’ll need a ventilation plan that controls moisture before it becomes condensation, using continuous extract, humidity-triggered boost, and well-sealed wet-room duct runs.
You’ll get better IAQ by specifying balanced airflow—typically MVHR with commissioned supply/extract rates, pressure-neutral zoning, and short, insulated ducts to prevent cold-spot dew points.
You’ll also cut lingering barn smells by managing odor sources at the root: isolate any utility/mud areas, use dedicated extraction at toilets and laundry, and choose low-VOC finishes with easy-clean surfaces.
Moisture Control Strategies
If you don’t design ventilation into the barn annex from day one, warm indoor air will hit cold framing and metal surfaces and you’ll end up chasing condensation, musty odors, and even mold.
Start by quantifying risk: log RH and surface temps, then target 40–55% RH year-round.
Prioritize air sealing at sill plates, penetrations, and around new glazing so humid air can’t reach cold cavities.
Use moisture barrier techniques that fit the assembly: a taped smart vapor retarder on the warm side, fully lapped WRB on the exterior, and capillary breaks under sleepers.
Detail flashing at posts and slab edges.
For dehumidifier placement, set the unit near the wettest load—bath/laundry zone—with a condensate pump to drain, plus clear service access.
Balanced Airflow Design
Even when you’ve nailed air sealing and vapor control, the annex still needs a balanced ventilation plan so pressure doesn’t shove humid indoor air into cold bays or pull barn odors into the living zone. Specify a balanced HRV/ERV sized to ASHRAE 62.2, commission it, and verify neutral pressure with a manometer.
Map airflow patterns: supply to clean zones (family room, bedrooms) and exhaust from wet/dirty zones (bath, laundry, kitchenette), keeping transfer via undercut doors or jump ducts. Place diffusers to wash exterior walls and glazing, reducing condensation risk.
Use short, smooth ducts, sealed joints, and low-leakage balancing dampers to hit design CFM at each grille. Add CO₂ or RH-based boost control, but lock minimum continuous flow so ventilation effectiveness stays predictable year-round.
Odor Source Management
Balanced airflow keeps pressures neutral, but you’ll still smell the barn—or trigger condensation—if you let odors and moisture enter the airstream in the first place. Start by sealing the boundary: gasket exterior doors, caulk sill plates, and foam service penetrations.
Isolate “dirty” zones (tack, feed, litter, laundry) with self-closing doors and a dedicated exhaust fan on a humidistat, ducted outdoors with a backdraft damper. Keep ducts short, smooth, and insulated to prevent cold-surface sweating.
Choose low-VOC finishes and store chemicals in gasketed bins. Add Air purifiers with activated carbon for Odor absorption in occupied rooms, but treat them as polishing, not primary control.
Finally, maintain drains and traps; dry floor gullies broadcast smells fast.
Heating and Cooling Options That Suit Barns
When you size HVAC for a barn annex, you’ll get the best efficiency by zoning the space and keeping duct runs short, sealed, and well-insulated—or by using ductless mini-splits where chases are limited.
You’ll also need high-performance insulation strategies, like continuous exterior insulation to cut thermal bridging at posts and rafters, plus careful air-sealing at big doors and loft junctions.
Once you pair tight zoning and ductwork with a high-R, low-leakage envelope, you can hit modern comfort targets without oversizing equipment.
Efficient Zoning And Ductwork
Because barn annexes often combine tall volumes, patchy insulation, and mixed-use zones, you’ll get better comfort (and lower runtime) by designing HVAC around tight zoning and short, well-sealed duct runs.
Start with Smart zoning: separate the open family area, any enclosed office/guest nook, and the upper loft/landing so you’re not conditioning unused cubic footage. Use modulating equipment with a zoning panel or multi-zone ductless heads, then add room sensors to prevent overheating under the ridge.
Prioritize ductwork efficiency by keeping trunks inside the conditioned envelope, minimizing flex, and sizing for low static pressure. Seal joints with mastic, not tape, and commission the system: verify airflow, balance dampers, and set supply/return paths to avoid pressure imbalances.
High-Performance Insulation Strategies
Efficient zoning only works as well as the shell around it, so high-performance insulation becomes your next lever for stable temps and smaller HVAC loads in a barn annex. Start by air-sealing gaps at sills, eaves, and penetrations, then address thermal bridging at posts, girts, and steel fasteners with continuous exterior rigid board or insulated sheathing.
Choose insulation materials based on moisture risk: closed-cell spray foam for thin assemblies and vapor control, dense-pack cellulose for sound and retrofit cavities, or mineral wool for fire resistance and drying potential.
Pair a vented roof with high R-value batts plus an interior smart vapor retarder, or use an unvented roof with foam. Better insulation lets you specify smaller heat pumps and quieter ductless heads.
Windows, Doors, and Daylight Placement
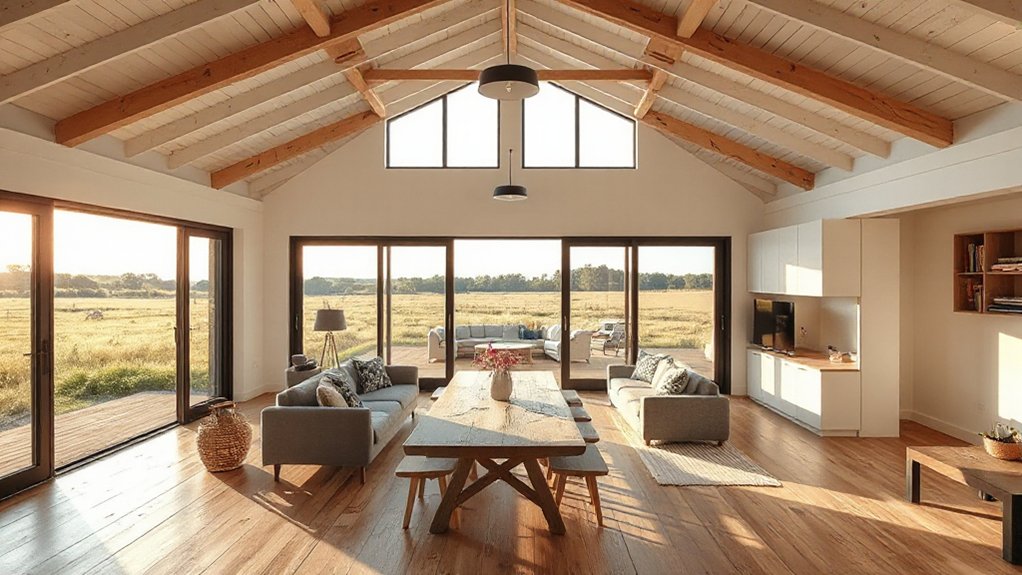
Although you’re working within an existing barn shell, you can still control comfort and flexibility by treating windows, doors, and daylight as a coordinated system rather than afterthoughts.
Start with window placement around primary use zones: low sills for seated views, higher clerestories for privacy and even sky light.
For daylight optimization, balance north-facing glazing for glare-free ambient light with limited east/west openings plus external shading to curb overheating.
Use large sliding or bifold doors to stitch the annex to a courtyard and support indoor-outdoor family flow; specify thermally broken frames, multipoint locks, and flush thresholds for accessibility.
Add rooflights only where you can manage solar gain with blinds and deep reveals.
Finally, align openings with cross-vent paths to improve summer comfort without compromising acoustics.
Electrics Plan: Outlets, Data, AV, Lighting Circuits
You’ll map outlet placement around furniture zones and likely loads, then add extra sockets at entrances, media walls, and any future kitchenette points so you’re not relying on extensions.
You’ll run structured data and AV in conduit (Cat6A, fiber-ready, and HDMI-over-IP options) with a small rack location, clean cable paths, and separation from mains to cut interference.
You’ll zone lighting circuits by function—task, ambient, and accent—with two-way switching, dimmable drivers, and smart-control readiness so the annex flexes from playroom to movie night to guest space.
Outlet Placement Strategy
Because a barn annex has long wall runs, mixed-use zones, and often-limited stud cavities, you’ll get the cleanest, most future-proof electrical plan by mapping outlet locations to furniture layouts and use cases before you pull any wire. Start with outlet placement at every likely seating and task edge: sofa ends, reading chairs, desk zones, and kitchenette counters, keeping cords off walk paths.
Use floor boxes only where walls can’t serve islands or freestanding furniture, and specify tamper-resistant, low-profile models. For resilient power distribution, split receptacles across at least two general-purpose circuits so a tripped breaker won’t kill the whole room.
Put dedicated outlets on their own circuits for heaters, treadmills, or dehumidifiers. Add switched half-hot receptacles to support lamp-driven “scene” lighting without extra fixtures.
Data And AV Wiring
When you treat low‑voltage as infrastructure—not an afterthought—you can keep the annex flexible while avoiding Wi‑Fi dead spots and exposed patch cords.
Run Cat6A (or Cat7) from a small, ventilated comms cupboard to TV, desk, and ceiling AP points, and leave pull strings for upgrades. Use a patch panel, label both ends, and separate data from mains to reduce noise.
For Wireless networking, place at least one PoE access point centrally and one near thick masonry progression. Prewire conduits to likely screen walls, then pull HDMI 2.1 over active optical or HDBaseT, plus spare Cat6A for future.
Add speaker cable to corners and a sub line to hide audio visual equipment cleanly. Include coax only if needed.
Lighting Circuit Zoning
Although the annex may read as one open family zone, you’ll get far better control and future flexibility by splitting the lighting into distinct circuits—task, ambient, accent, and exterior—rather than dumping every fitting onto a single loop.
Put kitchen pendants and worktops on a task circuit, ceiling downlights on ambient, wall washers/beam spots on accent, and soffit/path lights on exterior.
Run each circuit back to the consumer unit or a dedicated lighting control panel, then group switching by use: entry, seating, dining, and circulation.
Specify dimmer switches rated for LED loads (trailing-edge, neutral where required) to eliminate flicker and buzz.
For Smart lighting, keep a hardwired baseline so it still works without Wi‑Fi; add modules at switches, not ceiling roses, for serviceability.
Layered Lighting for Screens, Study, and Play
To make a barn annex work for movie nights, homework, and open-floor play, you’ll need layered lighting that you can tune by task, not just dim by mood. Build an Ambient glow with indirect coves or wall grazers at 2700–3000K, then add task layering through adjustable downlights and plug-in desk lamps at 3500–4000K for reading accuracy.
For screens, aim fixtures away from the TV wall, use low-luminance sconces behind seating, and keep vertical illuminance gentle to cut reflections. Specify high-CRI LEDs (90+), flicker-free drivers, and dim-to-warm where you want a cinema feel.
Put play zones on wide-beam, evenly spaced fixtures to reduce harsh hotspots, and add a night path with 1–5 lux guidance. Use smart scenes so presets switch instantly.
Hard-Wearing Floors That Handle Mud and Moisture
Because a barn annex naturally tracks in grit, water, and manure residue, you’ll get the best long-term performance from floors that pair a waterproof core with a high-wear surface and fully sealed edges.
Specify rigid-core LVP or porcelain with an uncoupling membrane, then require a slip rating suitable for wet entry zones.
For Material selection, prioritize low-porosity wear layers, UV-stable finishes, and chemical resistance to mild disinfectants.
Detail the underlayment: closed-cell foam for LVP, or a moisture-tolerant adhesive system for tile.
Add a perimeter expansion gap and seal progression with waterproof profiles.
Ask for Durability testing data—Taber abrasion, impact, and joint water ingress—so you can compare products beyond marketing claims.
Finish with cleanable, matte textures that hide scuffs.
Built-In Storage + Flexible Furniture That Adapts
When you treat storage as part of the architecture, you’ll keep the annex “reset-ready” even after boots, bags, and barn gear pile up. Run built-in shelving wall-to-wall on one elevation, sizing bays for baskets, labeled totes, and tall wellies; add closed base cabinets to hide visual noise. Specify moisture-resistant plywood, durable lacquer, and soft-close hardware rated for frequent cycling.
Pair that backbone with adaptable furniture so the room shifts fast. Choose a lift-top bench with integrated bins, nesting tables on locking casters, and a drop-leaf dining/work table that folds to a console. Use modular seating with replaceable performance covers, then park it on a washable rug.
Keep clearances generous so circulation stays safe when kids, dogs, and guests converge.
Conclusion
If you’ve ticked off feasibility, cured damp, and cleared regs early, you can turn the barn annex into a resilient, future-proof family hub. Zone for TV, study, play, and guests, then lock in comfort with airtight insulation, balanced HVAC, and a robust electrics/data plan. Example: you fit LVT over a moisture-rated subfloor, add dimmable circuits and CAT6, and tuck modular seating into built-ins—so weekends host movies, weekdays run homework.