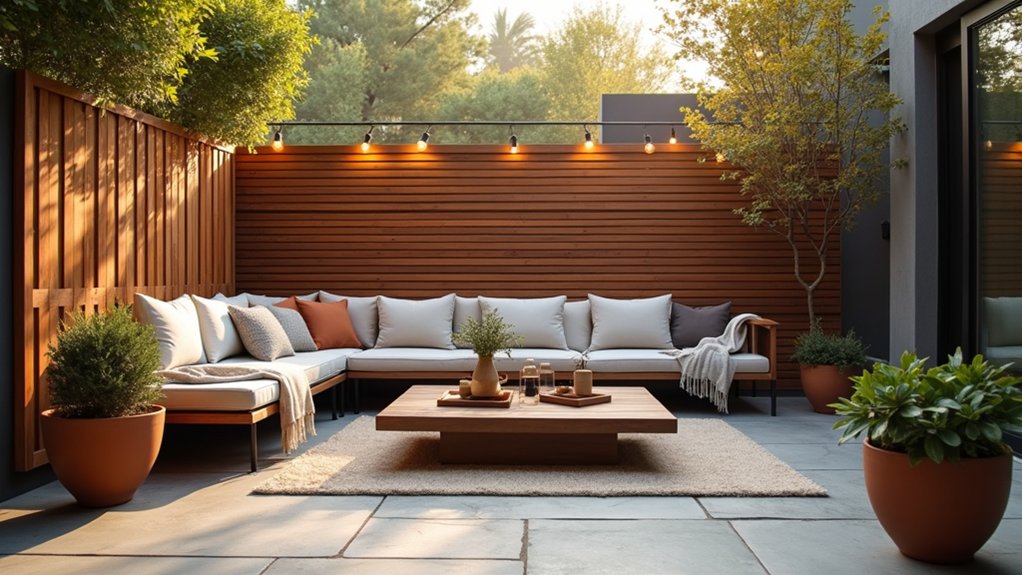

You can add wooden elements to your patio without making it feel rustic or heavy if you start with the right species and finishes. Choose cedar, teak, or thermally modified wood for clean lines and long wear, then seal and stain to match your existing palette. Layer in planters, a slim side table, and a simple slat screen for privacy and structure. The key is placement and proportion—and that’s where most patios go wrong…
Choose Weather-Ready Wood for Your Patio
Because your patio lives outdoors year-round, you’ll want to start with wood that’s built to handle UV, rain, and temperature swings without constant babysitting. Prioritize species with proven Weather resistance: ipe and teak for luxe, tight-grain durability; cedar and redwood for lighter, modern warmth; and thermally modified ash or pine for a trend-forward, stable option with fewer knots and less movement.
If you’re budget-driven, choose pressure-treated lumber rated for ground contact and select straight, dry boards.
Match the wood to the application. Use dense hardwoods for decking and bench tops, and lighter softwoods for screens and planters. Check end-grain, grain orientation, and fastener compatibility, and confirm factory Wood treatment certifications before you buy.
Seal and Protect Outdoor Wood Surfaces
Even the most weather-ready species benefits from a smart finish strategy, since sun and moisture attack the surface long before the board itself fails. Start by cleaning thoroughly, then let the wood dry completely; sealing damp boards traps moisture and accelerates checking.
Sand lightly to open the wood grain and remove glaze so your outdoor finish bonds evenly. For a modern, low-sheen look, choose a penetrating oil or hybrid stain-sealer with UV inhibitors; it fades gracefully and won’t peel like thick film coatings.
On high-traffic decking, consider a waterborne acrylic that’s labeled for horizontal surfaces and resists hot-tire pickup. Apply two thin coats, back-brush for uniform coverage, and recoat on schedule—usually every 12–24 months.
Add Wood Planters and Raised Beds for Patios
If you want your patio to feel finished and lived-in, add wood planters and raised beds that double as structure and style. Use cedar or teak for natural rot resistance, and line interiors with breathable landscape fabric to protect roots while extending wood life.
Keep proportions tight: long, low trough planters define edges, while a waist-high raised bed creates an intentional “garden wall” without blocking sightlines.
Choose a consistent stain tone that matches existing woodwork, then layer in decorative accents like matte-black corner brackets, slim trellises, or integrated benches along the bed’s rim.
Add Garden lighting by tucking low-voltage uplights behind planters or mounting warm LED strips under caps to highlight grain and foliage. You’ll get instant architecture, fragrance, and privacy.
Add Wooden Side Tables, Serving Trays, and Stools
While your larger wood features set the scene, small wooden pieces like side tables, serving trays, and stools make the patio function day to day. Choose compact, weather-rated designs you can move with one hand, and prioritize stable footprints so drinks don’t tip on pavers or deck boards.
Lean into visible Wood grain with teak, acacia, or cedar, then seal with a matte exterior oil for a current, low-sheen look. Add a slatted side table beside each lounge chair, and keep a handled tray ready for cocktails, snacks, or outdoor candles.
Use backless stools as flexible extra seating, or as impromptu plant stands when guests leave. Mix clean lines with Rustic charm by pairing light wood tones with black metal hardware.
Build Wood Privacy Screens and Slat Feature Walls
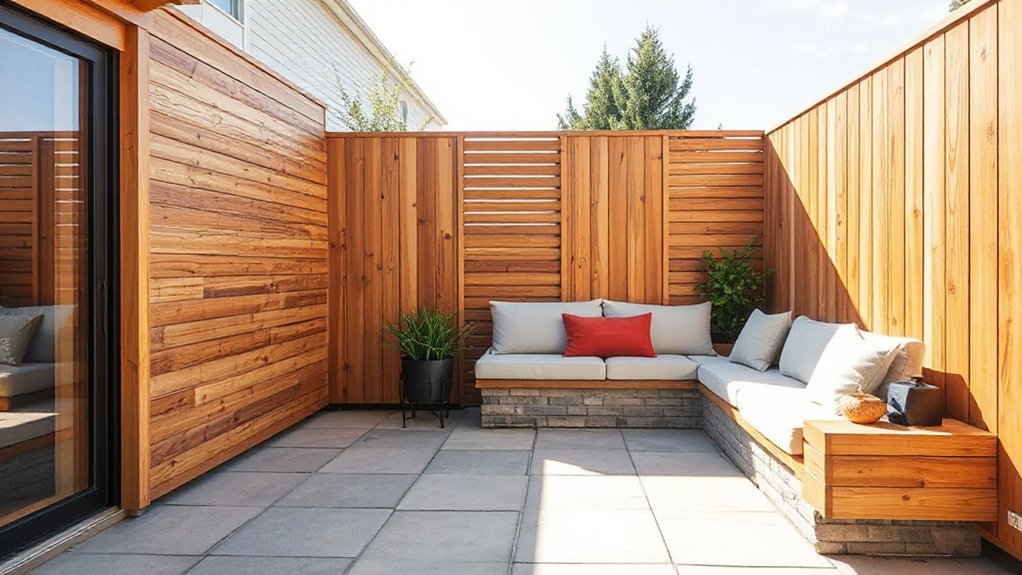
Because a patio feels more relaxing when you control sightlines, wood privacy screens and slat feature walls let you block neighbors, hide utilities, and add architectural rhythm in one move. Choose cedar or thermally modified wood for stability outdoors, and seal end grain to prevent checking.
For modern elegance, run clean vertical slats with 3/4–1 inch gaps; keep reveals consistent using spacer blocks. To lean into rustic charm, mix widths, wire-brush the surface, or use a semi-transparent stain that highlights knots.
Anchor posts to metal bases, not directly to pavers, and brace against wind with concealed L-plates. Integrate a narrow access panel where you’ll need service shutoffs, so it stays seamless and functional.
Add Patio Shade and Seating With Pergolas and Benches
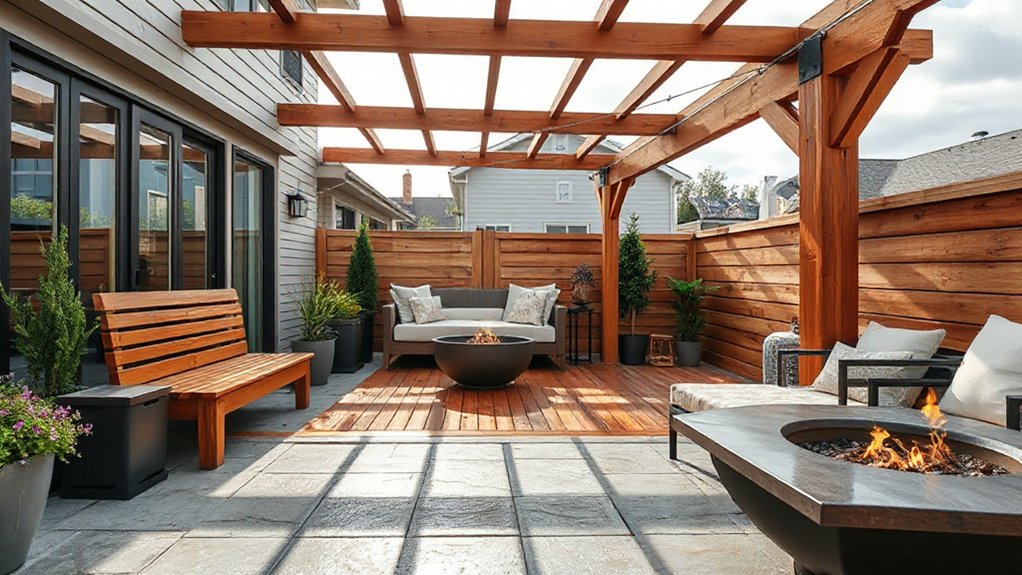
You can add instant structure and comfort by pairing a wood pergola with seating that’s designed to fit your patio’s footprint. Choose shade options that match how you use the space—open slats for dappled light, a retractable canopy for flexibility, or a vine-ready top for a softer, on-trend look.
Then anchor the area with built-in wood benches for clean lines and extra storage potential. Place the pergola to frame your main sightlines and size benches with proper proportions so traffic flow stays clear and the layout feels intentional, not crowded.
Pergola Shade Options
A well-designed pergola does two jobs at once: it adds architectural warmth with wood and creates targeted shade where your patio needs it most. Start by choosing your coverage: open-slat rafters for dappled light, or a tighter lattice to cut glare while keeping airflow.
For adjustable control, add a retractable canopy or shade sail beneath the beams; you’ll get midday protection without sacrificing the pergola’s clean lines.
Prefer a natural look? Train climbing vines on stainless wires for seasonal cooling and a softer silhouette.
Elevate the craft with Decorative wood carvings on beam tails or post caps.
Finish the space with wooden lighting fixtures mounted to crossbeams, using warm LEDs for evening ambience and safer, low-glare task light.
Built-In Wood Benches
When patio square footage feels tight, built-in wood benches deliver streamlined seating while visually anchoring the pergola’s posts and beams. You’ll get a cohesive, custom look that reads more architectural than add-on outdoor furniture, especially when you match bench species and stain to the pergola.
Specify rot-resistant cedar, ipe, or thermally modified wood, then seal all end grain and undersides for longevity. Add a slightly sloped seat and eased edges so the bench feels polished, not boxy.
For comfort, integrate removable, weather-rated cushions with quick-dry foam and concealed tie-downs. Under-bench storage cubbies keep throws and games tidy without extra pieces.
Finish the scene with warm, low-glare garden lighting—recessed step lights or LED tape—so the bench stays usable after sunset.
Placement And Proportions
Built-in benches look most intentional when their placement and proportions reinforce how the patio actually functions—shade coverage, circulation paths, and sightlines to the garden. Anchor seating under a pergola bay so you’re not baking at peak sun; size the shade to cover shoulders and tabletop, not just knees.
Keep a 36-inch clear walkway behind benches for easy flow, and align the bench face to your best view line.
Match scale to materials: on Wooden flooring, use a 16–18-inch seat height and 18–20-inch depth for comfortable dining or lounging. If you add a backrest, pitch it 10–15 degrees for support.
Finish the edges with subtle Decorative accents—chamfers, slatted ends, or inset lighting—so everything reads custom, not bulky.
Conclusion
Choose weather-ready woods like cedar, teak, or thermally modified lumber, then seal and stain them so they age gracefully, not like a cautionary tale. Add planters and raised beds to frame greenery, and keep hosting easy with wooden side tables, trays, and stools. For a little “secret garden” privacy, install slat screens or a feature wall. Finish with a pergola and bench, and let string lights do the evening magic.