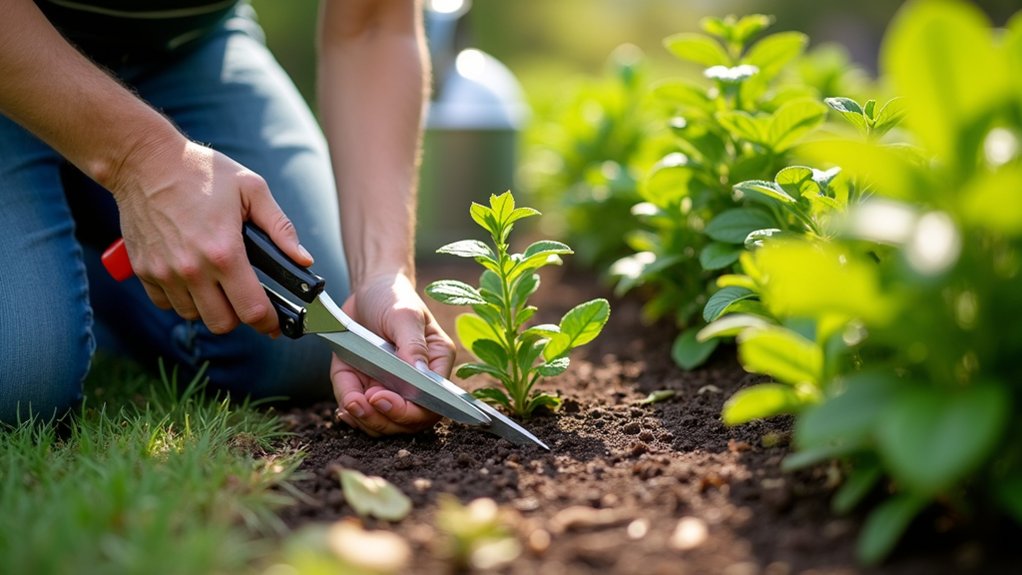

You step outside after work and notice the lavender looks dull and the path edge has crept inward overnight. If you give your garden a quick scan, pull a few weeds before they seed, and check moisture with a simple finger test, you’ll prevent most messes from turning into weekend projects. Add a thin mulch layer, clip damage as you spot it, and keep edges crisp, and the whole space stays intentional—until one small detail changes everything.
Do a 5-Minute Garden Maintenance Scan
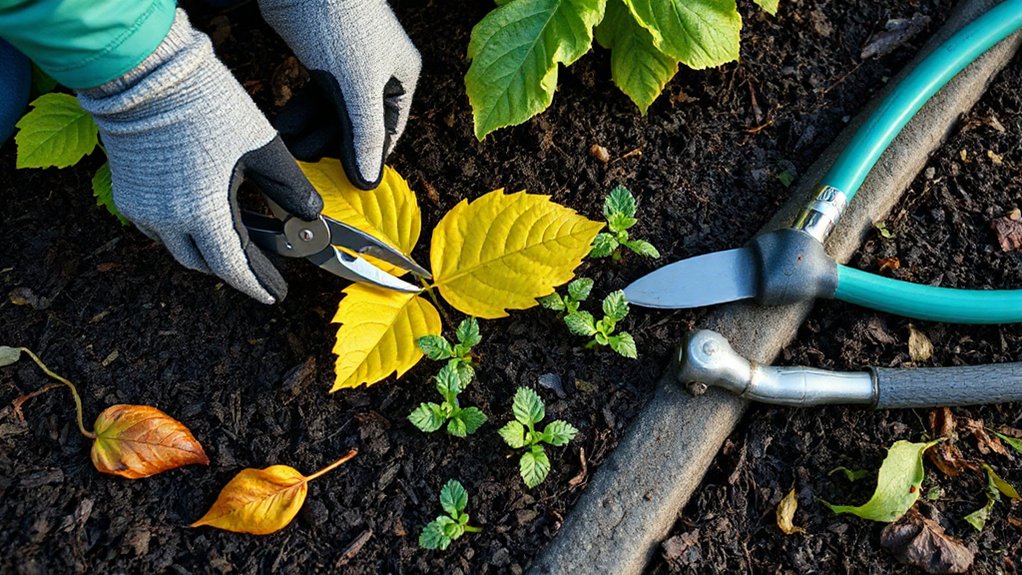
Before you grab tools or start pulling weeds, take five minutes to scan your garden with fresh eyes. Walk the main sightlines from your door, patio, and path edges. Notice gaps, flopping stems, and color clashes that disrupt your design. Check containers for dry crusted soil, and look for leaf curl or dullness that signals stress.
Next, audit function. Stage your garden tools where you’ll use them: pruners by the shrub border, a trowel near pots, gloves at the gate. Watch how water moves after a quick hose burst; adjust watering techniques to reduce splash on foliage and target roots. Confirm drip lines aren’t kinked and sprinklers aren’t overspraying hardscape.
Finish by noting three fixes you can do today.
Pull Weeds Before They Go to Seed
Pull weeds before they set seed, and you’ll stop a small nuisance from scattering into next month’s design problem.
Weed right after rain, when the soil’s soft and you can lift plants cleanly without tearing beds apart.
Tug low and steady so you remove the roots completely, keeping edges crisp and growth where you planned it.
Stop Seed Dispersal
Once weeds start forming buds and seedheads, you’re on a tight timeline to keep them from spreading through every bed and border. Act fast to prevent seed dispersal: pull plants at the crown, lift the full root where possible, and don’t shake them over soil or mulch. If seedheads are mature, bag them before you move the plant to avoid accidental scatter.
Treat this like a design maintenance move, not a chore. Every seed you stop preserves clean edging, intentional negative space, and the color rhythm you planned. Target high-visibility areas first—path margins, patio seams, and front-of-border drifts—so the garden reads crisp even while you work.
Dispose of seed-bearing weeds in the trash, not compost, to limit future garden disruption.
Weed After Rain
After a good rain, why not treat weeding as your highest‑impact reset? Moist soil releases unwanted seedlings with minimal disturbance, so you can tidy beds fast and keep your planting lines crisp.
On a Rainy day, grab gloves and a bucket, then scan for small invaders hiding under foliage or along edging. Focus on anything about to flower; that’s your deadline for weed control before seeds scatter.
Work in short passes: clear around ornamentals, then along paths, then at bed borders to restore clean geometry.
Bag or bin pulled weeds instead of tossing them on the soil surface.
Finish by smoothing the soil and invigorating mulch where it thinned, so your garden reads intentional again.
Remove Roots Completely
While the soil still gives, remove weeds at the root so they don’t rebound and blur your bed edges a week later. Grip low, rock the stem gently, and pull in one smooth motion to keep roots intact.
For taproots, slide a hori-hori or dandelion fork alongside the crown, then lever up; you’re aiming for Root removal, not just a clean top.
Check the hole and tease out any pale runners—missed fragments turn into new shoots that disrupt your planting rhythm.
Bag seedheads immediately so you don’t reseed paths and gravel.
Finish with Complete extraction around edging, pavers, and drip lines, where regrowth looks messiest.
A quick mulch top-up locks in the tidy lines you designed and maintains crisp negative space.
Check Soil Moisture the Simple Finger-Test Way
Before you reach for the watering can, take ten seconds to do the finger test: press your finger 1–2 inches into the soil near the plant’s root zone and feel what’s happening below the surface.
If it feels cool and slightly damp, you’re good; step away and let roots breathe.
If it’s dry and dusty, water deeply, aiming for even soak-through rather than a quick splash.
If it’s wet or tacky, skip watering to prevent stress and fungus.
Treat this as everyday Soil testing and simple Moisture monitoring, not guesswork.
Check early morning, then water at the base so foliage stays clean and the bed looks intentional.
You’ll save water, protect color, and keep growth balanced.
Mulch to Cut Watering and Weeding Time
Once you’ve checked soil moisture, use mulch to lock it in and keep the garden looking intentional.
You’ll get the best results when you choose the right mulch for your plants and style, then apply it evenly without smothering stems or trunks.
Keep the layer at a consistent depth and top it up as it settles, so watering stays efficient and weeds don’t break through.
Choose The Right Mulch
How do you cut watering and weeding time without sacrificing a clean, intentional look? You start by choosing mulch that fits your plants, climate, and design palette.
In sunny, dry beds, shredded bark or arborist wood chips lock in moisture and read natural against shrubs. For crisp, modern lines, fine mini-bark creates a smoother surface.
In veggie plots, lean on organic compost as a top-dressing alternative that feeds soil while suppressing weeds.
Avoid dyed mulches if you want a timeless finish, and skip stone in hot exposures where heat stress can rise.
Match color to hardscape: warm browns complement brick, while deep chocolate sharpens pale paving.
Keep a rake and hand fork in your garden tools kit for quick grooming.
Apply Mulch Properly
The right mulch only pays off if you apply it with intention. Start by clearing weeds and raking the soil smooth, so your finish reads clean and deliberate. Water the bed first; then spread mulch evenly so it locks in moisture instead of sealing dry ground.
Keep mulch off plant crowns and away from trunks to prevent rot and make edges look tailored. Use a crisp border—steel edging, a cut spade line, or stones—so mulch stays put and the bed line looks designed.
Match mulch types to the space: fine-textured for tight plantings, chunkier for broad sweeps. These steps maximize mulch benefits: fewer weeds, steadier soil moisture, and a garden that looks intentionally composed.
You’ll water less and weed faster, every week.
Maintain Mulch Depth
After you’ve mulched, what keeps it working week after week is consistent depth. Aim for 2–3 inches in beds: enough to shade soil, slow evaporation, and block weed germination without smothering roots.
Rake mulch back from stems and trunks to prevent rot and keep plant silhouettes clean and intentional.
Check depth monthly and after heavy rain or wind. Top up thin spots, especially on slopes and bed edges, where erosion exposes soil and disrupts the tidy “finished” look.
If you’re doing Organic composting, screen compost and use it as a thin underlayer, then cap with mulch for a crisp surface.
Pair adjustments with Soil testing so you don’t bury problems; correct pH and nutrients first, then maintain the blanket.
Prune Dead or Damaged Growth Right Away
Whenever you spot dead, broken, or diseased stems, prune them immediately to keep the planting looking intentional and to stop problems from spreading. Make your cuts clean and decisive: remove damage back to healthy tissue, cut just above a node, and avoid leaving stubs that interrupt the plant’s silhouette. Keep pruners sharp, wipe blades between plants, and bag infected debris so you don’t reintroduce pathogens.
These Pruning techniques protect structure while preserving the composed lines you designed. You’ll also support Growth regulation by redirecting energy to strong stems, preventing weak, floppy growth that clutters borders. Step back after each plant, check balance and spacing, and thin only what compromises airflow, light, or the overall form.
Your beds will read crisp, not chaotic.
Deadhead Spent Blooms to Extend Flowering
Once you’ve cleared dead or damaged growth, shift your attention to spent flowers and remove them promptly to keep beds looking curated and to push plants into producing more blooms instead of setting seed. Snip just above a healthy leaf node or side bud so the cut disappears into the foliage.
On cluster bloomers, take the whole stem back to the next strong set of leaves for a clean line.
Deadheading also protects your palette: tired petals mute bloom color and make fresh flowers look dull by comparison. Make quick, regular passes with clean shears, and drop trimmings straight into a bucket.
You’ll keep borders crisp, encourage repeat flowering, and harvest better stems for a Flower arrangement without gaps or browning heads. Your garden stays intentional, not exhausted.
Check Plants for Pests on Every Walk-Through

While you’re already moving through beds to tidy and cut back, take 30 seconds per plant to scan for pests before they spread. Flip a few leaves, check tender tips, and look along stems where problems hide. Good Pest identification starts with patterns: stippled foliage, curled new growth, sticky residue, or tiny clusters on undersides.
Tap a branch over white paper to spot fast movers, and inspect pots and mulch edges for chew marks.
Keep your design crisp by acting early with low-visibility fixes: rinse with a strong spray, pinch off infested tips, or use insecticidal soap on targeted areas. Protect your allies, too—lady beetles, lacewings, and parasitic wasps are Beneficial insects that keep outbreaks quiet.
Skip broad-spectrum sprays that disrupt balance and aesthetics.
Catch Disease Early and Clip It Out
Pests aren’t the only thing that can quietly wreck a clean planting—disease can blur edges and thin out texture just as fast. Build early detection into your routine: scan leaves for spotting, powdery film, blackened tips, or sudden yellowing that breaks the planting’s intended rhythm. Check undersides, too, where trouble starts.
Act fast and clip it out. Prune affected stems back to clean tissue, bag the debris, and disinfect pruners between cuts so you don’t spread spores.
Thin crowded growth to open sightlines and airflow, keeping forms crisp and color blocks distinct. Water at the base, not over foliage, to support Disease prevention.
If a plant keeps relapsing, remove it and restore the composition with a healthier replacement.
Fertilize With a Simple Seasonal Schedule
As the seasons shift, your plantings burn through nutrients at different rates, so a simple fertilizer schedule keeps growth controlled and the design intent sharp. Start with Soil testing in early spring, then feed only what’s missing.
Use a balanced, slow-release fertilizer as buds break, and top-dress with compost to support texture and color without pushing lanky growth. After the first flush, switch to a lighter mid-summer feed for heavy bloomers and container plantings.
Then stop nitrogen six weeks before frost so stems harden and overwinter cleanly. If you irrigate often, you’ll need smaller, more frequent doses to avoid leaching.
Pair feeding with Plant staking early, so nourished shoots rise straight and hold the intended silhouette.
Edge Beds and Clear Paths for a Tidy Finish
After you’ve fed plants for balanced growth, lock in that clean, intentional look by sharpening the lines around them. Garden bed edging instantly elevates the design, keeping mulch and soil where they belong and making plant groupings read as deliberate. Use a half-moon edger or spade to cut a crisp trench, then skim back encroaching turf. Follow the same curve each time so borders stay consistent, not wavy.
Next, make Pathway clearing a quick weekly reset. Sweep gravel, blow off leaves, and pull weeds before they seed. Rake displaced stones back into low spots, and top up thin areas to prevent muddy edges. Clean paths guide the eye and your feet, turning routine upkeep into a finished, welcoming garden.
Conclusion
Keep your garden looking intentional with a few small habits you won’t skip. Do quick walk-throughs, pull weeds early, and use the finger test before you water. Refresh mulch, prune damage, and scout for pests and disease so problems don’t design themselves into your beds. Feed plants on a simple seasonal rhythm, then edge borders and clear paths for crisp lines. Treat it like checking your garden’s voicemail: fast, reliable, and worth it.