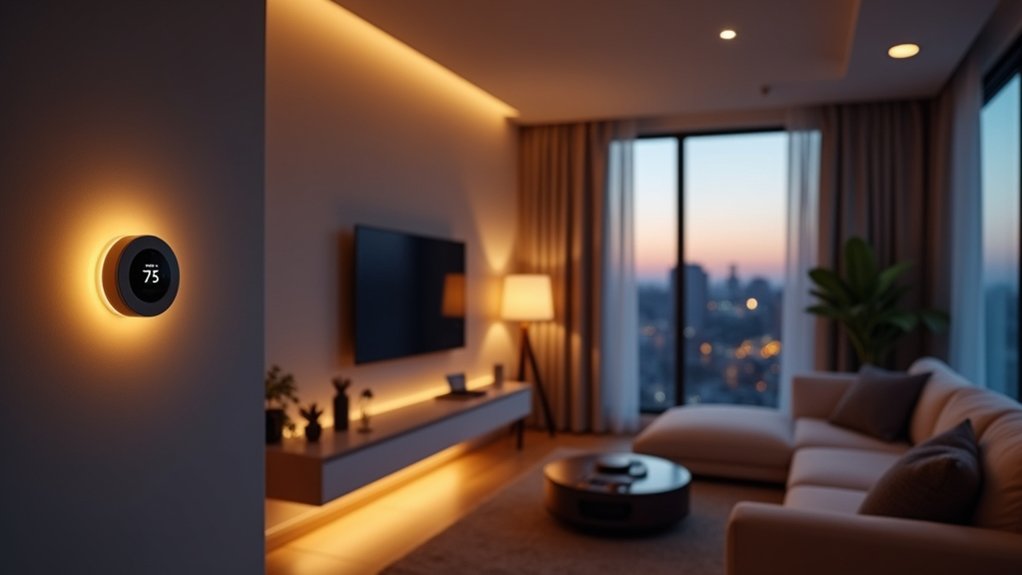

You’ve probably nailed the smart bulb basics, but the real quality-of-life gains come from upgrades that run quietly in the background. Start by checking compatibility (Matter or a hub) and fixing dead Wi‑Fi spots with mesh, then layer in smart plugs, a key-free lock, and a thermostat paired with room sensors. Add leak and smoke alerts before problems spread, and let a robot handle floors. The best part is what happens next…
Smart Home Upgrades: Start With Compatibility (Matter/Hubs)
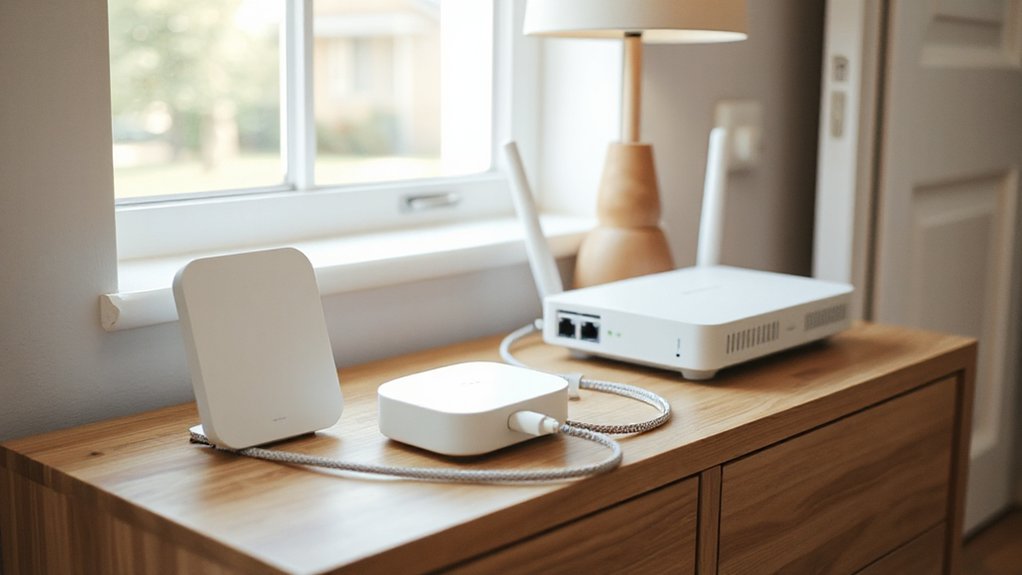
Before you buy another “smart” gadget, make sure it’ll actually play nice with what you already own. Check whether your ecosystem supports Matter, because it’s quickly becoming the baseline for cross-brand Device integration.
If your device list spans Apple, Google, and Alexa, a solid hub can simplify setup, reduce app-hopping, and keep automations running locally when possible.
You’ll also want a clean user interface: one dashboard for lights, locks, sensors, and routines beats five half-baked apps. Verify hub radios (Thread, Zigbee, Z-Wave) match the gear you’re eyeing, and confirm firmware updates are still active.
Finally, map your must-have automations—like “away mode” or bedtime scenes—and buy hardware that supports them natively, not via sketchy cloud workarounds.
Smart Home Upgrade: Fix Dead Zones With Mesh Wi‑Fi
Once you’ve nailed compatibility, you’ll want to hunt down Wi‑Fi dead zones that make smart lights lag and cameras stutter—use a phone Wi‑Fi analyzer and map weak spots room by room.
Then pick the right mesh for your space (Wi‑Fi 6/6E, tri‑band backhaul, enough nodes for your square footage) so you’re not just spreading slow signal.
Finally, place nodes with intent—one near the modem, one midway, and avoid stuffing them behind TVs or in cabinets—so coverage stays clean and consistent.
Spot And Map Dead Zones
Even if your internet plan looks fast on paper, a few weak spots in your home can quietly tank Wi‑Fi performance. Start by mapping reality, not vibes: walk room to room with a speed-test app and note download, upload, and latency.
Then check signal strength in dBm (many Wi‑Fi analyzer apps show it); anything worse than about -70 dBm will feel flaky for calls, streaming, and gaming.
Pay attention to “smart” pain points: a TV that drops 4K, a security cam that buffers, or lights that lag during color calibration scenes. Mark where performance dips near mirrors, brick, aquariums, or kitchen appliances.
You’ll also spot wasted power—dead zones make devices retry transmissions, hurting energy efficiency. Capture a quick floor plan and label trouble spots.
Choose The Right Mesh
If your floor plan shows dips below about ‑70 dBm, a mesh system can smooth them out—but only if you match the kit to your space and your bandwidth.
Start by choosing Wi‑Fi 6 or 6E if you’ve got lots of smart devices, streamers, and WFH traffic; pick tri‑band models when you want steadier speeds under load.
Check the WAN/LAN ports and whether it supports gigabit or multi‑gig so your ISP plan isn’t wasted.
For Wireless security, prioritize WPA3, automatic firmware updates, and strong guest-network controls.
For device interoperability, look for Matter support, solid IoT isolation options, and good backward compatibility with older 2.4 GHz gear.
Finally, confirm the subscription model—some features hide behind paywalls.
Optimize Node Placement
Although a mesh kit can blanket your home in coverage, you’ll only get those “no more dead zones” results when you place each node with intention. Start by putting your main router node in the most central, open spot you can—waist to head height, not behind a TV or inside a cabinet.
For smart Node placement, aim the next node one to two rooms away, where your phone still shows a strong signal (think -55 to -65 dBm). That gives the backhaul breathing room and prevents nodes from “shouting” through brick, mirrors, or appliances.
Avoid stacking nodes directly above each other on different floors; offset them diagonally instead. Then run your app’s Wi Fi optimization scan, walk-test video calls, and tweak placement by feet, not rooms.
Automate Daily Routines With Smart Plugs and Strips
When you want your home to feel more “on it” without buying a whole new ecosystem, smart plugs and smart power strips deliver the fastest upgrade per dollar. You’ll automate lamps, fans, coffee makers, and chargers with schedules, sunrise triggers, and voice shortcuts—no rewiring required.
Pair a plug with energy efficient lighting so your floor lamp powers down automatically when you leave, then ramps up at dusk.
Use a smart strip behind your TV to kill phantom load: set the console and speakers to shut off when the streaming box sleeps. Add an “Evening” scene that turns on a diffuser and bias light in mood enhancing colors, then cuts phone chargers at 2 a.m.
Track wattage in-app to spot energy hogs fast.
Cut Key Chaos With Smart Locks and Doorbells
Swap jangly keys for a smart lock, and you’ll get keyless entry with PINs, app access, or auto-unlock that fits how you actually come and go.
You’ll cut lockouts by issuing temporary codes to guests, setting schedules, and keeping a backup access method ready.
Pair it with a smart doorbell, and you’ll get instant doorstep alerts plus tight access control—see who’s there, talk from anywhere, and decide whether to open.
Keyless Entry, Fewer Lockouts
Even if you’ve got your phone, wallet, and earbuds locked down, one missing house key can still derail your day. A smart lock fixes that with keyless convenience: you tap a keypad code, use your phone, or set auto-unlock when you approach.
To keep digital security tight, choose models with encrypted Bluetooth/Wi‑Fi, tamper alerts, and two‑factor authentication in the app. Set unique PINs for roommates, dog walkers, or cleaners, then revoke access instantly instead of collecting copies.
Schedule temporary codes for contractors, and track who unlocked the door in a clear activity log. Before you buy, confirm it fits your door thickness and deadbolt type, and keep a backup method—physical key or battery jumper—so a dead battery won’t strand you outside.
Doorstep Alerts And Access Control
Keyless entry solves the “lost key” problem, but it doesn’t tell you who’s actually at your door—or whether they got in. Add a smart doorbell and you’ll get real-time motion clips, two-way talk, and package notifications, so you can grab deliveries before porch pirates do.
Pair it with a smart lock and you control access like a pro: issue time-limited codes for dog walkers, cleaners, or guests, then revoke them instantly. That’s visitor management without the key handoff drama.
Set rules like auto-lock after 60 seconds, disarm only when your phone’s nearby, or require a PIN at night. Check the activity log when something feels off. You’ll cut surprises and keep your entryway calm.
Lower Energy Bills With a Smart Thermostat + Sensors
Because heating and cooling quietly eat up a big chunk of your monthly costs, a smart thermostat paired with room sensors gives you a fast, measurable way to bring energy bills down. Put sensors in your bedroom and main living space so the system learns where you actually spend time, not where the hallway thermostat sits.
Then lean on thermostat programming: set tighter schedules for weekdays, pre-cool or pre-heat only when you’re home, and let it drift a few degrees overnight. Use app-based geofencing so it auto-sets to Eco when you leave.
Check the “runtime” and “heat/cool cycles” charts weekly, and tweak one setting at a time. These energy saving tips stack quickly, especially in older homes.
Prevent Costly Damage With Leak and Smoke Sensors
If you’re automating your home anyway, add leak and smoke sensors next—they’re the quiet upgrades that can save you thousands before you ever see a puddle or smell smoke.
Place leak detectors under sinks, behind toilets, by the water heater, and near the washer shutoff. Prioritize models with audible alarms, app push alerts, and temperature sensing to catch frozen-pipe risks. For next-level leak detection, pair a sensor with an automatic shutoff valve so a burst line doesn’t become a renovation.
Upgrade your fire safety, too: use interconnected alarms with smoke monitoring that sends alerts when you’re away and tells you which room triggered. Set automations to flash lights, unlock doors, and cut HVAC to slow smoke spread.
Automate Floor Cleaning With Robot Vacuums and Mops
Once you’ve got sensors guarding against leaks and smoke, you can hand off the daily grind to a robot vacuum or mop and keep floors consistently clean with almost zero effort.
For better floor cleaning, choose a model with lidar mapping, strong suction, and obstacle avoidance that can handle cords and pet bowls. If you’ve got hard floors, prioritize a mop with auto-lift on rugs and a self-washing dock so you don’t babysit pads.
Set no-go zones for litter boxes and plant stands, then schedule runs after dinner or before you wake.
Robot integration matters: connect it to your voice assistant and automate “spot clean” when motion sensors detect heavy traffic.
Replace brushes and filters on schedule, and you’ll keep performance steady for months.
Conclusion
You’re not building a “smart home,” you’re building a home that runs itself. When you add Matter-ready gear, mesh Wi‑Fi, plugs, locks, a thermostat, and leak/smoke sensors, the tech fades into the background. A friend caught a $9/month drip alert before it became a $9,000 ceiling repair—like installing guardrails on your daily life. Start small, stack automations, and let routines click into place while you’re busy living.