
Coincidentally, the rooms that feel brightest in your home may be the ones wasting the most power. You can cut that waste without sacrificing mood by switching to LED smart bulbs, layering dimmers and scenes, and letting schedules handle sunset and bedtime. Add motion and daylight sensing so lights respond to you and the sun, not habit. The tricky part is choosing the right control for each fixture—and that’s where the real savings start.
Start With LED Smart Bulbs for Fast Savings
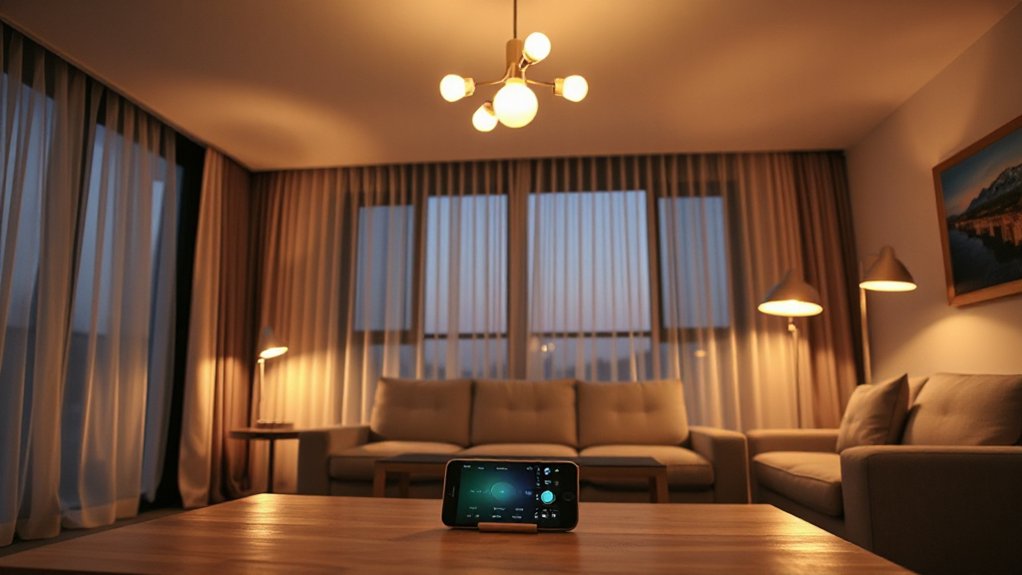
If you want an easy, high-impact upgrade, start with LED smart bulbs—they deliver immediate energy savings while giving you finer control over the look of each room. Swap the most-used fixtures first: kitchen ceiling lights, living-room lamps, and hallway sconces.
Choose the right Color temperature to match the mood: 2700K for warm, cozy evenings; 3000–3500K for balanced everyday lighting; 4000K for crisp task work.
Use dimming and schedules so lights run only when you need them, and set softer levels at night to cut watts further.
Look for a long bulb lifespan (often 15,000–25,000 hours) so you replace bulbs less and keep your lighting consistent.
Check Compatibility Before Buying Bulbs or Switches
Before you buy a smart bulb or switch, confirm it’ll actually play nicely with your existing setup—because the best-looking lighting plan falls apart when the hardware doesn’t match. Check bulb compatibility first: base type (E26, E12, GU10), fixture clearance for oversized bulbs, and whether your lamp needs a directional beam or warm-dim glow for flattering tones.
Then verify switch compatibility: your wall box may lack a neutral wire, your circuit may run three-way control, or your dimmer may cause flicker or buzzing with certain LEDs. Match your ecosystem, too—Wi‑Fi, Zigbee, or Matter—and confirm your hub or app supports the exact model.
Finally, read the manufacturer’s “works with” list and return policy so you can keep the look seamless.
Use Smart Switches for Built-In Fixtures
For built-in fixtures like recessed cans and hardwired pendants, you’ll get cleaner control by replacing your existing wall switch with a smart switch that keeps the wall plate looking sleek.
You can schedule those fixtures to fade on at sunset, brighten for meal prep, and shut off automatically so the room always feels intentional.
Add motion-activated control in high-traffic areas, and your lights respond instantly without extra sensors cluttering the space.
Replace Existing Wall Switches
When you want a cleaner look than bulky smart bulbs, swapping your existing wall switch for a smart switch gives built-in fixtures—recessed cans, sconces, pendants, even under-cabinet lights—modern control without changing the lamps. You’ll keep your favorite warm LEDs and trim styles while gaining dimming and remote on/off that cuts waste from “left-on” rooms.
Start by checking switch compatibility: single-pole vs 3-way, dimmable load type (LED, CFL, incandescent), and whether your box has a neutral wire.
Choose a paddle-style smart dimmer for a seamless, designer wall plate look, or a scene-capable switch for layered lighting. These wall switch upgrades also preserve manual control, so guests won’t hunt for apps.
Install with power off, label wires, and test the dim range.
Schedule Fixtures Automatically
Although smart switches look minimalist on the wall, their real upgrade shows up in your routines: you can schedule built-in fixtures—recessed cans, sconces, pendants, and under-cabinet runs—to turn on and dim down automatically throughout the day.
Set a soft 20% “wake” scene for kitchens, then ramp to task-bright by breakfast, and fade to warm evening levels for a calmer look. Pair schedules with daylight sensors so lights trim output when sun fills the room, keeping contrast comfortable and energy use low.
Add motion sensors only as a safeguard to prevent lights from staying on if you forget a manual tap. Use separate time blocks per zone, so hallways stay subtle while worktops stay crisp.
Enable Motion-Activated Control
Schedules handle the predictable parts of your day, but motion-activated control keeps built-in fixtures feeling effortless the rest of the time. Swap standard toggles for smart switches with occupancy sensors, and you’ll stop wasting watts in hallways, closets, laundry rooms, and garages.
Place the sensor where it “sees” entry paths, not ceiling fans or HVAC vents, so motion detection triggers only when you actually arrive. Dial in a short fade-on to preserve a calm look at night, then set a timeout that fits the space: 1–3 minutes for closets, 5–10 for bathrooms, longer for stairwells.
Pair it with an ambient-light threshold so lights stay off during bright mornings. Choose a switch style and plate that match your trim for a seamless, built-in finish.
Add Motion Sensors to Stop Wasted Lighting
Even the most thoughtfully layered lighting plan wastes energy if it stays on in empty rooms, so add motion sensors to make your lights respond only to real activity. Place sensors where your body naturally enters a space: inside the doorway, at the top of stairs, or facing the path to a closet. Aim them away from windows and HVAC vents so shifting sun and airflow won’t cause false triggers.
In open layouts, choose wide-angle sensors; in hallways, use narrow, long-range coverage for a clean, gallery-like feel without glaring overlight. Pair motion sensors with lighting automation to set subtle “welcome” levels—like 20–40% in a pantry—then ramp brighter only when you linger.
Use shorter off-delays in pass-through zones, longer in bathrooms.
Schedule Smart Lights for Sunset, Bedtime, and Away Mode
Set your smart lights to sync with sunset so rooms warm up right as daylight fades, keeping your home’s mood consistent without touching a switch.
At bedtime, schedule a gradual dim—down to a low amber glow—so you wind down gently and avoid harsh glare.
When you’re away, enable a rotating on/off routine that mimics real activity and keeps the place looking lived-in.
Automate Sunset Lighting
As the sun dips below the horizon, your home’s lighting should shift with it—automatically and beautifully. Use Sunset lighting automation to trigger a gentle “golden hour” scene at local sunset, so you’re not blasting full brightness when daylight fades.
Set key zones first: entry, kitchen, and living room, then leave bedrooms untouched for now. Choose warm whites (2200–2700K) and cap intensity around 30–50% to cut watts while keeping surfaces readable.
Layer light: under-cabinet strips for counters, a floor lamp for corners, and a dim wall wash to soften shadows. In your app, link scenes to sunset plus offsets, and add a manual override button.
That’s smart lighting design with real savings.
Set Bedtime Dimming
Sunset scenes handle the early evening mood, but bedtime dimming finishes the day with the same quiet polish. Set a schedule that starts 45–60 minutes before sleep: drop brightness in steps, shift to warmer tones (2200–2700K), and cut harsh overheads first. You’ll save energy because you’re not lighting rooms at full output when you’re winding down.
Keep it aesthetic: let a single lamp or cove light become your “last light,” and fade everything else to 10–20%. Pair the routine with sleep cycle integration by syncing to your alarm—earlier nights dim sooner, late nights delay gently.
Add motion-triggered nightlights at 1–5% for hallway trips, then return to dim without waking you.
Enable Away Mode Schedules
When you’re out of the house, an Away Mode schedule keeps your lighting looking lived-in without wasting power. Use away mode scheduling to mimic your usual rhythm: porch on at sunset, a warm lamp in the living room for 30–60 minutes, then a bedroom glow that fades out by bedtime.
Vary times slightly across days so it doesn’t look scripted. Keep brightness modest (20–40%) and choose soft white to preserve a cozy, intentional mood from the street.
Pair schedules with occupancy automation so lights don’t run when you’re actually home—geo-fencing or a hub can disable Away Mode the moment you arrive. Add an “all off” cut-off at midnight, and you’ll save energy while keeping your home’s ambience believable.
Build Room-by-Room Smart Lighting Routines
Because every room serves a different purpose, you’ll get the best results by building smart lighting routines one space at a time—tuning brightness, color temperature, and timing to match how you actually live.
Start in the kitchen: set crisp, cooler light for prep, then automatically shift warmer after dinner to signal cleanup and wind-down.
In the living room, let decorative fixtures come on at sunset for ambiance, while task lamps only activate when motion is detected near seating.
For bedrooms, schedule low, warm light 30 minutes before bed and a gentle morning ramp that aligns with your wake time.
In hallways and closets, keep routines short and responsive—lights on only when needed, then off fast.
Use Dimmers and Scenes to Cut Wattage
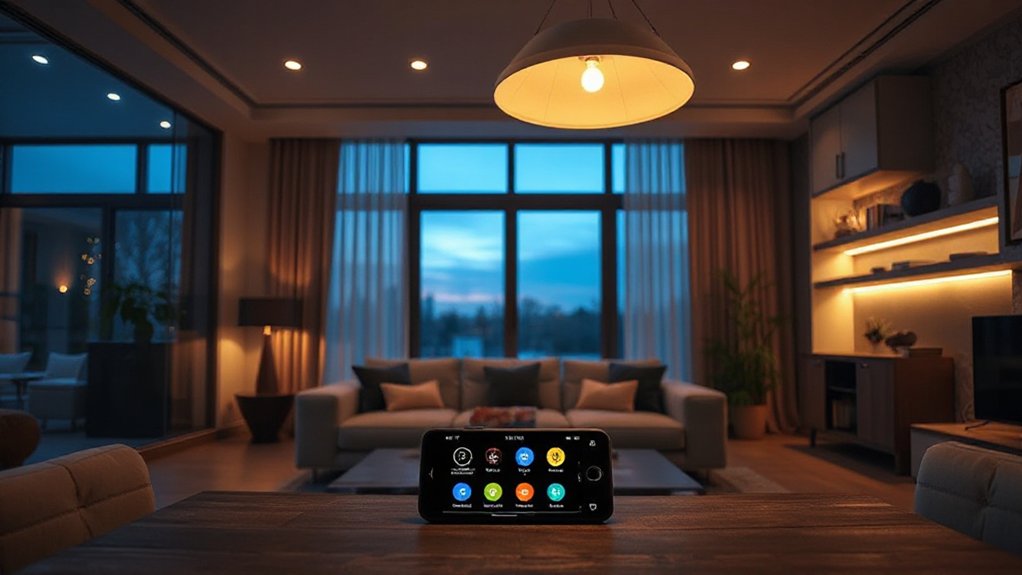
Even if you love a bright, gallery-clean look, you don’t need full output all the time—dimmers and scenes let you trim wattage without sacrificing style. Swap basic switches for smart dimmers or bulbs with reliable dimming technology, then set a default ceiling at 70–80% for everyday use; you’ll barely notice the drop, but your meter will.
Use scene customization to match tasks and mood: “Morning” at 40% with cooler whites for clarity, “Cooking” at 85% focused over counters, “Dinner” at 25% with warmer tones, and “Movie” at 10% with bias lighting behind the TV.
Keep accent lights lower than key lights so artwork pops without blasting the room. Save scenes to one tap and stay consistent.
Add Daylight Sensing to Auto-Dim During Daytime
Scenes keep your lighting consistent at night, but daytime needs a different kind of control—daylight sensing that trims output automatically as the sun does the heavy lifting. Install Daylight sensors in the rooms where you actually enjoy sun: kitchens, home offices, and living areas near big windows.
Place the sensor where it “sees” ambient light, not a glare stripe, so readings stay stable.
Set Automatic dimming targets by time block: brighter in early morning, softer at noon when glare peaks, then gently rising as clouds roll in. You’ll keep counters crisp, art evenly washed, and screens readable without overlighting.
Calibrate once on a sunny day and again on an overcast afternoon, then lock a minimum level so corners never feel flat or gloomy.
Use Smart Plugs for Lamps and Accent Lighting
Plug your table lamps and accent lights into smart plugs, and you’ll get clean, automated ambiance without swapping bulbs. Set precise on/off schedules—like a warm glow at sunset and a full shutoff at bedtime—so your space always looks intentionally lit.
When you’re away, you can toggle those accents remotely to highlight artwork, brighten a reading nook, or make the room feel lived-in.
Schedule Lamp On/Off Times
When you want your space to feel intentional from the moment you walk in, scheduling lamp on/off times gives you that polished, lived-in glow without touching a switch. Pair smart plugs with table lamps, floor lamps, and picture lights so they run only when they add value.
Build timing schedules around your real patterns: a warm lamp at 6:30–10:30 p.m., off overnight, then a short morning window to soften harsh overheads. Use automation routines to stagger multiple plugs by a few minutes, so the room “wakes up” naturally instead of flashing on at once.
Set earlier shutoffs on weeknights, later on weekends, and add a mid-day off block for sunny rooms. You’ll cut wasted hours while keeping every corner styled and inviting.
Control Accent Lighting Remotely
Once you’ve set reliable schedules, remote control gives you instant flexibility—so your accent lamps and picture lights match the moment, not just the clock. Plug each lamp into a smart plug, then group them by zone: mantel, bookshelf, hallway.
With remote access, you can dim the vibe by switching off a bright uplight while keeping a warm table lamp on, even when you’re out. Use Voice control to cue scenes like “Movie” or “Guests,” and you’ll avoid leaving decorative lights running for hours.
Place plugs where cords stay hidden and use smaller models behind consoles for a clean look. Check the app’s wattage or runtime stats, then trim the biggest energy hogs first.
Track Lighting Energy Use and Fix Common Mistakes
Although track lighting can look sleek and gallery-worthy, it’s easy to waste watts—or end up with harsh glare—if you mix the wrong bulbs, aim heads carelessly, or over-light a small zone.
Start by tracking energy use: check each head’s wattage, multiply by hours, and compare that total to a single pendant or downlight plan.
Swap any halogen or mismatched LEDs for efficient, dimmable LEDs with consistent lighting color (2700K for warm, 3000K for clean).
Fix fixture placement by spacing heads to graze art or wash a wall, not blast the floor.
Angle beams 30–45 degrees, add dimming scenes, and remove extra heads.
You’ll cut draw, soften shadows, and keep your ceiling line crisp.
Conclusion
Wrap up your smart lighting plan by pairing LED smart bulbs with compatible switches, then layer in schedules, motion triggers, and dimmed scenes. You’ll shape each room’s mood while trimming watts you don’t need. Add daylight sensing to soften output when the sun’s already doing the work, and use smart plugs for lamps and accents. Check energy tracking to catch “always on” mistakes—those tiny fixes can save a mountain of power.