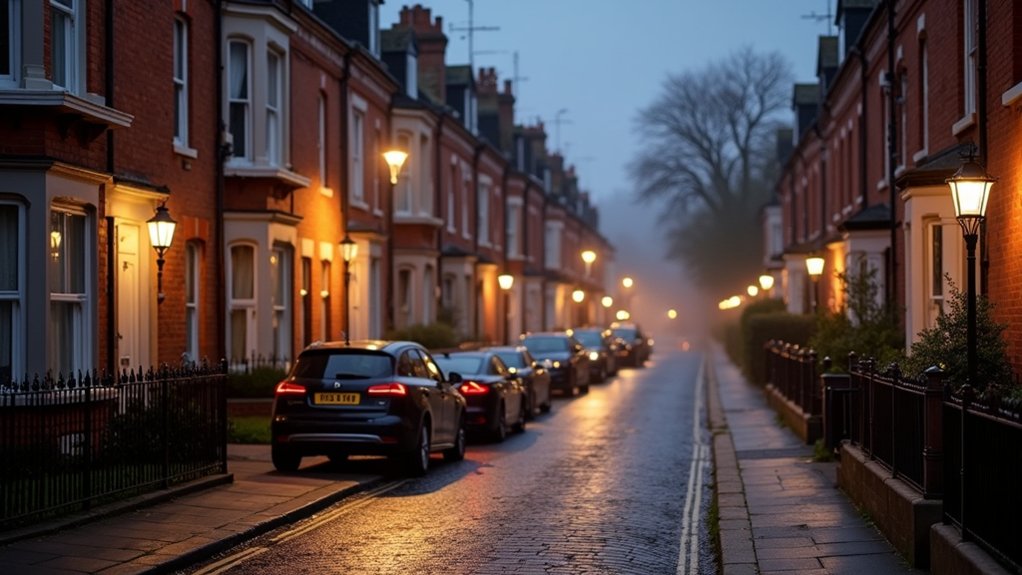

On a UK terraced street, your biggest blind spot isn’t darkness—it’s foot traffic. You’ll get better results if you choose a camera built for tight sightlines: 2K with solid HDR, a sensible 120–140° view, and motion zones that ignore the pavement. Mount it high, angle it down, and mask neighbours’ windows so you stay covered without overreaching. Then you’ll need to decide what matters more—power, Wi‑Fi reach, or storage…
Choose Cameras That Suit Terraced Streets
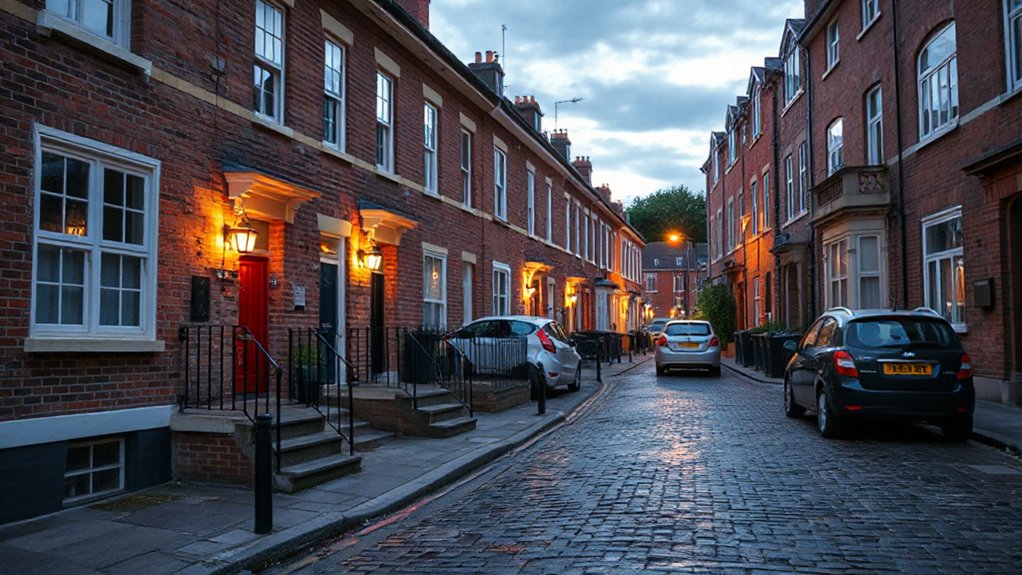
Because terraced streets pack homes close together, you’ll want a camera that frames your doorway and frontage cleanly without sweeping up your neighbours’ windows. Choose models with adjustable field-of-view, privacy masking, and tight motion zones, so you capture your steps, gate, and bins, not the whole row.
A compact, low-profile body sits neatly on brickwork and won’t clash with period details; that’s where camera aesthetics matter. Go for a matte finish, minimal LEDs, and a discreet mount that tucks under a lintel or eaves.
Prioritise clear night video without harsh floodlights that spill into upstairs rooms.
For garden security, pick weather-rated units with reliable Wi‑Fi and smart alerts that filter cats, rain, and passing traffic. Your footage stays useful, your façade stays calm.
Start With Placement: Door, Bay, or Alley
Start with where you need eyes: your front door for faces and parcels, or the bay for cars and wider street context.
Keep the camera tight to the frame and high enough to stay subtle, but angle it to avoid glare and neighbour windows.
For a side alley, you’ll get cleaner coverage by mounting at one end and aiming down the run, using a narrow view and motion zones to cut false alerts.
Front Door Vs Bay
Where you place a smart security camera—front door, bay window, or side alley—sets the tone for everything from coverage to curb appeal. If you mount it at the front door, you’ll capture faces at close range, parcel handoffs, and doorstep tampering, with minimal street sweep. It suits narrow terraces where you want tight, decisive clips and a neat, symmetrical look beside the frame.
Choose the bay window when you need a wider view without adding hardware to the facade. You’ll watch the pavement, parked cars, and gate line while keeping the camera discreet behind glass. It’s also handy for garden security and pet monitoring, especially if your front room overlooks the path.
Mind reflections at night, and angle down to avoid filming neighbours.
Side Alley Coverage Tips
Although side alleys feel like dead space, they often become the easiest route for a quick check of your gate, bins, or back door, so your camera placement needs to work with tight angles and limited light.
Start at the door if you want faces and parcels; mount high, tilt down, and keep the lens tight to avoid flare off brick.
Choose the bay only when it gives you a clean sightline along the passage without peeking into neighbours’ windows.
For true alley coverage, tuck a compact cam under the eaves, aimed lengthways, so you catch movement before it reaches the gate.
Add a small, warm-toned sensor light for Alleyway security without harsh glare.
Use activity zones and masking to protect Surveillance privacy.
Pick Resolution, HDR, and a Usable Wide View
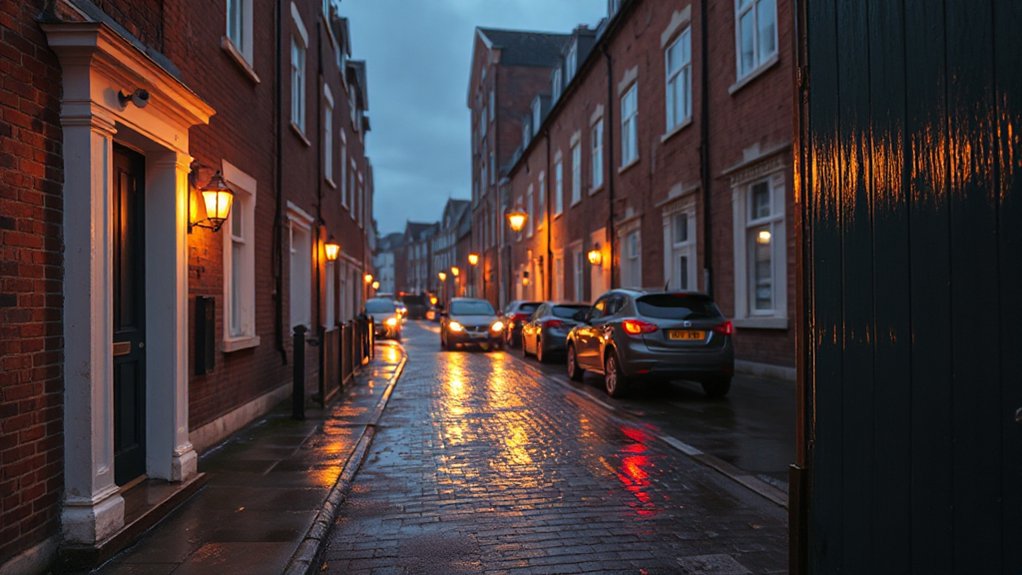
When you’re choosing smart security cameras for UK streets, resolution, HDR, and field of view work as a single package: sharp detail to identify faces and plates, HDR to handle harsh daylight and headlight glare, and a wide angle that covers the pavement without turning people into unrecognisable specks at the edges.
Aim for 2K as a sweet spot; 4K helps, but only if your Wi‑Fi and storage can cope.
Pick strong HDR or WDR so doorways, white render, and reflective cars don’t wash out.
Keep the view practical: roughly 120–140° captures the frontage and kerb without extreme fisheye distortion.
Balance camera aesthetics with low-profile housings, and factor in price considerations like cloud fees and higher-bitrate recording.
Get Clear Night Vision Without Blinding IR Bounce
Even if your camera boasts “colour night vision,” you’ll still rely on IR after dark, so set it up to avoid the classic UK problem: bright, milky glare from IR bounce off brickwork, white render, wet paving, or a nearby drainpipe.
Angle the lens slightly down and away from reflective edges, and keep it 20–40cm off the wall using a small bracket so the LEDs don’t wash the scene. If you can, disable onboard IR and add a discreet external IR illuminator aimed across the path, not straight at it—better Lighting design, cleaner contrast.
Wipe the dome regularly; rain film turns highlights into fog. Choose matte finishes on mounts and covers, and tell neighbours what you’re fitting as simple Community engagement.
Set Motion Zones to Avoid Passer-By Alerts
Draw crisp motion zones that hug your doorway and gate, not the whole pavement, so the camera watches what’s yours.
Then tune sensitivity so light foot traffic fades out while real approach stays sharp.
Add schedules for busy school-run hours and quiet nights, and you’ll keep alerts clean, calm, and useful.
Define Street-Facing Zones
Although your camera can “see” the whole pavement, you don’t need alerts for every passer-by, pram, or dog walker—define street-facing zones so motion detection sticks to your boundary, gate, or front path instead of the public footway. Start by drawing a clean rectangle that hugs your railings, porch steps, and door, then mask the kerb line where pedestrian traffic flows.
Keep the zone edges parallel to brickwork and window frames so the view still looks tidy on-screen. If street lighting throws bright pools across the slab, trim zones to exclude those hotspots and reflections off parked cars.
Use a narrow strip for the letterbox approach and a second zone for the side passage, if you’ve got one. Save, test, and refine.
Adjust Sensitivity And Schedules
Once your zones sit neatly inside your boundary lines, tune sensitivity and schedules so the camera reacts to what matters—your gate opening, footsteps on your path, a hand reaching for the parcel—rather than constant pavement flow.
Start mid-level, then step down until Motion detection stops firing on prams and dogs, but still catches a person crossing your threshold. If your model offers person-only alerts, switch it on and keep general motion for night.
Use schedules like lighting cues: higher sensitivity after dusk, quieter during school-run hours. Pair this with smart Camera placement—angle slightly downward, keep the horizon out, and avoid reflective bay windows.
You’ll get cleaner clips, calmer notifications, and a façade that stays tidy, not twitchy.
Make Two-Way Audio Work for Deliveries
When you can’t get to the door in time, two-way audio turns your street-facing camera into a tidy delivery intercom. Keep your message short and calm: “Leave it behind the bin, please,” or “Put it with number 12.” Angle the mic away from traffic, and test your volume at pavement level so you don’t bark into the street.
Use intercom integration to route calls to your phone or a hallway speaker, so you can answer hands-free while you’re cooking. Pair it with recording schedules that cover delivery windows, not all day, to save storage and keep clips purposeful.
Add a small “Delivery instructions” plaque near the lens for a clean, coordinated look.
Fix Wi-Fi Issues With Solid Brick Walls
Solid brick can swallow a 2.4/5GHz signal fast, so your street-facing camera drops to a stuttery feed the moment it’s outside line-of-sight. Start by moving your router higher and closer to the front room window; height and glass beat dense masonry for brick wall penetration. Keep it tidy: hide cables in slim trunking, and avoid cluttered corners that trap signals.
Next, cut Wi Fi interference. Switch your router to a cleaner channel, separate 2.4GHz and 5GHz SSIDs, and park smart hubs away from microwaves, cordless phones, and metal fuse boxes.
If you’ve got a rear-router layout, add a discreet mesh node on the stair landing or hallway shelf, aimed toward the door. Finally, update firmware and re-run signal tests at camera height.
Decide: Wired, Battery, or Doorbell Power
Although Wi‑Fi’s sorted, you’ll still get the cleanest, least fussy setup by choosing the right power type for your frontage: wired for a set-and-forget feed, battery for a drill‑free, rental-friendly mount, or doorbell power for a slim camera that blends into your entryway without extra cabling.
Go wired if you can hide a cable along a downpipe or behind a bay trim; it keeps the camera compact and always on, ideal for narrow passages.
Choose battery when you can’t drill brick or you want a tidy install on a gatepost—just plan a charging rhythm.
Pick doorbell power if your porch already has a transformer; you’ll get a discreet, centred view.
For Smart home integration, match the power option to your hub, and sync Outdoor lighting to motion for a polished frontage.
Handle UK Privacy, Storage, and Subscriptions
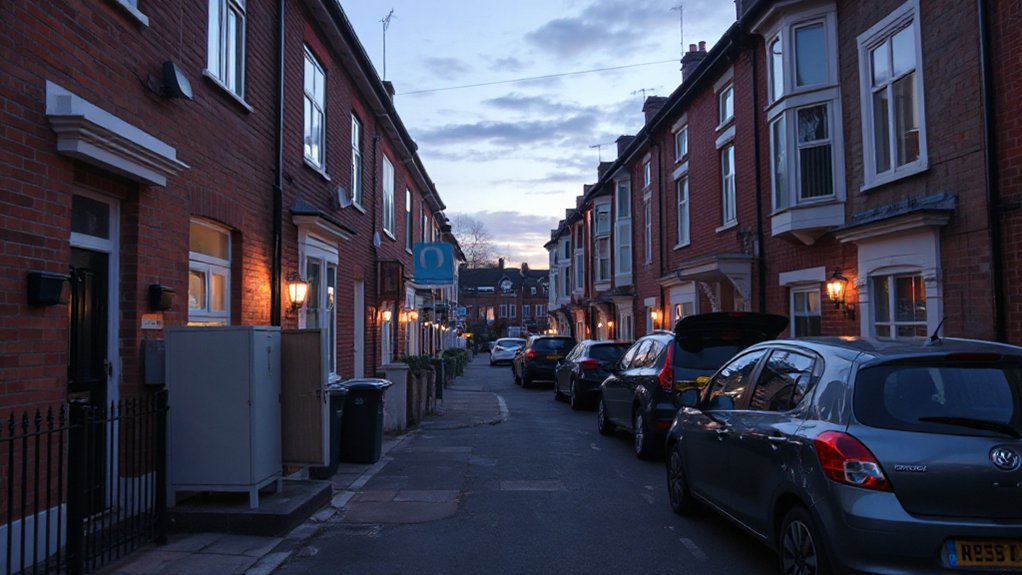
Because a street-facing camera can catch more than your own doorway, you’ll want to sort privacy, storage, and subscriptions before you mount it. Angle the lens down, mask neighbouring windows, and switch off audio unless you truly need it; you’ll stay closer to UK Privacy regulations and keep the setup discreet on a tight frontage.
Next, choose storage that fits your space and risk. Local microSD or an NVR keeps footage in-house and avoids monthly fees, but you must secure the box and back up clips. Cloud plans save space and simplify sharing, yet subscriptions add up fast.
Whatever you pick, insist on Data encryption in transit and at rest, two‑factor login, and clear retention controls. Set 14–30 days, then prune automatically.
Conclusion
Choose a camera that fits the rhythm of your terraced street: tight angles, crisp 2K+ detail, and HDR that handles glare and shadow. Mount it high, tilt it down, and mask what isn’t yours. Dial in motion zones so you’re alerted by intent, not every passer-by. Sort power and storage before you buy, and tame Wi‑Fi through brick. When it’s set up right, isn’t peace of mind the best feature?