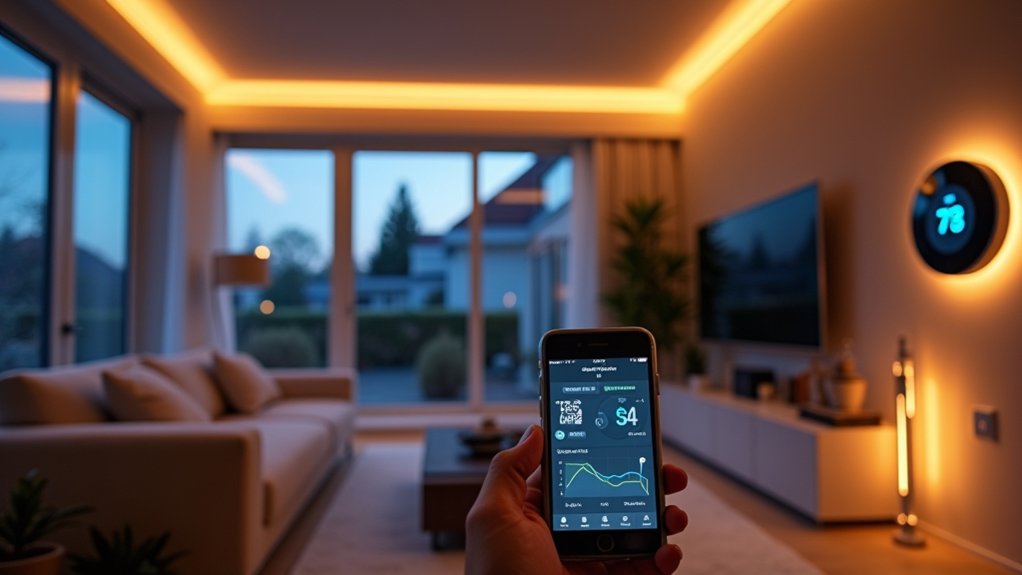

Like a conductor syncing an orchestra, you can make your home’s energy use follow a precise score. You’ll start by choosing a hub or cloud control that keeps devices speaking one language. Then you’ll target HVAC with schedules, occupancy sensing, and tight calibration, because that’s where savings stack fast. Layer in daylight-aware lighting, smart plugs that cut phantom loads, and safe control of big appliances—but the real gains come from what you measure next…
Choose Your Energy-Saving Smart Home Setup (Hub or Not)
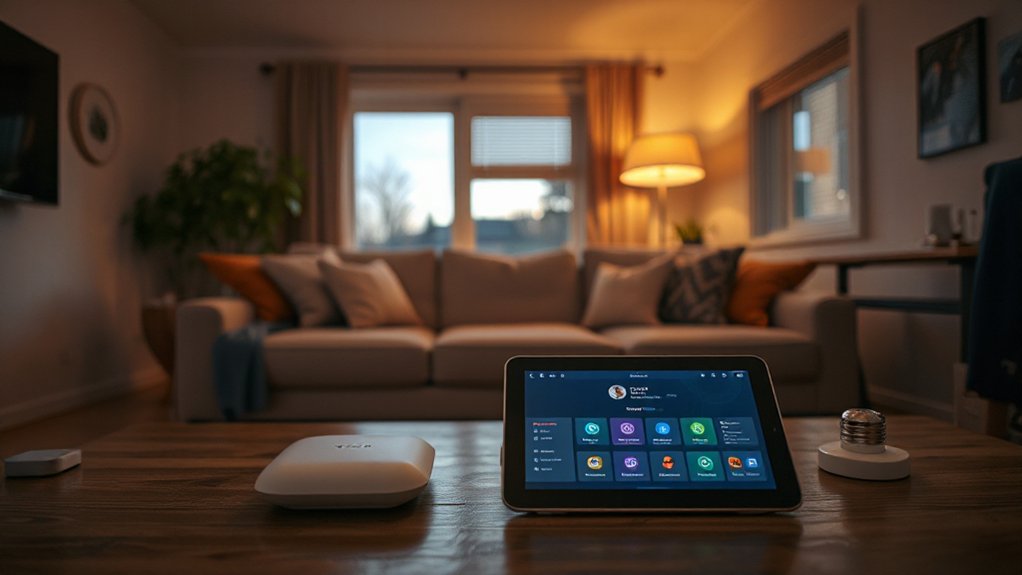
Whether you’re starting with a single smart thermostat or planning a whole-home retrofit, your first energy decision is architectural: build around a dedicated hub (or hub-like controller) or run a hubless setup that ties devices directly to your router and cloud apps.
Smart home hubs give you local automation, tighter timing, and cleaner scene design, so lights, plugs, and sensors coordinate without waking the WAN. You’ll also reduce radio clutter by consolidating Zigbee/Thread meshes, keeping battery nodes calm and efficient.
A hubless layout looks minimal—fewer boxes, quick pairing—but you’ll lean on cloud latency, vendor apps, and always-on Wi‑Fi.
For polish, pick one control surface and commit: Voice assistant integration should trigger whole scenes, not single devices. Map energy rules to rooms, schedules, and occupancy.
Start With the Thermostat: Biggest Energy Savings First
Because heating and cooling dominate most utility bills, you’ll get the fastest, most measurable savings by automating your thermostat first. Start by setting tight schedules: a modest setback during sleep and work hours, then a gradual pre-conditioning ramp to avoid inefficient recovery spikes.
Treat Thermostat placement like sensor design: keep it off exterior walls, out of sunbeams, and away from supply registers, kitchens, or drafts that bias readings.
Then run Temperature calibration—compare the thermostat’s sensor to a reliable room thermometer for 15 minutes, apply the offset, and verify again.
Enable compressor minimum-run times, heating/cooling deadbands, and fan “auto” to reduce short-cycling.
If your system supports it, use outdoor-temperature lockouts and adaptive algorithms so your setpoints look clean and intentional while staying efficient.
Add Occupancy Sensors for Room-by-Room HVAC Control
Once your thermostat schedule runs clean, add occupancy sensors to push HVAC control down to the room level and stop conditioning empty space. Place sensors where bodies actually linger: near desks, reading chairs, and bed approaches, not centered on ceilings.
Choose dual-tech (PIR + microwave) to reduce false-offs behind glass, fans, or low-angle winter sun. Pair them with smart vents, mini-split heads, or zone dampers so each space can drift to an efficient setback when vacant.
Tune timeouts by room rhythm—short for laundry, longer for offices—then cap temperature swings to protect comfort and finishes. With room by room control, you’ll keep air movement quiet, avoid overcooling hallways, and make your HVAC feel intentional, not reactive.
Automate Lighting With Motion, Daylight, and Schedules
You can cut lighting waste by mapping motion-activated zones that bring on only the fixtures you need, at the right brightness and color temperature for each space.
Pair that with daylight sensing so output trims smoothly as sunlit windows contribute lux, keeping the room balanced instead of overlit.
Then lock in schedule automation that aligns with your routines—wake, work, and wind-down—so lights fade up and shut off on time without manual toggles.
Motion-Activated Lighting Zones
When motion, daylight, and time rules work together, lighting becomes a quiet control system instead of a manual habit. You achieve that calm by designing motion-activated lighting zones that match how you move: entry, task, and passage areas, each with its own response curve.
Place motion sensors where bodies naturally cross—doorways, hall junctions, bedside reach—avoiding direct HVAC drafts and window glare that cause false triggers.
Set distinct zone behaviors: a soft 10–20% pathway level for circulation, a crisp higher level for counters, and a low, warm accent for late-night trips.
Use short fade-in and slower fade-out so the room feels intentional, not reactive. Tune hold times per zone to eliminate “yo-yo” shutoffs without wasting watt-hours.
Daylight And Schedule Automation
Set schedules as guardrails: morning task levels in kitchens, low amber pathways after midnight, and hard off-times for seldom-used spaces.
Tie Smart window treatments to solar position and temperature: open shades to feed ambient light, then close to cut heat gain and reduce HVAC load.
Use gradual fades (3–8 seconds) to keep the aesthetic smooth while still slashing wasted watt-hours.
Use Smart Plugs to Kill Standby Power Automatically
You can put smart plugs on always-on loads and schedule hard off times so chargers, media stacks, and coffee stations go dark when you don’t need them.
You’ll also get per-outlet watt data, so you can spot standby “vampire” draw and cap it with automation rules like nightly cutoffs or idle-time shutdowns.
With clean routines and crisp thresholds, you’ll trim wasted watts without touching your daily flow.
Schedule Off Times
Why let gadgets sip electricity all night in silent standby? Set schedule off times on your smart plugs so power drops to zero when you’re done. Build a clean cadence: TV console off at 12:30 a.m., chargers off at 1:00, desk gear off at 7:45, then restore at 6:30 p.m. for evening use.
You’ll get precise timing adjustments without touching a switch, and the room looks calmer when indicator LEDs vanish on cue. Use routine optimization to align cutoffs with your real habits—weekdays vs weekends, work-from-home vs away.
Favor plugs that support local schedules, sunrise/sunset triggers, and “restore last state” after outages, so your automation stays crisp and predictable.
Monitor And Limit Vampires
Schedules handle the obvious shutoffs, but standby “vampires” keep nibbling watts in the gaps between routines. Track them with smart plugs that log real-time draw and daily kWh, so you see exactly which Vampire appliances idle at 3–15 W.
Put your TV stack, game console, printer, speakers, and chargers on monitored outlets, then set rules: cut power when no motion’s detected, when the room’s dark, or after network sleep. Use thresholds to avoid nuisance trips—keep routers and NAS exempt, and leave a low-watt trickle for devices needing updates.
You’ll tame Power consumption while keeping the space visually clean: one plug, hidden behind furniture, eliminating messy power bricks and glowing LEDs.
Automate Big Loads Safely (Water Heater, Laundry, EV)
Although lighting and plug loads grab most of the attention, the biggest energy wins come from automating high-wattage appliances—water heaters, laundry machines, and EV chargers—with controls that respect electrical limits and thermal safety.
For Water heater safety, schedule heat-up in off-peak windows, cap setpoints, and add a mixing valve; use a relay rated for resistive loads, plus high-limit cutoffs, so you don’t defeat built-in protection.
For Laundry cycle optimization, trigger runs only when humidity is low and time is ample, then prefer cold-water wash and high-spin profiles that shorten drying.
On EV charging, use a smart EVSE to throttle current, avoid panel overload, and coordinate with other loads; lock charging to night hours and pause during cooking or HVAC peaks.
Track Results With Energy Monitoring and Refine Automations
Once you’ve put water heating, laundry, and EV charging on smart controls, verify that the automations actually flatten peaks and cut kWh instead of just shifting comfort around.
Install whole-home monitoring at the panel and add smart plugs on noisy circuits, then tag each device so dashboards stay legible and calm.
Watch real-time watts during cycles, and compare against baseline weeks to confirm lower Energy consumption.
Export interval data, run simple Data analysis: peak-to-average ratio, load duration curves, and cost by TOU period.
If spikes persist, tighten rules—delay starts, stagger loads, or cap EV amperage when HVAC ramps.
Refine with seasonal schedules, occupancy, and temperature triggers, then retest.
Aim for fewer sharp edges on the graph and steadier daily totals.
Conclusion
Automate strategically and you’ll see measurable wins fast: smart thermostats alone can cut heating and cooling energy by about 10–12%. You’ve already built the foundation—hub coordination, occupancy-aware HVAC, sensor-driven lighting, and smart plugs that erase standby waste. Now let data guide the polish: monitor circuits, tune thresholds, and stagger big loads for a flatter demand curve. Your home won’t just feel elegant and responsive—it’ll run quieter, leaner, and consistently optimized.