
Coincidentally, the moment you start noticing countertop clutter is when smart kitchen upgrades make the most sense. You set clear goals, pick one platform (Alexa, Google, or Apple), and focus on space-savers like wall-mounted displays, slim sensors, and smart plugs instead of bulky gadgets. You keep it budget-friendly with lighting and leak alerts first, then upgrade the appliances you use daily. Next, you’ll want to see how a few routines can quietly run the whole room…
Plan Your Smart Kitchen Goals and Budget
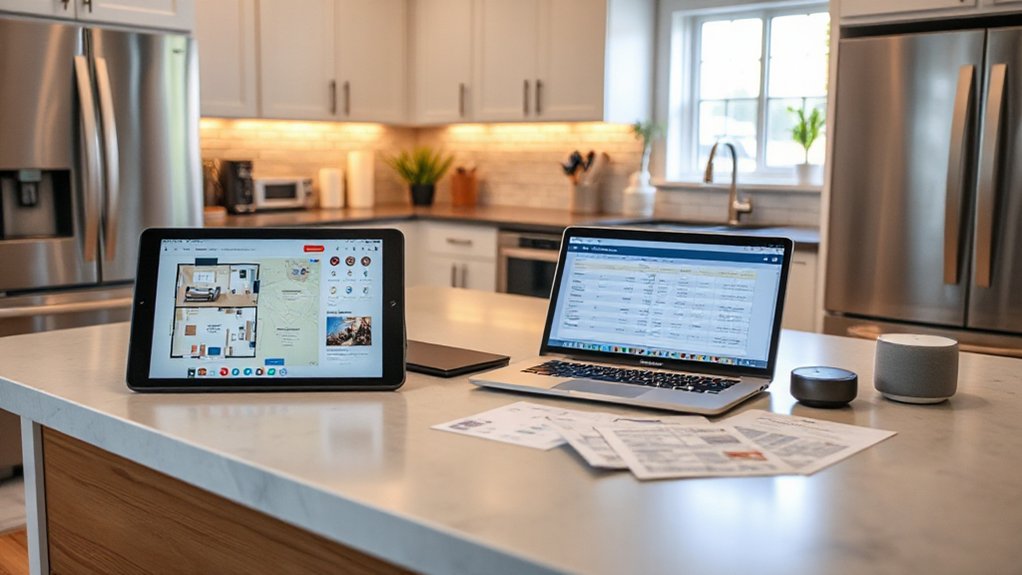
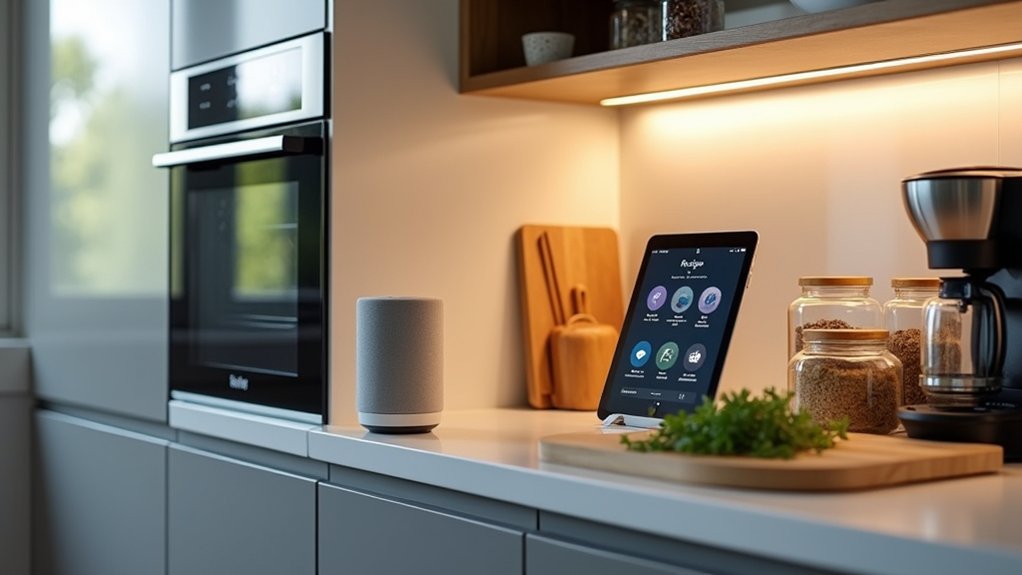
Next, map your space. If counters are tight, prioritize wall-mounted displays, slim sensors, and multi-use tools over bulky single-task devices.
Budget for upgrades that pay back: smart plugs for small appliances, leak sensors under the sink, and auto-shutoff options that boost kitchen safety.
For recipe organization, choose one hub for saved links, meal plans, and shopping lists, so you don’t buy duplicate tools.
Choose a Smart Home Platform for the Kitchen (Alexa/Google/Apple)
Before you buy any smart gadgets for the kitchen, pick a platform—Alexa, Google Assistant, or Apple Home—so everything runs from one app and one voice instead of three half-working ecosystems.
Start with what you already own: an iPhone pushes you toward Apple Home, Android pairs naturally with Google, and bargain smart speakers often favor Alexa.
Prioritize Voice assistant integration for hands-free timers, conversions, and shopping lists while you cook.
Check how each platform handles multi-user voice profiles and routine automations so your tiny kitchen stays streamlined, not cluttered with screens.
Compare subscription costs, too, since “cheap” devices can get pricey after monthly add-ons.
Finally, review Security camera options that match your privacy comfort level and storage preference (local vs cloud), especially if cameras face entryways.
Install Low-Cost Smart Kitchen Basics (Plugs, Lights, Sensors)
Once you’ve picked your platform, lock in the cheapest “smart” wins with a few plugs, bulbs, and sensors that add automation without eating counter space. Start with Smart plug placement: put one behind the coffee corner, one under the sink, and one near the microwave cart to schedule power and cut phantom draw. Choose compact plugs so you don’t block the second outlet.
Next, upgrade mood and task visibility with LED lighting options. Swap one main bulb for a tunable white smart bulb, then add adhesive LED strips under cabinets for clean, modern prep lighting. Add a door sensor on the pantry for instant “lights on” triggers, and a leak sensor under the sink for quiet, high-value protection. Keep everything battery-powered, app-grouped, and easy to move later.
Upgrade to Smart Kitchen Appliances You’ll Use Daily
If you want your smart kitchen to feel truly “daily-use” (not just gimmicky), upgrade one appliance at a time with compact models that automate the tasks you already do. Start with a smart air fryer/toaster oven combo, a connected coffee maker, or an instant-read smart thermometer—small footprints, big time savings.
Look for energy-saving modes, removable parts, and app-free onboard controls so you’re not locked into subscriptions. Buy last-year models or refurbished units to stay on budget without losing core features.
Prioritize Kitchen safety tips: auto shutoff, cool-touch exteriors, child locks, and overheat alerts.
Keep Smart appliance maintenance simple: descale on schedule, replace filters, wipe sensors, and update firmware only when needed. You’ll notice the upgrade every morning and dinner.
Automate Your Smart Kitchen With Routines and Voice Commands
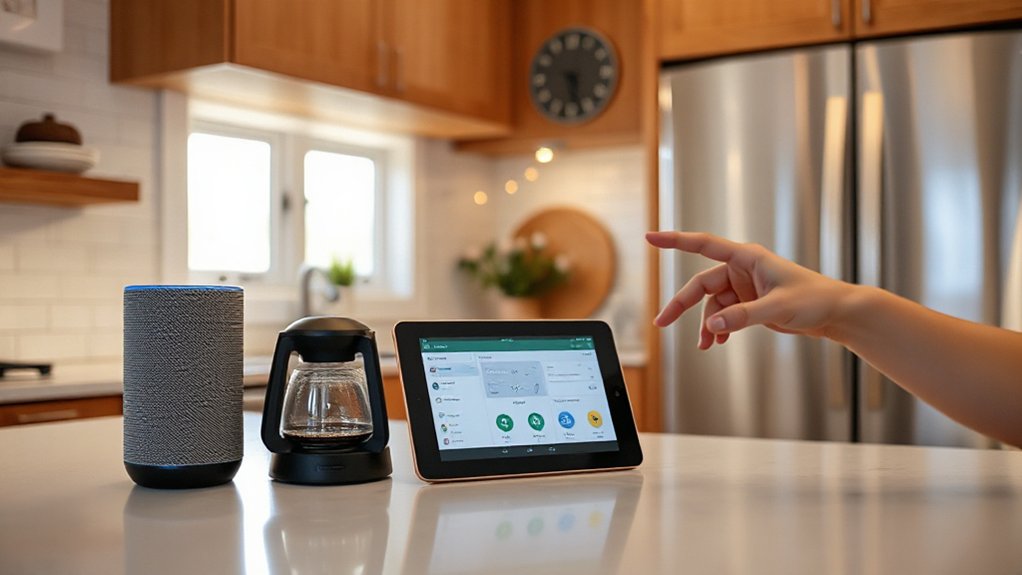
Even with a few compact smart appliances, you’ll feel the biggest upgrade when you tie them together with routines and voice commands. Start with one “Morning Brew” routine: turn on the smart plug for your coffee maker, set under-cabinet lights to 30%, and read today’s weather on your smart display—hands-free and zero counter clutter.
Next, build a “Cook Mode” command: preheat your smart oven, start a timer, and pull up recipe organization on your phone or display so you’re not juggling paper.
Use “I’m done cooking” to trigger cleaning automation: run the dishwasher at off-peak hours, start a robot vacuum in the kitchen, and switch on an air purifier. You’ll save time, space, and money.
Conclusion
Picture your counters staying clear while slim sensors watch for leaks, lights shift warm as you prep, and a wall-mounted display keeps recipes floating at eye level. You’ve picked one platform, so everything syncs without fuss. You started cheap with smart plugs and bulbs, then upgraded only the appliances you use daily. Now routines handle coffee, cleanup, and night lighting on cue. Your kitchen feels modern, safer, and calmer—without blowing your budget.