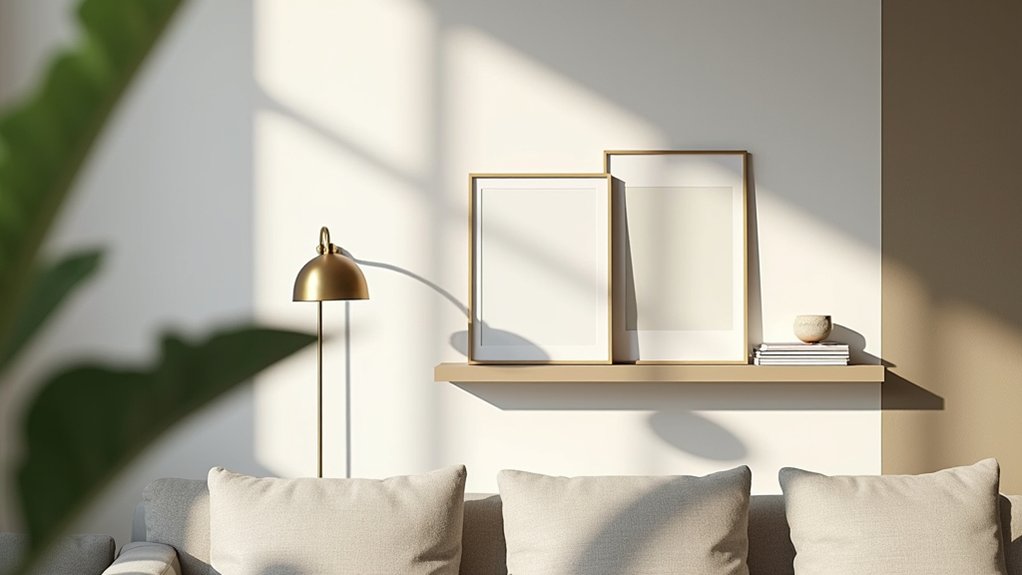

A blank wall feels like wasted space, yet it’s your easiest design win. You start by deciding whether you’re renting or ready for DIY, because that sets your limits. Then you pick one high-impact move: bold paint, peel-and-stick wallpaper, or a tight gallery layout hung at eye level. You add height with a mirror or tall planter, and you build depth with ledges, panels, or lighting. The next step depends on what your wall is hiding…
Start With Your Blank Wall Goal (Renting vs DIY)
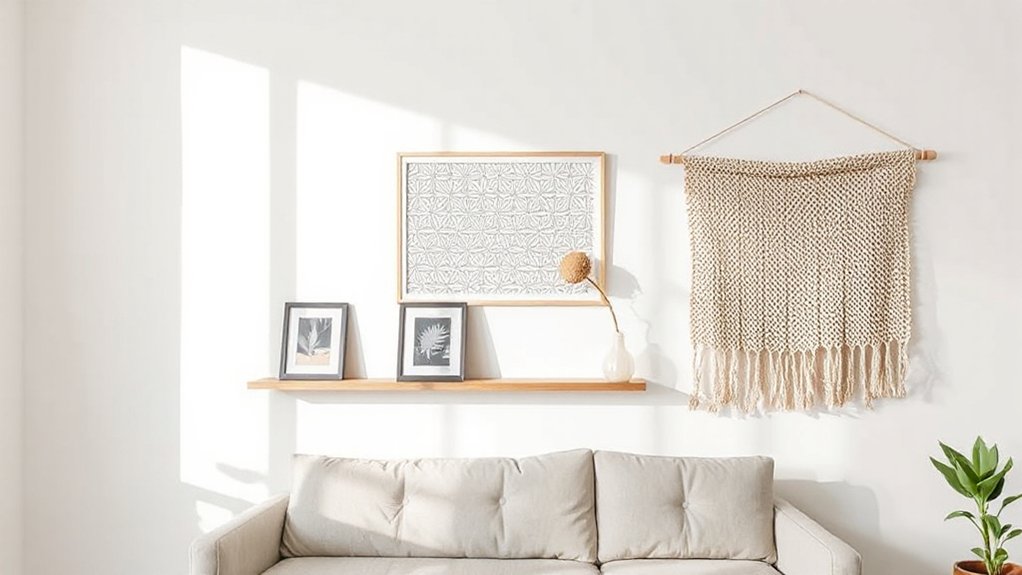
Before you buy art or start drilling, decide what you need your blank wall to do—and how permanent you can make it.
If you’re renting, plan for reversibility: removable hooks, washi tape, poster rails, or lightweight shelves that rely on tension rather than anchors. Test a small area first so adhesives won’t lift paint, and account for wall texture, which can reduce grip on peel-and-stick products.
If you own the place, you can go structural: install picture ledges, wall-mounted sconces, or a full gallery layout with proper anchors and a stud finder. Map placement with painter’s tape to preview scale and spacing.
Also consider lighting effects—glare, shadows, and color temperature—so your wall reads intentional day and night.
Use Paint Ideas for a Statement Wall
To make a statement wall with paint, you can get high impact without major construction by choosing a clear, controlled design. Use bold color blocking to define zones, add geometric pattern accents with painter’s tape for crisp edges, or paint an ombre fade effect by blending wet edges in smooth horizontal bands.
You’ll get the cleanest result when you map your layout, test colors in the room’s light, and commit to straight lines or intentional gradients.
Bold Color Blocking
A bold color-blocked wall turns plain drywall into a graphic focal point with nothing more than paint and clean lines. Start by choosing two to three hues with strong color contrast; pair a deep tone with a soft neutral to keep the room balanced.
Map your blocks with painter’s tape, then measure from fixed points (ceiling, corners, trim) so edges stay true. Paint the lighter color first, let it cure, then tape and apply the darker shade for crisp boundaries.
Use a satin finish for easy cleaning and consistent sheen across sections. Plan art integration early: center one block behind a frame or shelf to “anchor” it, and keep hardware aligned to block edges for a built-in look.
Geometric Pattern Accents
Color blocking gives you clean, bold sections; geometric pattern accents push that idea further by adding repeated shapes and angles that make a true statement wall.
Start by choosing one to three paint colors and a single motif (triangles, hexagons, chevrons) so the design reads intentional, not busy.
Map your layout with a level and pencil, then snap chalk lines to lock in geometric symmetry across the wall.
Use high-quality painter’s tape, burnish edges with a putty knife, and paint away from the tape to prevent bleed.
Keep pattern repetition consistent: match shape size, spacing, and line weight from edge to edge.
Remove tape while paint’s still slightly wet for crisp reveals.
Seal touch-ups with a small angled brush.
Ombre Fade Effects
Because a smooth gradient reads as both intentional and calming, an ombre fade effect gives you a statement wall without the hard lines of stripes or geometric blocks.
Pick two to four tones within one hue (or adjacent hues) and test them in daylight to confirm the color shift feels even.
Start at the darkest edge—often the bottom for grounding, or the top for drama—and work in horizontal bands.
While paint stays wet, use Gradient blending: overlap each band with the next using a dry brush or damp roller, then feather with light, crisscross strokes.
Keep a spray bottle handy to extend open time.
Finish by stepping back every few minutes and correcting any visible seams before they set.
Add Peel-and-Stick Wallpaper for Instant Pattern
Pick a bold peel-and-stick wallpaper pattern that fits your room’s scale and doesn’t get lost from across the space.
Prep the wall for adhesion by cleaning off dust and grease, letting it dry fully, and smoothing any bumps so the sheet lays flat.
Apply from a plumb starting line, peel the backing in sections, and smooth as you go to push out bubbles and keep seams tight.
Choose Bold Patterns
If your walls feel flat even after a fresh coat of paint, add a bold pattern with peel-and-stick wallpaper to create instant depth and movement. Start by choosing a scale that suits the room: oversized geometrics energize open spaces, while tight repeats sharpen small nooks.
Use Pattern mixing with intent—pair one dominant print with quieter solids or subtle stripes so the wall reads designed, not busy. Treat color like a tool: pull one hue from your rug or art, then echo it in trim, pillows, or frames for cohesion.
For extra Wall texture, pick grasscloth-look, linen-effect, or raised inks that catch light and hide minor imperfections. Limit the pattern to a single feature wall or alcove when you want impact without overload.
Prep Walls For Adhesion
Before you unroll peel-and-stick wallpaper, get the wall surface truly clean, dry, and smooth so the adhesive can grip. Start wall preparation by removing dust with a vacuum brush, then wipe with a degreasing cleaner; rinse and let it dry overnight.
Scrape loose paint, spackle dents, and sand to a uniform finish. Wash away sanding dust with a damp microfiber cloth and allow full drying time.
Check for moisture issues, especially on exterior walls, and fix leaks before you proceed. If the surface is flat paint, chalky, or freshly patched, plan a primer application to lock down porosity and improve tack.
Choose a low-VOC, stain-blocking, acrylic primer, and let it cure per the label. Mask trim and cover outlets beforehand.
Apply And Smooth Carefully
Once your wall feels clean and fully cured, start hanging peel-and-stick wallpaper from a plumb vertical reference line so the pattern doesn’t drift. Dry-fit the first panel to confirm repeats and plan for wall symmetry around a focal point like a bed or fireplace.
Peel back 6–10 inches of backing, stick the top edge, then work downward in short sections.
Use a felt squeegee to press from center to edges, forcing air out before it turns into bubbles. If you trap a wrinkle, lift that area immediately and re-lay; don’t stretch the sheet.
Overlap or butt seams exactly as the product specifies, and keep pattern alignment tight.
Trim cleanly with a sharp blade at baseboards and corners, preserving crisp color contrast lines.
Build a Simple Gallery Wall (Spacing and Height)
While a gallery wall looks effortless when it’s finished, the spacing and height you choose do most of the heavy lifting. Start by setting your sightline: place the group’s visual center at 57–60 inches from the floor, then build outward. Keep gaps consistent—2 inches reads curated, 3 inches feels airy—so the arrangement doesn’t look accidental.
Plan art placement on the floor first. Trace each frame on paper, label sizes, and test layouts before you commit.
Anchor the wall with one larger piece, then balance with smaller works on both sides. Maintain at least 6–8 inches above furniture, and align top or bottom edges when frames vary. Use color coordination to unify mixed styles and prevent visual noise.
Try No-Damage Wall Decor (Hooks, Rails, Strips)
If you want a more dynamic wall without committing to nail holes, you can rely on no-damage systems like adhesive hooks, picture-hanging strips, and slim picture rails.
Start by checking the wall finish: clean with isopropyl alcohol, let it dry, then apply with firm pressure for 30 seconds.
Use Removable hooks for lightweight items like calendars, hats, and small frames; match the hook’s rated capacity and avoid textured plaster or dusty brick.
For framed art, choose Adhesive strips that lock together and level pieces easily; wait an hour before hanging for best bond.
With picture rails, hang cords and adjust heights without re-drilling.
When removing, pull tabs straight down slowly to protect paint.
Add Picture Ledges or Floating Shelves
No-damage hooks and strips keep things flexible, but picture ledges and floating shelves add real depth and give you room to layer decor.
Mount a ledge at eye level for rotating prints, then add a second, lower shelf to balance the wall and anchor taller pieces. Keep shelf depth shallow (3–5 inches) so frames don’t protrude into walkways.
Use painter’s tape to mark placement, hit studs when possible, and choose drywall anchors rated above your total load.
Style in odd numbers: one large frame, two smaller, plus a compact object for height variation.
Pair shelves with artistic wall murals as a backdrop, or border the arrangement with decorative wall decals to frame the vignette without crowding it.
Add Texture With Molding, Slats, or Panels
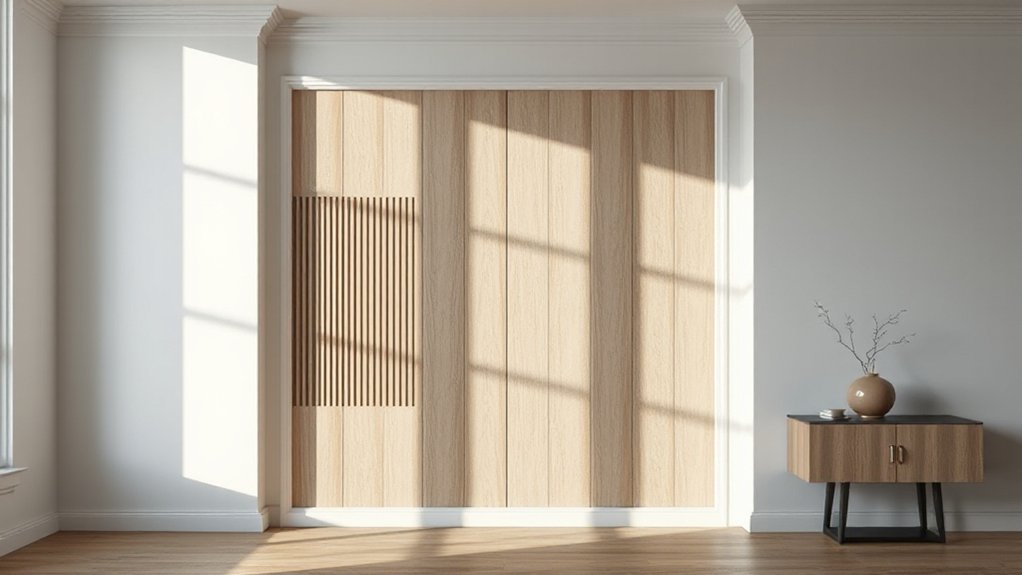
Because flat drywall can look unfinished, you can instantly elevate a room by adding texture with molding, vertical slats, or wall panels. Start by mapping a simple grid or frame-and-panel layout with painter’s tape, then measure twice and mark studs so fasteners land solidly.
Use MDF for crisp profiles, pine for cleaner edges, and pre-primed panels to cut prep time. For molding textures, keep the pattern consistent: equal spacing, level lines, and tight miters with wood glue plus brads.
Caulk seams, fill nail holes, and sand lightly for a seamless look. Paint everything one color for subtle relief, or contrast panels for sharper panel accents. Finish with a satin sheen to highlight depth without glare.
Fix Tricky Blank Walls With Tall, Vertical Pieces
When a wide expanse of drywall feels awkward and empty, you can correct the proportions by anchoring it with one or two tall, vertical pieces. Choose Vertical art that’s at least two-thirds the wall’s height, or stack two narrow frames to create a clean column. Hang the center of the composition at eye level, then extend upward with a top frame to draw the gaze higher.
If you’d rather style the floor line, use Tall planters with upright plants (snake plant, dracaena) and place them 6–12 inches from the wall so shadows add depth. Pair one planter with a slim floor lamp or a leaning mirror to keep the silhouette vertical.
Keep widths narrow, repeat materials, and leave breathing room so the wall reads intentional, not cluttered.
Conclusion
You don’t need a full renovation to make a blank wall work harder. Start by choosing your goal—renter-safe or DIY—then commit to one strong move: a bold paint block, peel-and-stick pattern, or a tight gallery at eye level. If you think you’re “not creative,” follow simple spacing rules and repeat one frame finish. Add a picture ledge, subtle panel texture, and a tall mirror or plant to finish it.