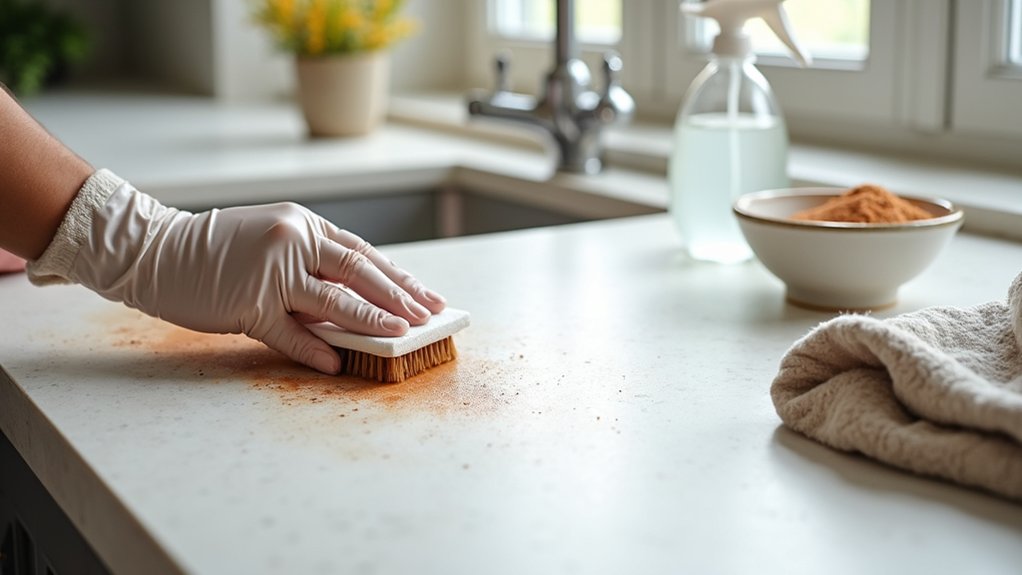

You can’t treat every limestone stain the same, and your first move should be diagnosis, not scrubbing. Identify whether you’re seeing water darkening, oily residue, rust transfer, or mineral crust, because each calls for a different cleaner and dwell time. So let’s look at How To Remove Stains From Limestone both quickly and easily.
Start with a pH-neutral wash and soft tools to protect the stone’s finish and edges. Once you know what you’re up against, the right spot method becomes obvious, but there’s one step you shouldn’t skip…
Identify the Limestone Stain (Quick Guide)
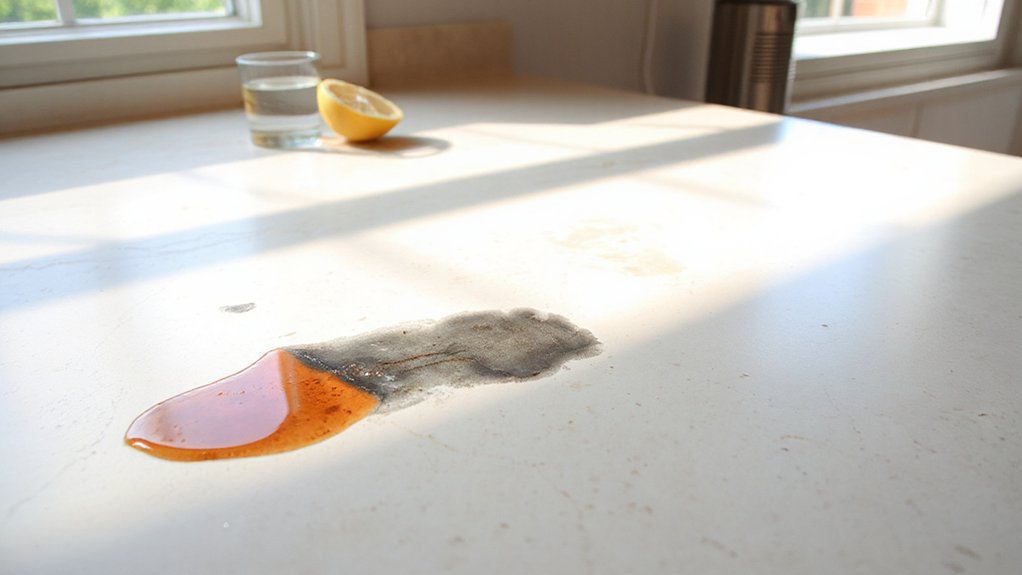
Before you reach for a cleaner, pinpoint the stain type—because limestone’s porous, calcium-based surface reacts differently to water, acids, oils, and metals.
Start with Limestone composition: calcite and microvoids wick spills, so timing and source matter.
Do stain color analysis under neutral light. Darkened patches with soft edges usually indicate water absorption; look for rings near sinks or planters.
Honey-yellow to amber blotches suggest oils from cooking, lotions, or sealant residue.
Chalky white haze or etched, lighter spots often track acidic splashes and leave a dulled sheen.
Rusty orange-brown freckles point to metal transfer from furniture, nails, or hard-water fixtures.
Gray-black specks may be mildew in shaded, damp joints.
Note location, pattern, and texture changes.
Pre-Clean Limestone Safely (What to Avoid)
Now that you’ve matched the mark to a likely culprit, set up a safe pre-clean routine that won’t etch, dull, or deepen the stain. Start by dry-dusting grit with a microfiber cloth, then vacuum edges and grout lines using a soft brush to prevent abrasion.
Mix pH-neutral stone cleaner with lukewarm water, and test in an inconspicuous area before wiping with a well-wrung cloth. Rinse with clean water and towel-dry immediately to avoid water rings.
Skip Acid cleaning entirely: vinegar, lemon, bathroom descalers, and many “all-purpose” sprays can bite into calcite and permanently flatten the finish. Avoid stiff bristles, scouring pads, steam, and soaking.
If you’ve done Limestone sealing, don’t strip it with high-alkaline degreasers or solvents; keep your pre-clean gentle and controlled.
Remove Oil and Grease Stains From Limestone
Start by identifying oil and grease stains by their darkened tone, soft sheen, and tendency to spread at the edges on limestone.
Apply an absorbent poultice in a neat, even layer to pull the residue from the pores without disturbing the surrounding finish.
Once it’s set, rinse thoroughly and reassess the color shift so you can repeat only where needed.
Identify Oil And Grease
How can you tell if you’re dealing with an oil or grease stain on limestone? Look for a darker, slightly translucent patch that seems to “wet” the surface even when it’s dry. These stains often soften edges and mute the stone’s natural contrast, especially on honed or matte finishes where sheen changes are subtle.
Run a fingertip lightly across the area: it may feel smoother or tacky compared to surrounding stone.
Check placement and pattern. Spots near cooktops, grills, driveways, or lotion bottles typically point to oils. Grease splatter creates irregular, fine dots; heavier oil leaves a more uniform shadow.
If the mark deepens after use or heat, you’re seeing oil absorption. Accurate identification guides efficient grease removal without altering the limestone’s finish.
Apply Absorbent Poultice
Once you’ve confirmed the stain is oil-based, use an absorbent poultice to pull the residue out of the limestone’s pores without changing its design intent.
Match your approach to stain types by selecting a neutral, non-acidic mix that won’t etch or mute honed, tumbled, or polished finishes.
Choose absorbent materials such as paper towels, kaolin clay, talc, or diatomaceous earth, then blend with a small amount of distilled water or a stone-safe degreaser to form a thick paste.
Apply a 1/4–1/2 inch layer slightly beyond the stain’s edge to capture migration.
Cover with plastic, tape the perimeter, and let it dwell 24–48 hours.
Remove gently with a plastic scraper to protect edges and grout lines.
Rinse And Reassess
After the poultice has fully dried, rinse the area with distilled water and wipe it clean with a soft, non-abrasive cloth so you don’t grind residue back into the stone. Use light, linear passes that follow the tile’s edges and veining, keeping the finish visually consistent. Don’t flood the surface; excess water can drive contaminants deeper.
Let the limestone air-dry, then inspect under raking light to see whether the oil shadow has lifted or merely lightened. If you still see a halo, repeat the poultice with fresh material rather than scrubbing.
Once the stain is gone, apply a breathable, penetrating sealer suited to limestone for Limestone preservation, and reset habits for stain prevention: blot spills fast, use trays, and avoid oily cleaners.
Remove Rust Stains and Metal Marks From Limestone
Start by confirming you’re seeing true rust staining or a metal transfer mark, since each calls for a different approach and affects the stone’s finish.
Choose a limestone-safe, non-acidic rust remover and spot-test it in an inconspicuous area so you don’t etch or dull the surface.
Clean with controlled dwell time, rinse thoroughly, then prevent repeat marks by isolating metal fixtures, improving drainage, and sealing where appropriate.
Identify Rust And Marks
Even if limestone feels rugged, it can telegraph metal contact quickly, so you’ll want to confirm you’re dealing with rust or a metal mark before you treat it. Look for orange-brown halos, pinpoints, or streaks that follow drip lines from planters, chair legs, nails, or outdoor fixtures.
Rust usually concentrates at edges and grout lines where moisture lingers.
Check the stain’s surface: a true metal mark may look gray or black and sit as a smudge, while rust often reads warmer and slightly mottled. Wipe with a white damp cloth; transfer suggests superficial residue, not embedded oxidation.
Note nearby sources and water exposure patterns to guide Limestone sealing and stain prevention, especially around thresholds, patios, and bathrooms where condensation is common.
Choose Safe Rust Removers
Once you’ve confirmed the discoloration comes from rust or a metal mark, choose a remover that won’t etch limestone’s calcium-rich surface. Skip acidic staples like vinegar, lemon, or harsh bathroom descalers; they can dull the finish and widen pores, compromising a honed or polished look.
Instead, select a limestone-safe, non-acidic rust remover formulated for natural stone, ideally a gel or poultice that stays in place on vertical edges and tight joints.
Check labels for “safe on marble/limestone” and avoid products with hydrochloric, phosphoric, or sulfamic acids. If you prefer natural cleaning agents, use a stone-approved chelating formula rather than DIY acids.
Apply with rust-resistant tools (plastic putty knife, nylon pad) to protect the surface.
Clean And Prevent Recurrence
After you’ve lifted the rust stain with a limestone-safe remover, clean the area with a pH-neutral stone cleaner and rinse thoroughly so no residue keeps reacting in the pores. Blot dry with a lint-free cloth, then let the stone air-dry fully; trapped moisture can pull metals back to the surface and ghost a mark.
Next, inspect nearby hardware, planters, table legs, and fasteners. Add felt pads, rubber isolators, or stainless replacements so iron can’t leach onto the face.
If the surface is honed or exterior-grade, schedule Limestone sealing to tighten porosity and boost stain resistance without changing the intended finish. Apply sealer evenly, wipe off excess, and respect cure times.
Maintain with gentle weekly cleaning and prompt water removal.
Remove Hard-Water Deposits From Limestone
Why do hard-water deposits show up so quickly on limestone? Limestone porosity and water absorption let mineral-rich moisture wick into the surface, then evaporate and leave chalky scale that dulls the finish. Treat deposits early to protect your stone’s color and crisp veining.
Start dry: dust the area so grit won’t scratch. Mix a pH-neutral stone cleaner with warm water, then wipe with a microfiber cloth, keeping the surface damp—not flooded.
For stubborn scale, use a limestone-safe limescale remover labeled non-acidic; apply per directions, agitate gently with a soft nylon brush, and rinse thoroughly. Dry immediately with a clean towel to prevent spotting.
Finish by buffing for a uniform sheen and check caulk lines and fixtures for drips.
Make and Apply a Limestone Poultice (Deep Stains)
Hard-water scale sits on the surface, but deeper discoloration—oil, rust, wine, or organic staining—often sinks into limestone’s pores and won’t lift with routine cleaning.
For a poultice, mix a stone-safe absorbent (diatomaceous earth or kaolin) with distilled water, or swap in hydrogen peroxide for organic stains; for oil, use acetone. Aim for a thick paste that holds a peak. Mask surrounding joints with painter’s tape for crisp edges.
Dampen the stain with the same solvent, then spread poultice 1/4–1/2 inch thick, extending 1 inch past the mark. Cover with plastic, tape perimeter, and pierce a few holes.
Let it dry 24–48 hours, remove, rinse, and repeat if needed. Finish with Limestone sealing for stain prevention.
Conclusion
By pinpointing the stain and pre-cleaning with pH-neutral products, you protect limestone’s delicate design and natural depth. You’ll lift oil, rust, and hard-water haze with the right method—never harsh acids or gritty abrasives. For deep discoloration, you can apply a properly matched poultice, seal it, and let it draw the stain out slowly and safely. Remember: gentle, gradual, and guided care keeps surfaces spotless, structured, and sophisticated.